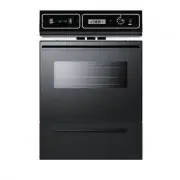
Summit Appliance TEM721BKW - Manuals
User Manual Summit Appliance TEM721BKW


Summary
Range Record in the space provided below the Model No. and Serial No. of this appliance. These numbers are found on the serial plate located below the lift-up cooktop. Model No._ _ _ _ _ _ _ _ _ _ _ _ _ _ _ _ _ _ _ _ _ _ _ Type Number _ _ _ _ _ _ _ _ _ _ _ _ _ _ _ _ _ _ _ _ _ Serial No. _ _ _ _ _ _ ...
30 THREE-WIRE CONDUIT CONNECTION 1. Remove the access plate to gain access to the electrical junction box. 2. Install the three-wire range conduit and an appropriate strain relief clamp through the hole in the junction box. 3. Use an appropriate insulated wire connector to connect the red and black ...
IMPORTANT SAFEGUARDS, Continued • Do not store items of interest to children in the cabinets above a range or on the backguard of a range. Children climbing on the range to reach the items could be seriously injured. • Do not allow children to climb or play around the range. The weight of a child on...
Summit Appliance Ovens Manuals
-
 Summit Appliance CMV24
User Manual
Summit Appliance CMV24
User Manual
-
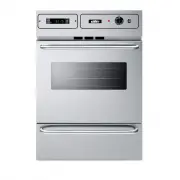
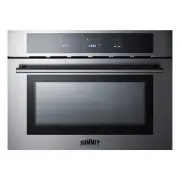 Summit Appliance CMV24SS
User Manual
Summit Appliance CMV24SS
User Manual
-
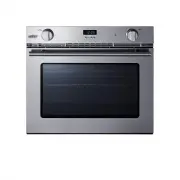 Summit Appliance SGWOGD27
User Manual
Summit Appliance SGWOGD27
User Manual
-
 Summit Appliance TTM7212BKW
User Manual
Summit Appliance TTM7212BKW
User Manual
-
 Summit Appliance TTM7212DK
User Manual
Summit Appliance TTM7212DK
User Manual
-
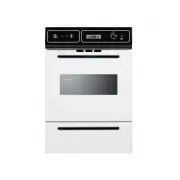
 Summit Appliance TTM7212KW
User Manual
Summit Appliance TTM7212KW
User Manual
-
 Summit Appliance TTM7882BKW
User Manual
Summit Appliance TTM7882BKW
User Manual
-
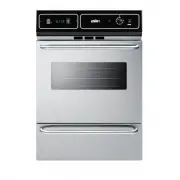
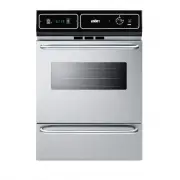
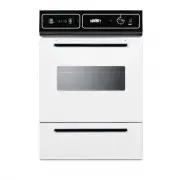 Summit Appliance WEM715KW
User Manual
Summit Appliance WEM715KW
User Manual
-
 Summit Appliance WTM7212KW
User Manual
Summit Appliance WTM7212KW
User Manual
-
 Summit Appliance WTM721EKW
User Manual
Summit Appliance WTM721EKW
User Manual