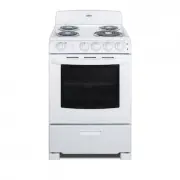
Summit Appliance RE2411W - Manuals
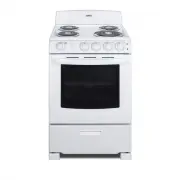
User Manual Summit Appliance RE2411W


Summary
2 Safety Instructions Operating In stru ctio ns Care and Cleaning Troubleshooting Tips Consumer Support Installation In stru ctio ns IMPORTANT SAFETY INFORMATION. READ ALL INSTRUCTIONS BEFORE USING. WARNING! READ ALL SAFETY INSTRUCTIONS BEFORE USING THE PRODUCT. FAILURE TO FOLLOW THESE INSTRUCTIONS ...
3 Safety Instructions Operating In structio ns Care and Cleaning Troubleshooting Tips Consumer Support Installation In structio ns • Never wear loose-fitting or hanging gar- ments while using the appliance. Be careful when reaching for items stored over the range. Flammable material could be ig- nite...
4 Safety Instructions Operating In stru ctio ns Care and Cleaning Troubleshooting Tips Consumer Support Installation In stru ctio ns IMPORTANT SAFETY INFORMATION. READ ALL INSTRUCTIONS BEFORE USING. • Stand away from the range when opening the oven door. Hot air or steam which es- capes can cause bu...
Summit Appliance Ranges Manuals
-
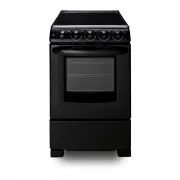
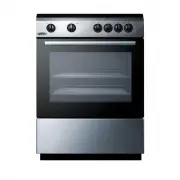 Summit Appliance CLRE24E
User Manual
Summit Appliance CLRE24E
User Manual
-
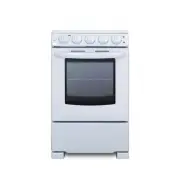
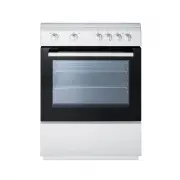 Summit Appliance CLRE24WH
User Manual
Summit Appliance CLRE24WH
User Manual
-
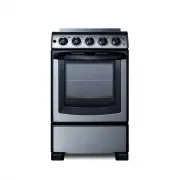
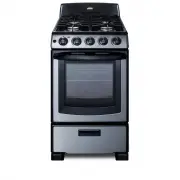 Summit Appliance PRO201SS
User Manual
Summit Appliance PRO201SS
User Manual
-
 Summit Appliance PRO201SS1
User Manual
Summit Appliance PRO201SS1
User Manual
-
 Summit Appliance PRO247SS1
User Manual
Summit Appliance PRO247SS1
User Manual
-
 Summit Appliance PRO24GSS
User Manual
Summit Appliance PRO24GSS
User Manual
-
 Summit Appliance RE203W1
User Manual
Summit Appliance RE203W1
User Manual
-
 Summit Appliance RE2411W1
User Manual
Summit Appliance RE2411W1
User Manual
-
 Summit Appliance REX2051BRT
User Manual
Summit Appliance REX2051BRT
User Manual
-
 Summit Appliance REX2051WRT
User Manual
Summit Appliance REX2051WRT
User Manual
-
 Summit Appliance REX2071SSRT
User Manual
Summit Appliance REX2071SSRT
User Manual
-
 Summit Appliance REX2431BRT
User Manual
Summit Appliance REX2431BRT
User Manual
-
 Summit Appliance RG200WS1
User Manual
Summit Appliance RG200WS1
User Manual
-
 Summit Appliance RG244WS
User Manual
Summit Appliance RG244WS
User Manual
-
 Summit Appliance TEM110BRWY
User Manual
Summit Appliance TEM110BRWY
User Manual
-
 Summit Appliance TEM130BKWY
User Manual
Summit Appliance TEM130BKWY
User Manual
-
 Summit Appliance WEM1171Q
User Manual
Summit Appliance WEM1171Q
User Manual
-
 Summit Appliance WLM110P
User Manual
Summit Appliance WLM110P
User Manual
-
 Summit Appliance WLM610P
User Manual
Summit Appliance WLM610P
User Manual
-
 Summit Appliance WNM110P
User Manual
Summit Appliance WNM110P
User Manual