Summit Appliance PRO201SS - Manuals
User Manual Summit Appliance PRO201SS


Summary
IMPORTANT SAFETY INFORMATION. READ ALL INSTRUCTIONS BEFORE USING. If the information in this manual is not followed exactly, a fire or explosion may result, causing property damage, personal injury or death. IMPORTANT SAFETY NOTICE All ranges can tip. BURNS or other SERIOUS INJURIES can result. INSTA...
Use this appliance for its intended purpose as described in this owners manual.Have your range installed and properly grounded by a qualified installer in accordance with the provided installation instructions. Any adjustment and service should be performed only by qualified gas range installers or se...
IMPORTANT SAFETY INFORMATION. READ ALL INSTRUCTIONS BEFORE USING. WARNING KEEP FLAMMABLE MATERIALS AWAY FROM THE RANGE Do not store or use flammable materials in an oven or near the cooktop, including paper, plastic, pot holders, linens, wall coverings, curtains, drapes and gasoline or other flammable...
Summit Appliance Ranges Manuals
-
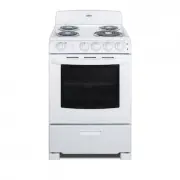
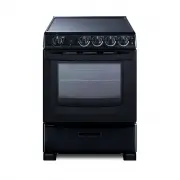
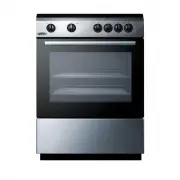 Summit Appliance CLRE24E
User Manual
Summit Appliance CLRE24E
User Manual
-
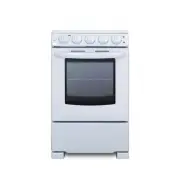
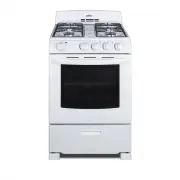
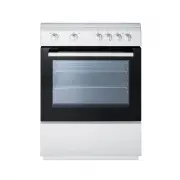 Summit Appliance CLRE24WH
User Manual
Summit Appliance CLRE24WH
User Manual
-
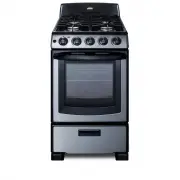
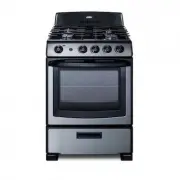
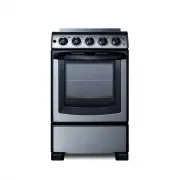
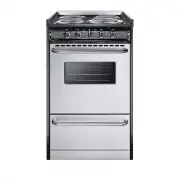
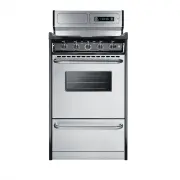
 Summit Appliance PRO201SS1
User Manual
Summit Appliance PRO201SS1
User Manual
-
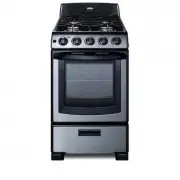
 Summit Appliance PRO247SS1
User Manual
Summit Appliance PRO247SS1
User Manual
-
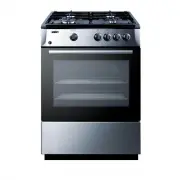 Summit Appliance PRO24GSS
User Manual
Summit Appliance PRO24GSS
User Manual
-
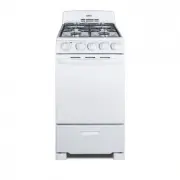
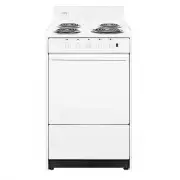
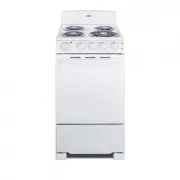 Summit Appliance RE203W1
User Manual
Summit Appliance RE203W1
User Manual
-
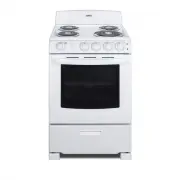 Summit Appliance RE2411W
User Manual
Summit Appliance RE2411W
User Manual
-
 Summit Appliance RE2411W1
User Manual
Summit Appliance RE2411W1
User Manual
-
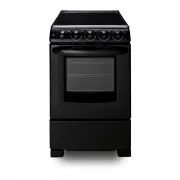 Summit Appliance REX2051BRT
User Manual
Summit Appliance REX2051BRT
User Manual
-
 Summit Appliance REX2051WRT
User Manual
Summit Appliance REX2051WRT
User Manual
-
 Summit Appliance REX2071SSRT
User Manual
Summit Appliance REX2071SSRT
User Manual
-
 Summit Appliance REX2431BRT
User Manual
Summit Appliance REX2431BRT
User Manual
-
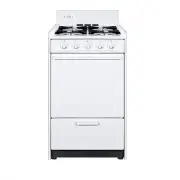
 Summit Appliance RG200WS1
User Manual
Summit Appliance RG200WS1
User Manual
-
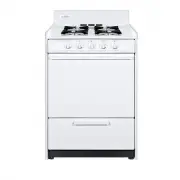
 Summit Appliance RG244WS
User Manual
Summit Appliance RG244WS
User Manual
-
 Summit Appliance TEM110BRWY
User Manual
Summit Appliance TEM110BRWY
User Manual
-
 Summit Appliance TEM130BKWY
User Manual
Summit Appliance TEM130BKWY
User Manual
-
 Summit Appliance WEM1171Q
User Manual
Summit Appliance WEM1171Q
User Manual
-
 Summit Appliance WLM110P
User Manual
Summit Appliance WLM110P
User Manual
-
 Summit Appliance WLM610P
User Manual
Summit Appliance WLM610P
User Manual
-
 Summit Appliance WNM110P
User Manual
Summit Appliance WNM110P
User Manual