Sony PSLX310BT - Manuals
Sony PSLX310BT Player – User Manual in PDF format online.
Manuals:
User Manual Sony PSLX310BT


Summary
2 Owner’s Record The model number and serial numbers are located at the bottom. Record these numbers in the spaces provided below. Refer to these numbers whenever you call upon your Sony dealer regarding this product.Model No. PS-LX310BTSerial No.________________ WARNING To reduce the risk of fire o...
3 10) Protect the power cord from being walked on or pinched particularly at plugs, convenience receptacles, and the point where they exit from the apparatus. 11) Only use attachments/accessories specified by the manufacturer. 12) Use only with the cart, stand, tripod, bracket, or table specified by...
4 Properly shielded and grounded cables and connectors must be used for connection to host computers and/or peripherals in order to meet FCC emission limits. For the customers in Canada Properly shielded and grounded cables and connectors must be used for connection to host computers and/or peripher...
Sony Players Manuals
-
 Sony BDPBX370
User Manual
Sony BDPBX370
User Manual
-
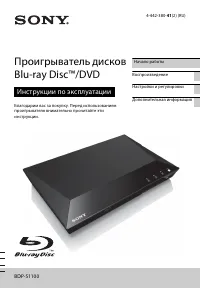 Sony BDP-S1100
Manual
Sony BDP-S1100
Manual
-
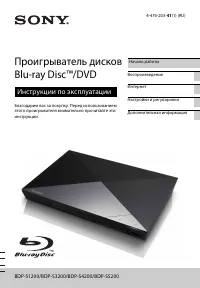 Sony BDP-S1200
Manual
Sony BDP-S1200
Manual
-
 Sony BDPS1500
User Manual
Sony BDPS1500
User Manual
-
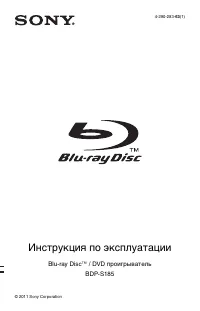 Sony BDP-S185
Manual
Sony BDP-S185
Manual
-
 Sony BDP-S300
Manual
Sony BDP-S300
Manual
-
Sony BDP-S3200
Manual
-
 Sony BDP-S3500
User Manual
Sony BDP-S3500
User Manual
-
 Sony BDP-S360
Manual
Sony BDP-S360
Manual
-
 Sony BDP-S370
Manual
Sony BDP-S370
Manual
-
 Sony BDP-S380
Manual
Sony BDP-S380
Manual
-
 Sony BDP-S390
Manual
Sony BDP-S390
Manual
-
Sony BDP-S4200
Manual
-
 Sony BDP-S470
Manual
Sony BDP-S470
Manual
-
 Sony BDP-S5100
Manual
Sony BDP-S5100
Manual
-
Sony BDP-S5200
Manual
-
 Sony BDP-S580
Manual
Sony BDP-S580
Manual
-
 Sony BDPS6500
User Manual
Sony BDPS6500
User Manual
-
 Sony BDPS6700
User Manual
Sony BDPS6700
User Manual
-
 Sony BDP-S780
Manual
Sony BDP-S780
Manual