Sony DSC-W360 - Manuals
Sony DSC-W360 Camera – Manual in PDF format online.
Manuals:
Manual Sony DSC-W360


Summary
GB 2 Owner’s Record The model and serial numbers are located on the bottom. Record the serial number in the space provided below. Refer to these numbers whenever you call upon your Sony dealer regarding this product. Model No. DSC-W350/W360 Serial No. ______________________________ To reduce fire or...
GB GB 3 • Be sure to charge the battery pack using a genuine Sony battery charger or a device that can charge the battery pack. • Keep the battery pack out of the reach of small children.• Keep the battery pack dry.• Replace only with the same or equivalent type recommended by Sony.• Dispose of used...
GB 4 UL is an internationally recognized safety organization.The UL Mark on the product means it has been UL Listed. If you have any questions about this product, you may call: Sony Customer Information Center1-800-222-SONY (7669) The number below is for the FCC related matters only. [ Regulatory In...
Sony Cameras Manuals
-
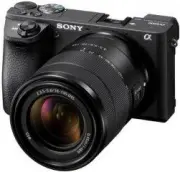
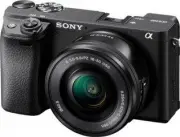 Sony A6400 + SEL-P1650 Black (ILCE-6400L/B)
User Manual
Sony A6400 + SEL-P1650 Black (ILCE-6400L/B)
User Manual
-
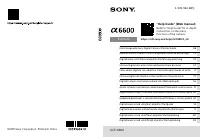
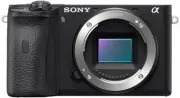 Sony A6600 Body Black (ILCE-6600/B)
User Manual
Sony A6600 Body Black (ILCE-6600/B)
User Manual
-
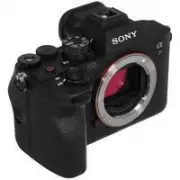
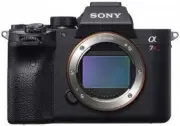 Sony A7R Mark IV Body (ILCE-7RM4)
User Manual
Sony A7R Mark IV Body (ILCE-7RM4)
User Manual
-
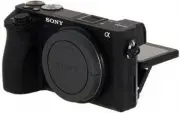 Sony Alpha 6500 (ILCE-6500)
User Manual
Sony Alpha 6500 (ILCE-6500)
User Manual
-
 Sony Alpha 6500 + 18-135mm (ILCE-6500M/B)
User Manual
Sony Alpha 6500 + 18-135mm (ILCE-6500M/B)
User Manual
-
 Sony Alpha 7 III
User Manual
Sony Alpha 7 III
User Manual
-
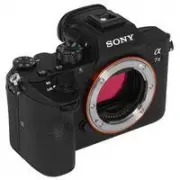
 Sony Alpha 7 IV
User Manual
Sony Alpha 7 IV
User Manual
-
 Sony Alpha 7C
User Manual
Sony Alpha 7C
User Manual
-
 Sony Alpha 7C Body Silver
User Manual
Sony Alpha 7C Body Silver
User Manual
-
 Sony Alpha a6400 + E 16-55 mm f/2.8 G (ILCE6400G.CEC)
User Manual
Sony Alpha a6400 + E 16-55 mm f/2.8 G (ILCE6400G.CEC)
User Manual
-
 Sony Alpha a6500 body (ILCE6500B.CEC)
User Manual
Sony Alpha a6500 body (ILCE6500B.CEC)
User Manual
-
Sony Alpha a6600 + E 16-55 mm f/2.8 G (ILCE6600G.CEC)
User Manual
-
Sony Alpha a6600 + E PZ 18-105 mm f/4.0 G OSS (ILCE6600PZ.CEC)
User Manual
-
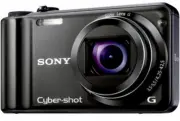 Sony Cyber-shot DSC-H55 Black
User Manual
Sony Cyber-shot DSC-H55 Black
User Manual
-
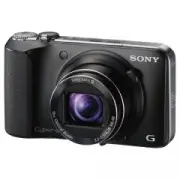 Sony Cyber-shot DSC-HX10 Black
User Manual
Sony Cyber-shot DSC-HX10 Black
User Manual
-
 Sony Cyber-shot DSC-RX10
User Manual
Sony Cyber-shot DSC-RX10
User Manual
-
Sony Cyber-shot DSC-RX10
Manual
-
 Sony Cyber-shot DSC-W710 Pink
User Manual
Sony Cyber-shot DSC-W710 Pink
User Manual
-
 Sony DCZV1/B
User Manual
Sony DCZV1/B
User Manual
-
 Sony DSC-F77
Manual
Sony DSC-F77
Manual