Sharp SMC2266HS - Manuals
Sharp SMC2266HS Microwave – User Manual in PDF format online.
Manuals:
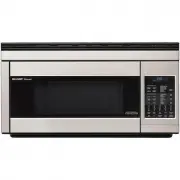
User Manual Sharp SMC2266HS


Summary
CUSTOMER ASSISTANCE UNITED STATES ONLY REGISTER YOUR PRODUCT Registering your new product is easy and offers benefits that help you get the most out of your Sharp product including: 9 Convenience: If you ever need warranty support, your product information is already on file. 9 Communication: Stay u...
SHARP ELECTRONICS CORPORATION warrants to the first consumer purchaser that this Sharp brand product (the “Product”), when shipped in its original container, will be free from defective workmanship and materials, and agrees that it will, at its option, either repair the defect or replace the defecti...
When using electrical appliances, basic safety precautions should be followed, including the following: WARNING-To reduce the risk of burns, electric shock, fire, injury to persons or exposure to excessive microwave energy: S A V E T H E S E I N S T R U C T I O N S I M P O R T A N T S A F E T Y I N ...
Sharp Microwaves Manuals
-
 Sharp AX1100JS
User Manual
Sharp AX1100JS
User Manual
-
 Sharp AX1500JS
User Manual
Sharp AX1500JS
User Manual
-
 Sharp KB6524PSY
User Manual
Sharp KB6524PSY
User Manual
-
 Sharp R1210TY
User Manual
Sharp R1210TY
User Manual
-
Sharp R1211TY
User Manual
-
 Sharp R1214TY
User Manual
Sharp R1214TY
User Manual
-
 Sharp R1514TY
User Manual
Sharp R1514TY
User Manual
-
 Sharp R1874TY
User Manual
Sharp R1874TY
User Manual
-
 Sharp R1881LSY
User Manual
Sharp R1881LSY
User Manual
-
 Sharp R20A0W
User Manual
Sharp R20A0W
User Manual
-
 Sharp R210DW
User Manual
Sharp R210DW
User Manual
-
 Sharp R211DB
User Manual
Sharp R211DB
User Manual
-
 Sharp R211DW
User Manual
Sharp R211DW
User Manual
-
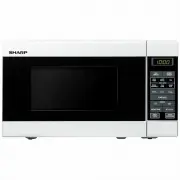
 Sharp R-217E
User Manual
Sharp R-217E
User Manual
-
 Sharp R-21LCFS
User Manual
Sharp R-21LCFS
User Manual
-
 Sharp R231ZS
User Manual
Sharp R231ZS
User Manual
-
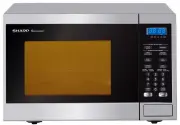
 Sharp R-247E
User Manual
Sharp R-247E
User Manual
-
 Sharp R291ZST
User Manual
Sharp R291ZST
User Manual
-
 Sharp R30A0W
User Manual
Sharp R30A0W
User Manual
-
 Sharp R32BST
User Manual
Sharp R32BST
User Manual