Ryobi RY40730-C - Manuals
User Manual Ryobi RY40730-C


Summary
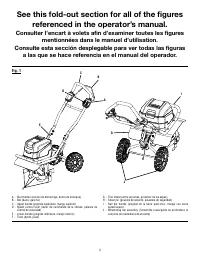
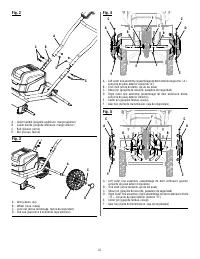
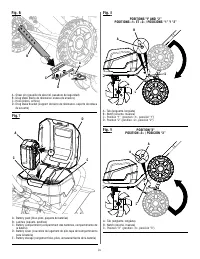
ii Fig. 1 A - Start button (bouton de démarrage, botón de arranque) B - Bail (barre, gancho) C - Upper handle (poignée supérieure, mango superior) D - Speed control lever (levier de commande de la vitesse, palanca de control de velocidad) E - Lower handle (poignée inférieure, mango inferior) F - Tin...
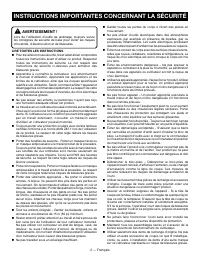
2 — English WARNING! When using electric gardening appliances, basic safety precautions should always be followed to reduce the risk of fire, electric shock and personal injury. READ ALL INSTRUCTIONS For safe operation, read and understand all instructions before using this product. Follow all saf...
4 — English IMPORTANT SAFETY INSTRUCTIONS Do not open or mutilate the batteries. Released electrolyte is corrosive and may cause damage to the eyes or skin. It may be toxic if swallowed. Do not place battery tools or their batteries near fire or heat. This will reduce the risk of explosion and p...
Ryobi Cultivators Manuals
-
 Ryobi P2705BTL
User Manual
Ryobi P2705BTL
User Manual
-
 Ryobi P2740
User Manual
Ryobi P2740
User Manual
-
 Ryobi P2740-BK
User Manual
Ryobi P2740-BK
User Manual
-
 Ryobi P2740-SS
User Manual
Ryobi P2740-SS
User Manual
-
 Ryobi P29013BTL
User Manual
Ryobi P29013BTL
User Manual
-
 Ryobi P2909BTL
User Manual
Ryobi P2909BTL
User Manual
-
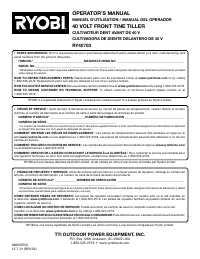
 Ryobi RY40702B
User Manual
Ryobi RY40702B
User Manual
-
 Ryobi RY40702K2
User Manual
Ryobi RY40702K2
User Manual
-
 Ryobi RY40720
User Manual
Ryobi RY40720
User Manual
-
 Ryobi RY40720-30
User Manual
Ryobi RY40720-30
User Manual
-
 Ryobi RY40720-C
User Manual
Ryobi RY40720-C
User Manual
-
 Ryobi RY40730
User Manual
Ryobi RY40730
User Manual
-
 Ryobi RYAC701
User Manual
Ryobi RYAC701
User Manual