Page 2 - Contents; Disposal Information
Contents Congratulations! Thank you for choosing one of our appliances. Before you use the appliance, we strongly recommend that you read through the whole user manual which provides important safety instructions and description of the product and the proper use of its functions. To avoid the ever-p...
Page 3 - Important Safety Instructions; Warning
1 Important Safety Instructions This User Instruction Manual contains important information, including safety & installation points, which will enable you to get the most out of your appliance. Please keep it in a safe place so that it is easily available for future reference; for you or any per...
Page 4 - Electrical Connection; Electrical Safety; Danger of electric shock; Connection to the mains supply; This appliance must be earthed
2 Electrical Connection Electrical Safety Danger of electric shock • If the supply cord is damaged, it must be replaced by the manufacturer, its service agent or similarly qualified persons in order to avoid a hazard. • Note: The appliance must be placed in such a way that the power supply is access...
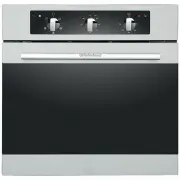
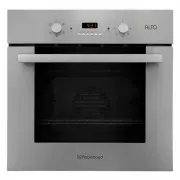
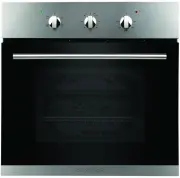
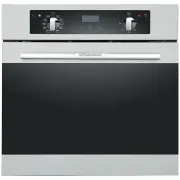
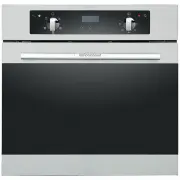
Page 5 - Appliance Details
3 Appliance Details Voltage/frequency 220-240V ~ 50Hz Total power consumption 2.300KW Cable type/section H05VV-F 3*1.5mm 2 Cable length 1.2m External dimensions(height/width/depth) 595/595/575 ( mm ) Installation dimensions(height/width/depth) 600/600/565 ( mm ) Oven lamp 25W/300°C Grill power consu...
Page 6 - Installation; Final check
4 Installation The oven should be installed into a purpose built cabinet. Ensure that there is adequate space between the sides of the oven and the walls of the cabinet for ventilation (see the image below for details). • Surfaces, synthetic laminates and adhesives used must be heat resistant (100°C...
Page 7 - Accessories; Inserting accessories; Note; Oven Pan; Wire Rack
5 Accessories The accessories supplied with your appliance are suitable for making many different types of meals. Ensure that you always insert the accessories into the cooking compartment in the correct orientation. Inserting accessories You can insert the accessories into the cooking compartment a...
Page 8 - Operating Instructions; Control Panel; OVEN LIGHT; DEFROST; Oven Timer
6 Operating Instructions Control Panel Function selector Use the function selector to set the type of heating. There are five functions available: OVEN LIGHT Press to turn the interior light on and off. DEFROST The fan runs without heat to reduce the defrosting time of frozen foods. The time require...
Page 9 - Thermostat; Before Using the Oven for the First Time; Heating the Oven; Cleaning the Accessories
7 Operating Instructions Thermostat The oven thermostat control dial sets the required temperature of the oven. It is possible to regulate the temperature within a range of 50 - 250°C. Before Using the Oven for the First Time Heating the Oven To remove the new oven smell, heat up the oven whilst it ...
Page 10 - Maintenance and Cleaning; Removing the Door
8 Maintenance and Cleaning • The oven should be cleaned after every use. • The oven chamber should only be washed with warm water and a small amount of washing-up liquid. • After cleaning the oven chamber wipe it dry. • Never clean the oven surfaces by steam cleaning. • The oven cavity should only b...
Page 11 - Replacing the Oven Lamp; Lamp Details; Interior Wire Shelves
9 Maintenance and Cleaning Replacing the Oven Lamp If the oven lamp fails, it must be replaced. Warning: Disconnect the oven from the power source before replacing the lamp. Danger of electric shock. • Disconnect the oven from the power source. • Unscrew the glass cover by turning it anti-clockwise....
Page 12 - Troubleshooting; Problem
10 Troubleshooting When first using your oven, it may emit a particular smell or some smoke. This is normal. Please refer to the ‘Before Using the Oven for the First Time’ section for instructions on how to properly start using your oven for the first time. Use the below table to check for solutions...