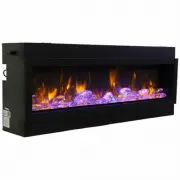
Remii 72-BAY-SLIM - Manuals
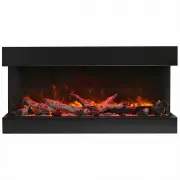
User Manual Remii 72-BAY-SLIM


Summary
IMPORTANT INSTRUCTIONS ......................................................................................................................................... 3 UNPACKING AND TESTING APPLIANCE ............................................................................................................
IMPORTANT INSTRUCTIONS PLEASE RETAIN THIS USER GUIDE FOR FUTURE REFERENCE When using electrical appliances, basic precautions should always be followed to reduce the risk of fire, electric shock, and injury to persons, including the following: 1) Read all instructions before using this fireplace 2) ...
UNPACKING AND TESTING APPLIANCE Carefully remove the appliance from the box. Prior to installing the appliance, test to make sure the appliance operates properly by plugging the power supply cord into a conveniently located 120 Volt grounded outlet. Test all aspects of its operation (manual switches...
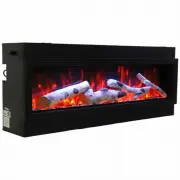
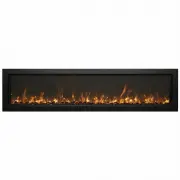
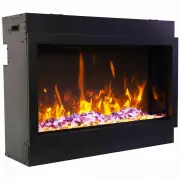
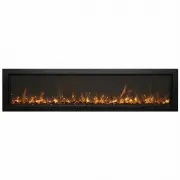
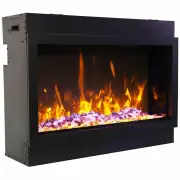
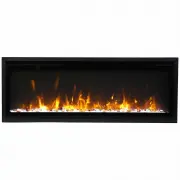
Remii Fireplaces Manuals
-
 Remii 102735-XS
User Manual
Remii 102735-XS
User Manual
-
 Remii 102745-DE
User Manual
Remii 102745-DE
User Manual
-
 Remii 102745-XS
User Manual
Remii 102745-XS
User Manual
-
 Remii 102745-XT
User Manual
Remii 102745-XT
User Manual
-
 Remii 102755-DE
User Manual
Remii 102755-DE
User Manual
-
 Remii 102755-XS
User Manual
Remii 102755-XS
User Manual
-
 Remii 102755-XT
User Manual
Remii 102755-XT
User Manual
-
 Remii 102765-DE
User Manual
Remii 102765-DE
User Manual
-
 Remii 102765-XS
User Manual
Remii 102765-XS
User Manual
-
 Remii 102765-XT
User Manual
Remii 102765-XT
User Manual
-
 Remii 30-BAY-SLIM
User Manual
Remii 30-BAY-SLIM
User Manual
-
 Remii 40-BAY-SLIM
User Manual
Remii 40-BAY-SLIM
User Manual
-
 Remii 50-BAY-SLIM
User Manual
Remii 50-BAY-SLIM
User Manual
-
 Remii 60-BAY-SLIM
User Manual
Remii 60-BAY-SLIM
User Manual
-
 Remii WM-SLIM-45
User Manual
Remii WM-SLIM-45
User Manual
-
 Remii WM-SLIM-55
User Manual
Remii WM-SLIM-55
User Manual
-
 Remii WM-SLIM-65
User Manual
Remii WM-SLIM-65
User Manual