Pioneer MVH-160UI - Manuals
Pioneer MVH-160UI Car Radio – User Manual in PDF format online.
Manuals:
User Manual Pioneer MVH-160UI
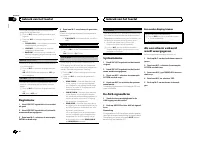
Summary
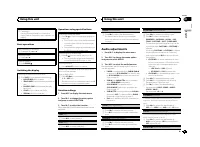
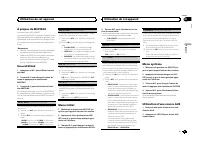
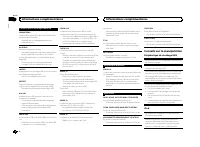
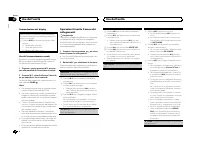
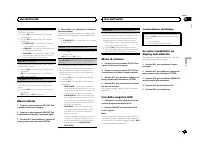
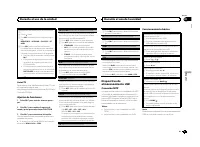
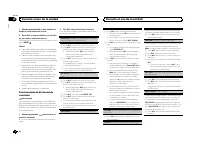
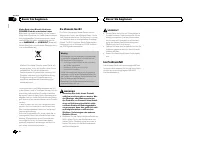
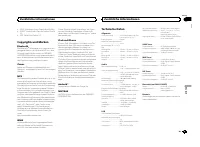
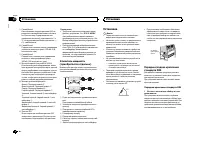
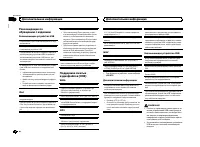
Thank you for purchasing this PIONEER product To ensure proper use, please read through thismanual before using this product. It is especiallyimportant that you read and observe WARN- ING s and CAUTION s in this manual. Please keep the manual in a safe and accessible place forfuture reference. If yo...
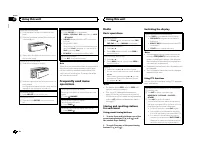
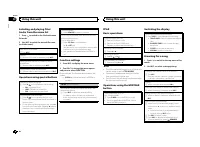
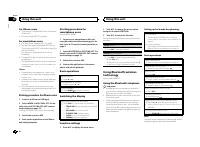
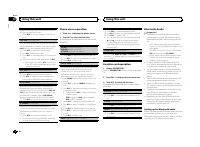
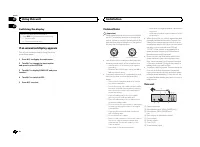
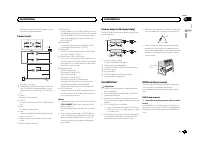
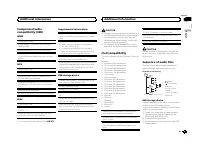
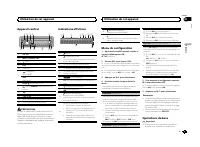
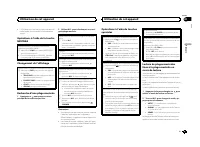
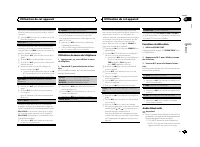
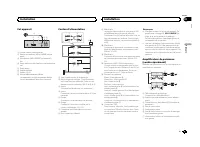
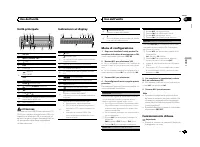
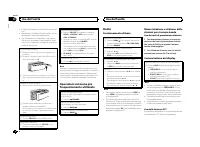
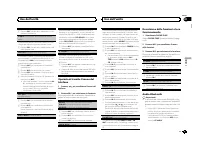
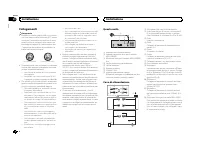
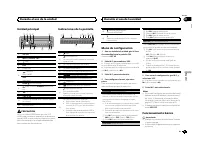
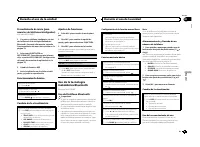
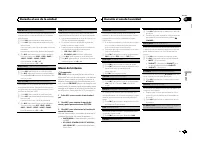
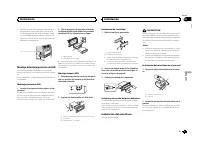
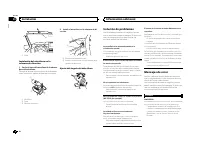
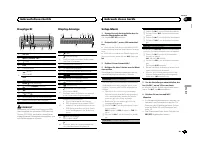
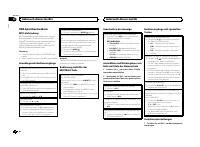
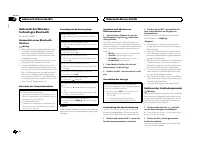
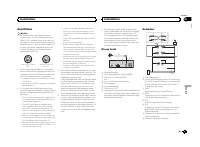
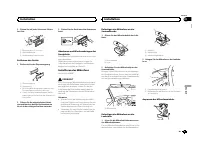
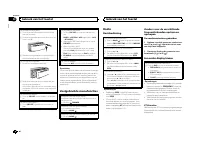
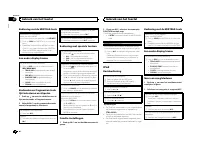
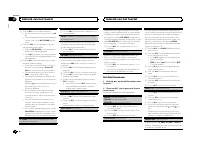
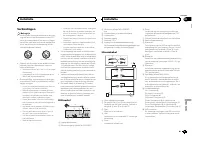
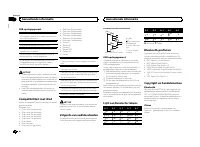
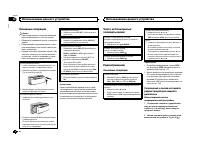
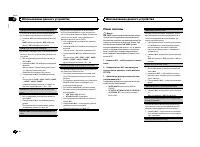
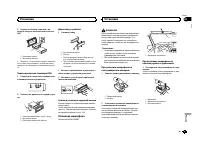
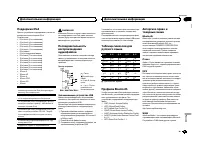
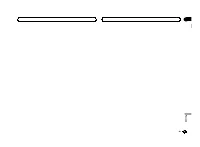
Head unit b 7 8 6 4 1 3 5 2 9 a c 1 SRC / OFF 2 MULTI-CONTROL ( M.C. ) 3 (list) 4 DISP 5 USB port 6 (phone) MVH-X360BT iPod MVH-160UI 7 BAND / (iPod control) 8 (back)/ DIMMER (dimmer) 9 c / d a 1 / to 6 / b AUX input jack (3.5 mm stereo jack) c Detach button CAUTION Use an optional Pioneer USB cable...
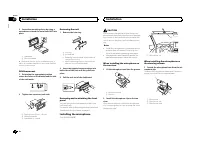
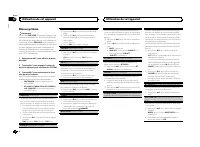
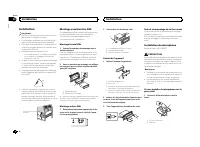
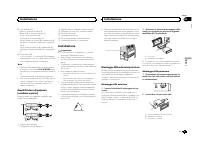
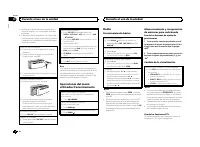
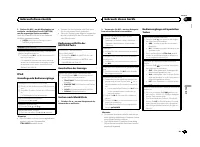
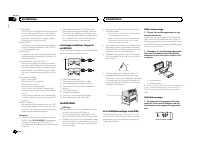
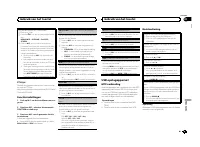
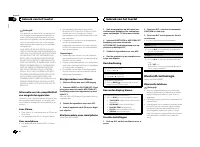
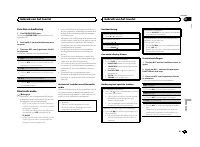
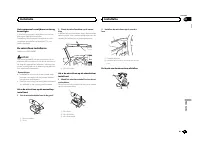
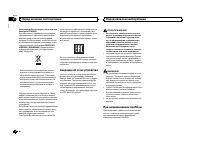
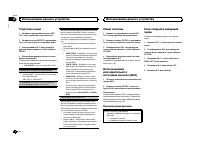
Removing the front panel 1 Press the detach button to release the frontpanel. 2 Push the front panel upward ( M ) and then pull it toward ( N ) you. 3 Always store the detached front panel in a pro-tective case or bag. Re-attaching the front panel 1 Slide the front panel to the left. 2 Press the rig...
PTY list For more details about PTY list, visit the follow-ing site:http://www.pioneer.eu/eur/products/25/121/tech/CarAudio/PTY.html Function settings 1 Press M.C. to display the main menu. 2 Turn M.C. to change the menu option and press to select FUNCTION. 3 Turn M.C. to select the function. Once s...
Selecting and playing files/tracks from the name list 1 Press to switch to the file/track name list mode. 2 Use M.C. to select the desired file name (or folder name). Selecting a file or folder 1 Turn M.C. Playing 1 When a file or track is selected, press M.C. Viewing a list of the files (or folders...
Notes ! You can play playlists created with the com-puter application (MusicSphere). The appli-cation will be available on our website. ! Playlists that you created with the computerapplication (MusicSphere) are displayed inabbreviated form. Operations using special buttons Selecting a repeat play r...
For iPhone users ! This function is compatible with iPhone andiPod touch. ! The device has iOS 5.0 or higher. For smartphone users ! The device has Android OS 2.3 or later. ! The device supports Bluetooth SPP (SerialPort Profile) and A2DP (Advanced Audio Dis-tribution Profile).The device is connecte...
Storing and recalling phone numbers 1 To store: Press and hold down one of the preset tuning buttons (1/ to 6/ ). The functions below can be used to store phonenumbers to the memory. For details, refer to Phone menu operation on page 10. ! MISSED (missed call history) ! DIALLED (dialed call history)...
Bluetooth visibility can be turned on so that otherdevices can discover the unit. 1 Press M.C. to turn the visibility of this unit on or off. PIN CODE (PIN code input) You must enter a PIN code on your device to con-firm the Bluetooth connection. The default code is 0000 , but you can change it with...
1 ConnectionUse the Bluetooth telephone connectionmenu. Refer to Connection menu operation on page 9. Basic operations Fast forwarding or reversing 1 Press and hold c or d . Selecting a track 1 Press c or d . Starting playback 1 Press BAND / . Switching the display Selecting the desired text informa...
Only frequencies lower than those in the selectedrange are outputted from the subwoofer. 1 Press M.C. to display the setting mode. 2 Press M.C. to cycle between the following: Cut-off frequency — Output level — Slope level Rates that can be adjusted will flash. 3 Turn M.C. to select the desired sett...
BT VERSION (Bluetooth version display) You can display the system versions of this unitand of Bluetooth module. 1 Press M.C. to display the information. APP CONN. SET (APP connect mode setting) Select an appropriate option for your connecteddevice. 1 Press M.C. to select the desired setting. WIRED (...
Switching the display Selecting the desired text information 1 Press DISP to cycle between the following: ! Source name ! Source name and clock If an unwanted display appears Turn off the unwanted display using the proce-dures listed below. 1 Press M.C. to display the main menu. 2 Turn M.C. to chang...
Hard-wired remote control adapter can beconnected (sold separately). Power cord 1 3 3 2 4 4 5 5 6 6 b 8 9 7 a e d c 1 To power cord input 2 Depending on the kind of vehicle, the func-tion of 3 and 5 may be different. In this case, be sure to connect 4 to 5 and 6 to 3 . 3 YellowBack-up (or accessory)...
2 Secure the mounting sleeve by using a screwdriver to bend the metal tabs (90°) intoplace. 1 2 1 Dashboard 2 Mounting sleeve # Make sure that the unit is installed securely in place. An unstable installation may cause skippingor other malfunctions. DIN Rear-mount 1 Determine the appropriate positio...
2 Install the microphone on the steering column. 1 2 1 Double-sided tape 2 Install the microphone on the rear side of thesteering column. Adjusting the microphone angle Troubleshooting Symptoms are written in bold and causes in reg-ular, non-indented text. Regular, indented text isused to indicate a...
NO AUDIO There are no songs. Transfer the audio files to the USB storage deviceand connect. The connected USB storage device has security en-abled. Follow the USB storage device instructions todisable the security. SKIPPED The connected USB storage device contains DRMprotected files. The protected f...
Compressed audiocompatibility (USB) WMA File extension: .wma Bit rate: 48 kbps to 320 kbps (CBR), 48 kbps to384 kbps (VBR) Sampling frequency: 32 kHz, 44.1 kHz, 48 kHz Windows Media ä Audio Professional, Lossless, Voice/DRM Stream/Stream with video: Not com-patible MP3 File extension: .mp3 Bit rate:...
Specifications General Power source ................... 14.4 V DC (10.8 V to 15.1 V al- lowable) Grounding system ............ Negative typeMaximum current consumption ................................... 10.0 A Dimensions (W × H × D):DINChassis ............................ 178 mm × 50 mm × 165 mmNos...
Nous vous remercions d ’ avoir acheté cet ap- pareil PIONEER Pour garantir une utilisation correcte, lisez bience mode d ’ emploi avant d ’ utiliser cet appareil. Il est particulièrement important que vous lisiez etrespectiez les indications ATTENTION et PRÉ- CAUTION de ce mode d ’ emploi. Conservez...
Appareil central b 7 8 6 4 1 3 5 2 9 a c 1 SRC / OFF 2 MULTI-CONTROL ( M.C. ) 3 (liste) 4 DISP 5 Port USB 6 (téléphone) MVH-X360BT iPod MVH-160UI 7 BAND / (contrôle de l ’ iPod) 8 (retour)/ DIMMER (atténuateur de lumi- nosité) 9 c / d a 1 / à 6 / b Jack d ’ entrée AUX (jack stéréo 3,5 mm) c Touche d...
! Évitez de heurter la face avant. ! Conservez la face avant à l ’ abri des tempéra- tures élevées et de la lumière directe du so-leil. ! Pour éviter d ’ endommager le périphérique ou l ’ intérieur du véhicule, retirez tous les câ- bles et périphériques connectés à la faceavant, avant d ’ enlever ce...
Recherche d ’ une station RDS en utilisant le code PTY 1 Appuyez sur (liste). 2 Tournez M.C. pour sélectionner le type de pro- gramme. NEWS/INFO — POPULAR — CLASSICS — OTHERS 3 Appuyez sur M.C. pour lancer la recherche. Cet appareil recherche une station qui diffusece type de programme. Quand une st...
Retour au dossier racine 1 Appuyez sur BAND / de façon prolongée. Changement de périphérique de mémoire de lec-tureVous pouvez basculer entre les périphériques demémoire sur les périphériques de stockage USBayant plus d ’ un périphérique de mémoire compa- tible avec la norme Mass Storage Class pour ...
! L ’ iPod sera mis hors service environ deux mi- nutes après que le contact d ’ allumage est coupé. Opérations à l ’ aide de la touche MIXTRAX Mise en service ou hors service de MITRAX Seulement pour MVH-X360BT 1 Appuyez sur 3 / MIX pour mettre MIXTRAX en service ou hors service. ! Pour plus de dét...
Remarques ! La plage musicale/l ’ album sélectionné peut être annulé si vous utilisez d ’ autres fonctions que la fonction de recherche de liaison (re-tour rapide et avance rapide, par exemple). ! En fonction de la plage musicale sélection-née pour la lecture, la fin de la plage encours de lecture e...
3 Basculez la source sur APP. 4 Démarrez l ’ application sur l ’ iPhone et lancez la lecture. Procédure de démarrage pourles utilisateurs d ’ un smartphone Seulement pour MVH-X360BT 1 Connectez votre smartphone à cet appa- reil via la technologie sans fil Bluetooth. Pourles détails, reportez-vous à ...
2 Pour le rappel : Appuyez sur une des tou- ches de présélection (1/ à 6/ ). 3 Appuyez sur M.C. pour effectuer un appel. Changement de l ’ affichage Sélection des informations textuelles souhaitéesVous pouvez changer l ’ affichage pendant un appel téléphonique. 1 Appuyez sur DISP pour parcourir les ...
La fonction de visibilité Bluetooth peut être activéeafin que d ’ autres périphériques puissent détecter l ’ appareil. 1 Appuyez M.C. pour activer ou désactiver la visi- bilité de cet appareil. PIN CODE (saisie du code PIN) Vous devez entrer un code PIN sur votre périphé-rique pour confirmer la conn...
Remarque Vous ne pouvez pas sélectionner AUX à moinsque le réglage auxiliaire soit activé. Pour plus dedétails, reportez-vous à la page 34, AUX (entrée auxiliaire) . Changement de l ’ affichage Sélection des informations textuelles souhaitées 1 Appuyez sur DISP pour parcourir les options disponibles...
Pioneer Car Radios Manuals
-
Pioneer AVH-P3100DVD
Manual
-
Pioneer AVH-P3200BT
Manual
-
Pioneer AVH-P3300BT
Manual
-
Pioneer AVH-P4000DVD
Manual
-
Pioneer AVH-P4100DVD
Manual
-
Pioneer AVH-P5000DVD
Manual
-
Pioneer AVH-P5100DVD
Manual
-
Pioneer AVH-P5200BT
Manual
-
Pioneer AVH-P6000DVD
Manual
-
Pioneer AVH-P6500DVD
Manual
-
Pioneer AVH-P6800DVD
Manual
-
Pioneer AVH-P7500DVD
Manual
-
Pioneer AVH-P7800DVD
Manual
-
Pioneer AVH-X1500DVD
Manual
-
Pioneer AVH-X1800DVD
Manual
-
Pioneer AVH-X2500BT
Manual
-
Pioneer AVH-X2800BT
Manual
-
Pioneer AVH-X4800DVD
Manual
-
Pioneer AVH-X5800BT
Manual
-
Pioneer AVH-X7500BT
Manual