Pioneer MVH-1400UB - Manuals
Pioneer MVH-1400UB Car Radio – User Manual in PDF format online.
Manuals:
User Manual Pioneer MVH-1400UB
Summary
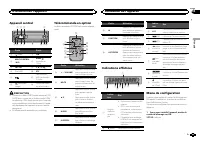
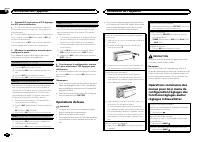
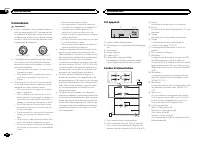
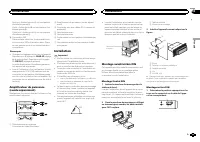
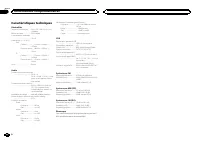
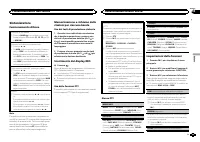
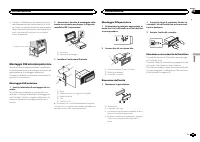
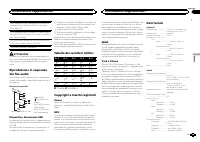
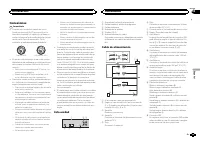
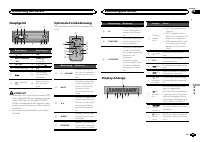
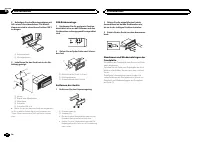
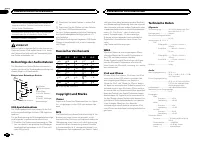
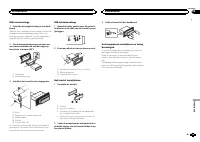
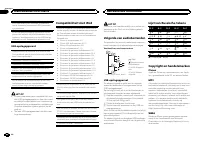
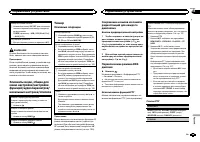
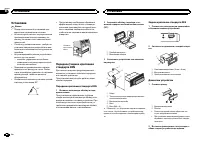
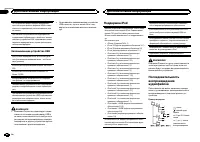
Thank you for purchasing this PIONEER product To ensure proper use, please read through thismanual before using this product. It is especiallyimportant that you read and observe WARN- ING s and CAUTION s in this manual. Please keep the manual in a safe and accessible place forfuture reference. If yo...
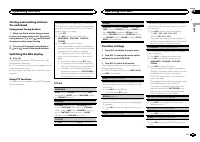
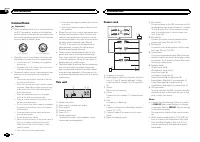
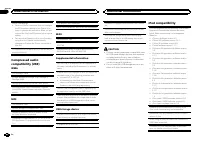
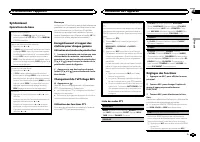
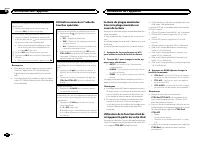
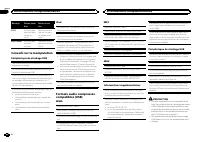
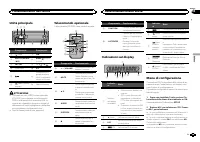
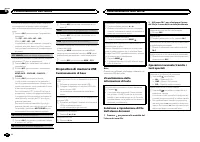
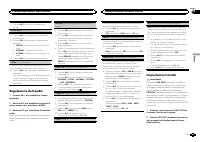
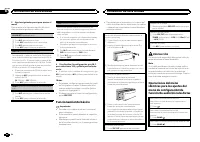
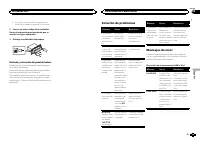
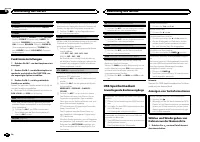
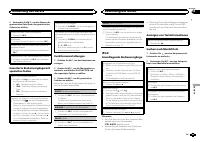
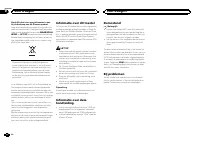
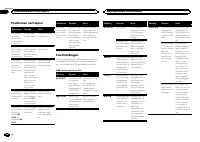
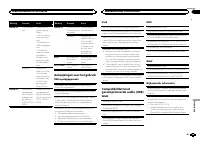
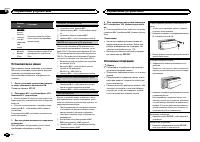
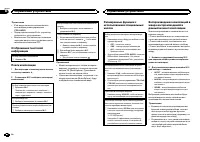
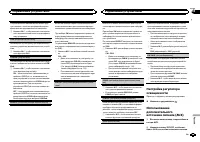
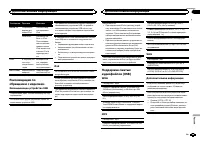
1 Turn M.C. to set the demo display to on or off. 2 Press M.C. to confirm the selection. TITLE (multi-language) This unit can display the text information of a com-pressed audio file even if they are embedded in aWestern European or Russian language. ! If the embedded language and the selectedlangua...
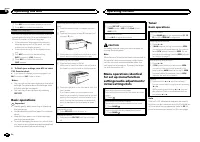
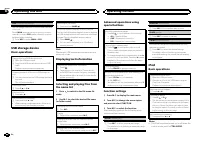
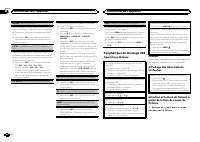
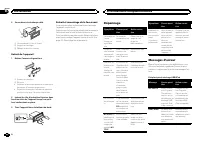
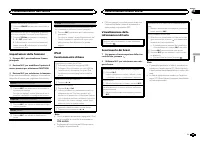
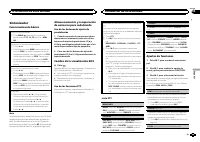
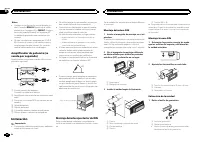
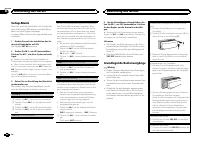
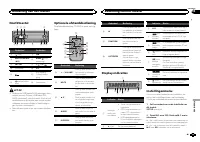
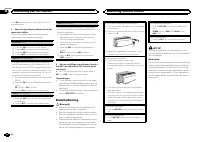
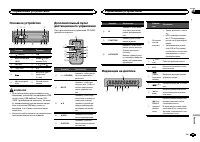
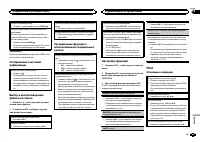
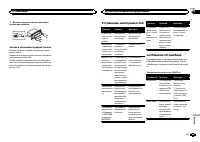
Storing and recalling stationsfor each band Using preset tuning buttons 1 When you find a station that you want to store in memory, press one of the presettuning buttons (1/ to 6/ ) and hold until the preset number stops flashing. 2 Press one of the preset tuning buttons (1/ to 6/ ) to select the de...
SEEK (left/right key setting) You can assign a function to the left and right keysof the unit.Select MAN (manual tuning) to tune up or down manually or select PCH (preset channel) to switch between preset channels. 1 Press M.C. to select MAN or PCH . USB storage device Basic operations Playing files...
! Disconnect headphones from the iPod be-fore connecting it to this unit. ! The iPod will turn off about two minutes afterthe ignition switch is set to OFF. Displaying text information Selecting the desired text information 1 Press . Browsing for a song 1 Press to switch to the top menu of list sear...
REPEAT (repeat play) 1 Press M.C. to select a repeat play range. For details, refer to Selecting a repeat play range on the previous page. SHUFFLE (shuffle) 1 Press M.C. to select your favorite setting. ! SNG – Play back songs in the selected list in random order. ! ALB – Play back songs from a rand...
CLOCK SET (setting the clock) 1 Press M.C. to display the setting mode. 2 Press M.C. to select the segment of the clock display you wish to set.Hour — Minute 3 Turn M.C. to adjust the clock. CLOCK (clock display) You can turn the clock display on or off.The clock display disappears temporarily wheny...
Connections Important ! When installing this unit in a vehicle withoutan ACC (accessory) position on the ignitionswitch, failure to connect the red cable to theterminal that detects operation of the ignitionkey may result in battery drain. O N S T A R T O F F ACC position No ACC position ! Use of th...
Power amp (sold separately) Perform these connections when using the op-tional amplifier. 1 1 3 2 4 5 5 3 2 6 7 7 1 System remote controlConnect to Blue/white cable. 2 Power amp (sold separately) 3 Connect with RCA cables (sold separately) 4 To Front output 5 Front speaker 6 To Rear ...
3 Pull the unit out of the dashboard. Removing and re-attaching the frontpanel You can remove the front panel to protect yourunit from theft.Press the detach button and push the frontpanel upward and pull it toward you.For details, refer to Removing the front panel to protect your unit from theft an...
Message Cause Action SKIPPED The connectedUSB storage de-vice containsfiles embeddedwith WindowsMedia ä DRM 9/ 10. Play an audio filenot embeddedwith WindowsMedia DRM 9/10. PROTECT All the files inthe USB storagedevice are em-bedded withWindows MediaDRM 9/10. Transfer audiofiles not em-bedded withWi...
About the file/format compatibility, refer to theiPod manuals. Audiobook, Podcast: Compatible CAUTION Pioneer accepts no responsibility for data loston the iPod, even if that data is lost while thisunit is used. Sequence of audio files The user cannot assign folder numbers andspecify playback sequen...
USB USB standard specification ................................... USB 2.0 full speed Maximum current supply ................................... 1 A USB Class ....................... MSC (Mass Storage Class)File system ....................... FAT12, FAT16, FAT32MP3 decoding format ...... MPEG-1 &...
Nous vous remercions d ’ avoir acheté cet ap- pareil PIONEER Pour garantir une utilisation correcte, lisez bience mode d ’ emploi avant d ’ utiliser cet appareil. Il est particulièrement important que vous lisiez etrespectiez les indications ATTENTION et PRÉ- CAUTION de ce mode d ’ emploi. Conser ve...
Syntoniseur Opérations de base Sélection d ’ une gamme 1 Appuyez sur BAND / jusqu ’ à ce que la gamme désirée ( F1 , F2 , F3 en FM ou MW/LW (PO/GO)) s ’ affiche. Rappel des fréquences en mémoire 1 Appuyez sur c ou d . ! Si MAN (accord manuel) est sélectionné dans le réglage SEEK , vous ne pouvez pas...
REGION (stations régionales) Quand la fonction AF est utilisée, la fonction de re-cherche des stations régionales limite la sélectionaux stations qui diffusent des programmes régio-naux. 1 Appuyez sur M.C. pour mettre la fonction de recherche des stations régionales en serviceou hors service. LOCAL ...
Lecture d ’ une plage musicale dans la catégorie sélectionnée 1 Quand une catégorie est sélectionnée, ap-puyez sur M.C. de façon prolongée. Recherche par ordre alphabétique dans la liste 1 Lorsque la liste de la catégorie sélectionnées ’ affiche, appuyez sur pour activer le mode de recherche par ord...
La fréquence de coupure et le niveau de sortiepeuvent être réglés lorsque la sortie haut-parleurd ’ extrêmes graves est activée. Seules les fréquences inférieures à celles de laplage sélectionnée sont produites par le haut-par-leur d ’ extrêmes graves. ! Quand vous sélectionnez OFF dans SUB.W , vous...
Les sorties RCA peuvent être utilisées pour laconnexion d ’ un haut-parleur arrière ou d ’ un haut- parleur d ’ extrêmes graves.. Si vous basculez sur SW , vous pouvez connecter une borne de haut-parleur arrière à un haut-par-leur d ’ extrêmes graves directement, sans utiliser un amplificateur auxil...
Vert/noir : Arrière gauche * ou haut-parleur d ’ extrêmes graves * Violet : Arrière droite + ou haut-parleur d ’ ex- trêmes graves + Violet/noir : Arrière droite * ou haut-parleur d ’ extrêmes graves * e Connecteur ISODans certains véhicules, il est possible quele connecteur ISO soit divisé en deux....
2 Serrez deux vis de chaque côté. 1 2 3 1 Vis taraudeuse (5 mm × 8 mm) 2 Support de montage 3 Tableau de bord ou console Retrait de l ’ appareil 1 Retirez l ’ anneau de garniture. 1 Anneau de garniture 2 Encoche ! Relâcher la face avant permet d ’ accéder plus facilement à l ’ anneau de garniture. !...
Message Causes possi-bles Action correc-tive STOP Aucune plagemusicale dansla liste encours. Sélectionnez uneliste qui contientles plages musi-cales. NOT FOUND Aucune plagemusicaleconnexe. Transférez les pla-ges musicales surl ’ iPod. Conseils sur la manipulation Périphérique de stockage USB Les con...
Caractéristiques techniques Généralités Tension d ’ alimentation ..... 14,4 V CC (10,8 V à 15,1 V ac- ceptable) Mise à la masse ............... Pôle négatifConsommation maximale ................................... 10,0 A Dimensions (L × H × P) : DIN Châssis .............. 178 mm × 50 mm × 165 mm Pan...
Grazie per aver acquistato questo prodotto PIONEER Leggere attentamente questo manuale prima diutilizzare il prodotto, per assicurarne il correttoutilizzo. È particolarmente importante leggere eosservare le precauzioni contrassegnate da AV- VERTENZA e ATTENZIONE in questo ma- nuale. Conser vare ques...
Unità principale a b c 8 6 5 1 2 3 4 9 7 Componente Componente 1 (lista) 7 c / d 2 MULTI-CONTROL ( M.C. ) 8 BAND / (control- lo iPod) 3 SRC / OFF 9 Da 1 / a 6 / 4 Porta USB a PTY 5 b Connettore di in-gresso ausiliario(AUX) (connettorestereo da 3,5 mm) 6 (tasto indietro/ display) c Tasto Rimozione AT...
3 Attenersi alle procedure descritte di se- guito per configurare il menu. Per passare all ’ opzione di menu successiva, oc- corre confermare la selezione. CLOCK SET (impostazione dell ’ orologio) 1 Ruotare M.C. per regolare le ore. 2 Premere M.C. per selezionare i minuti. 3 Ruotare M.C. per regolar...
Sintonizzatore Funzionamento di base Selezione di una banda 1 Premere BAND / fino a quando viene visua- lizzata la banda desiderata ( F1 , F2 , F3 per FM o MW/LW ). Richiamo delle stazioni preselezionate 1 Premere c o d . ! Se MAN (sintonizzazione manuale) è selezio- nato in SEEK , non è possibile r...
La ricerca di sintonia in modo locale consente disintonizzare solo le stazioni radio con segnaliradio sufficientemente potenti per una buona rice-zione. 1 Premere M.C. per selezionare l ’ impostazione desiderata.FM: OFF — LV1 — LV2 — LV3 — LV4 MW/LW: OFF — LV1 — LV2 L ’ impostazione di livello massi...
Messa in pausa della riproduzione 1 Premere 4 / PAUSE per attivare o disattivare la pausa. Miglioramento dell ’ audio compresso e ripristino del suono completo (funzione Sound Retriever) 1 Premere 3 / S.Rtrv per passare in rassegna: 1 — 2 — OFF (disattivata) 1 è efficace per le velocità di compressi...
Operazioni avanzate tramite itasti speciali Selezione di un intervallo di ripetizione 1 Premere 6 / per alternare: ! OFF – Ripetizione disattivata ! ONE – Ripete il brano corrente ! ALL – Ripete tutti i brani dell ’ elenco sele- zionato ! Non è possibile selezionare OFF se è selezio- nato CTRL AUDIO...
1 Premere M.C. per attivare o disattivare la pausa. AUDIO BOOK (velocità audiolibri) 1 Premere M.C. per visualizzare la modalità di impostazione. 2 Ruotare M.C. per selezionare l ’ impostazione preferita. ! FASTER – Riproduzione più veloce del nor- male ! NORMAL – Riproduzione normale ! SLOWER – Rip...
Questa unità 1 2 3 4 5 6 1 Ingresso cavo di alimentazione 2 Uscita posteriore o del subwoofer 3 Uscita anteriore 4 Ingresso antenna 5 Fusibile (10 A) 6 Ingresso remoto cablatoÈ possibile collegare un adattatore per tele-comando cablato (venduto a parte). Cavo di alimentazione 1 3 3 2 4 4 5 5 6 6 b 8...
! Durante l ’ installazione, per assicurare la cor- retta dissipazione del calore quando si utiliz-za l ’ unità, accertarsi di lasciare ampio spazio dietro il pannello posteriore e avvolgere even-tuali cavi allentati in modo che non ostrui-scano le aperture. 5cm cm Lasciare ampio spazio 5 cm 5 cm Mo...
Messaggio Causa Azione CHECK USB Il connettoreUSB o il cavoUSB è in corto-circuito. Verificare che ilconnettore USB oil cavo USB nonsia incastrato odanneggiato. Il dispositivo dimemoria USBcollegato con-suma più di500 mA (la po-tenza massimaconsentita). Scollegare il di-spositivo di me-moria USB e n...
Compatibilità audiocompresso (USB) WMA Estensione file: .wma Velocità in bit: da 48 kbps a 320 kbps (CBR), da 48kbps a 384 kbps (VBR) Frequenza di campionamento: 32 kHz, 44,1 kHz,48 kHz Compatibilità Windows Media Audio Professional,Lossless, Voice/DRM Stream/Stream con video:Non compatibile MP3 Est...
Se si utilizza un iPod, è necessario un cavo di col-legamento tra l ’ interfaccia USB e il connettore Dock dell ’ iPod. È inoltre disponibile in commercio il cavo di inter-faccia CD-IU51 di Pioneer. Consultare il rivenditoreper ulteriori dettagli. Per informazioni dettagliate sulla compatibilità dif...
Gracias por haber adquirido este producto PIONEER Lea con detenimiento este manual antes de utili-zar el producto por primera vez para que puedadarle el mejor uso posible. Es muy importanteque lea y cumpla con la información que apare-ce bajo los mensajes de ADVERTENCIA y PRECAUCIÓN en este manual. ...
3 Siga los siguientes pasos para ajustar el menú: Para avanzar a la siguiente opción del menúdebe confirmar primero su selección. CLOCK SET (ajuste del reloj) 1 Gire M.C. para ajustar la hora. 2 Pulse M.C. para seleccionar los minutos. 3 Gire M.C. para ajustar los minutos. 4 Pulse M.C. para confirma...
Pioneer Car Radios Manuals
-
Pioneer AVH-P3100DVD
Manual
-
Pioneer AVH-P3200BT
Manual
-
Pioneer AVH-P3300BT
Manual
-
Pioneer AVH-P4000DVD
Manual
-
Pioneer AVH-P4100DVD
Manual
-
Pioneer AVH-P5000DVD
Manual
-
Pioneer AVH-P5100DVD
Manual
-
Pioneer AVH-P5200BT
Manual
-
Pioneer AVH-P6000DVD
Manual
-
Pioneer AVH-P6500DVD
Manual
-
Pioneer AVH-P6800DVD
Manual
-
Pioneer AVH-P7500DVD
Manual
-
Pioneer AVH-P7800DVD
Manual
-
Pioneer AVH-X1500DVD
Manual
-
Pioneer AVH-X1800DVD
Manual
-
Pioneer AVH-X2500BT
Manual
-
Pioneer AVH-X2800BT
Manual
-
Pioneer AVH-X4800DVD
Manual
-
Pioneer AVH-X5800BT
Manual
-
Pioneer AVH-X7500BT
Manual