Philips MCM167 - Manuals
Philips MCM167 Sound System – User Manual, Manual in PDF format online.
Manuals:
User Manual Philips MCM167


Summary
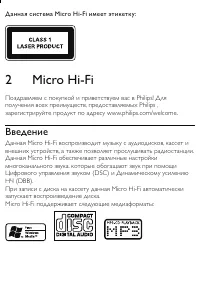
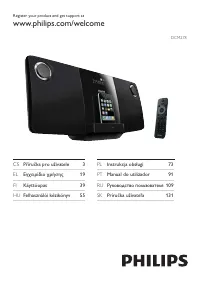
0 Micro Hi- Fi 9 : 2 Micro Hi-Fi Philips! ' ! , ! Philips , www.philips.com/welcome. ' Micro Hi-Fi , #! , % # &. ' Micro Hi-Fi , A/ (DSC) ' B (DBB). Micro Hi-Fi . Micro Hi-Fi % /: 0&0BB,)8B5XQBB&&5SGI
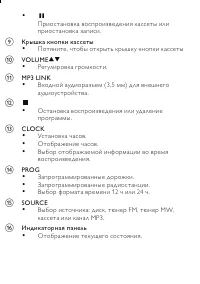
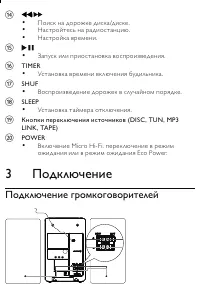
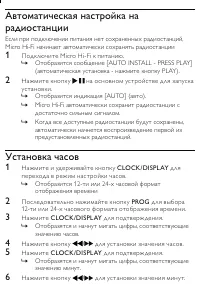
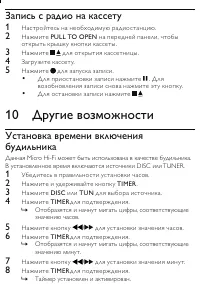
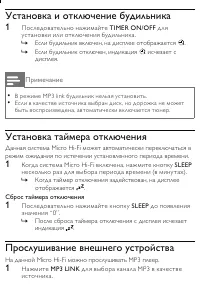
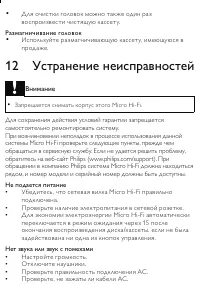
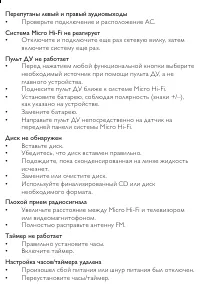
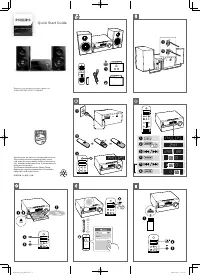
7 # 3 !! & , Micro Hi-Fi ! & 1 Micro Hi-Fi . I [AUTO INSTALL - PRESS PLAY] » ( - % PLAY). 2 % . I & [AUTO] (). » Micro Hi-Fi ! & » . q & !, » ! & . % # 1 % % CLOCK /DISPL AY ! % . I 12- 24-! / » % 2 % PROG 12- 24 -! / % . 3 % CLOCK /DISPL AY % . I &/, » . 4 % / . 5 % CLOC...
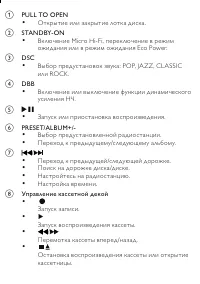
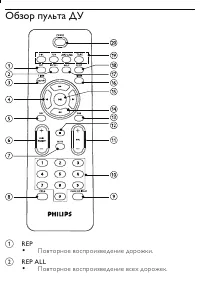
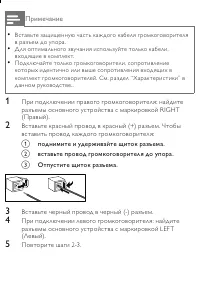
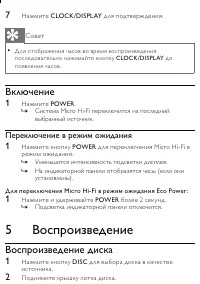
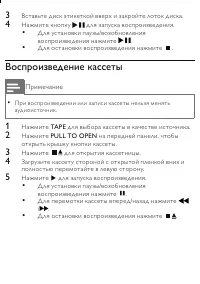
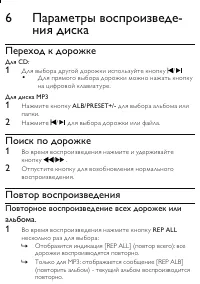
6 - - -$ 0 CD: 1 ' % / ' % % % • &/ . 0 MP3 1 % ALB/PRESET+/- . 2 % / % / . - 1 % % / . 2 I . - - $ . 1 % REP ALL : I & [REP ALL] ( ): » % . v MP3: % [REP ALB] » ( ) - . 0&0BB,)8B5XQBB&&5SGI
Manual Philips MCM167


Summary
English 1 Important Safety a Read these instructions. b Keep these instructions. c Heed all warnings. d Follow all instructions. e Do not use this apparatus near water. f Clean only with dry cloth. g Do not block any ventilation openings. Install in accordance with the manufacturer’s instructions. h...
Warning Never remove the casing of this Micro Hi-Fi. • Never lubricate any par t of this Micro Hi-Fi. • Never place this Micro Hi-Fi on other electrical equipment. • Keep this Micro Hi-Fi away from direct sunlight, naked flames or heat. • Never look into the laser beam inside the Micro Hi-Fi. • Ensu...
Listen for reasonable periods of time: Prolonged exposure to sound, even at normally ‘safe’ levels, • can also cause hearing loss. Be sure to use your equipment reasonably and take • appropriate breaks. Be sure to observe the following guidelines when using your headphones. Listen at reasonable volu...
Philips Sound Systems Manuals
-
 Philips AZD208
Manual
Philips AZD208
Manual
-
 Philips BTB2570
User Manual
Philips BTB2570
User Manual
-
 Philips BTM177
User Manual
Philips BTM177
User Manual
-
Philips BTM177
Manual
-
 Philips BTM2310/12
User Manual
Philips BTM2310/12
User Manual
-
Philips BTM2310/12
Quick Guide
-
 Philips DCM2260
Manual
Philips DCM2260
Manual
-
 Philips DCM278
Manual
Philips DCM278
Manual
-
 Philips DCM3020
Manual
Philips DCM3020
Manual
-
 Philips FW-C10
User Manual
Philips FW-C10
User Manual
-
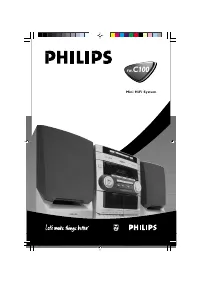 Philips FW-C100
User Manual
Philips FW-C100
User Manual
-
Philips FW-C100
Manual
-
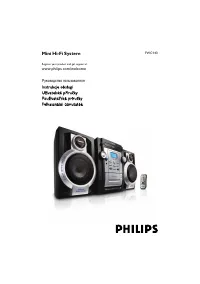 Philips FWC143
User Manual
Philips FWC143
User Manual
-
Philips FWC143
Manual
-
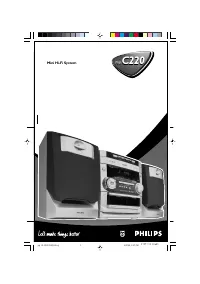 Philips FW-C220
User Manual
Philips FW-C220
User Manual
-
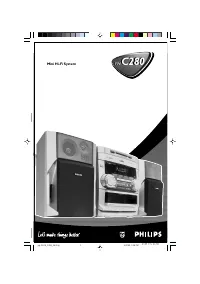 Philips FW-C280
User Manual
Philips FW-C280
User Manual
-
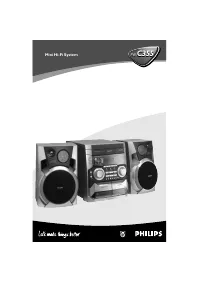 Philips FW-C355
Manual
Philips FW-C355
Manual
-
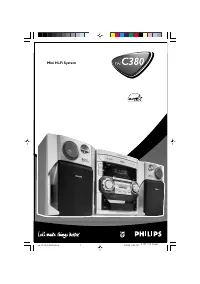 Philips FW-C380
User Manual
Philips FW-C380
User Manual
-
Philips FW-C380
Manual
-
 Philips FW-C390
Manual
Philips FW-C390
Manual