Philips MCD709 - Manuals
Philips MCD709 Sound System – User Manual, Manual in PDF format online.
Manuals:
User Manual Philips MCD709


Manual Philips MCD709


Summary
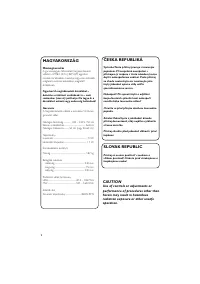
2 Important notes for users in theU.K. Mains plug This apparatus is fitted with an approved 13Amp plug. To change a fuse in this type of plugproceed as follows: 1 Remove fuse cover and fuse. 2 Fix new fuse which should be a BS1362 5 Amp,A.S.T.A. or BSI approved type. 3 Refit the fuse cover. If the f...
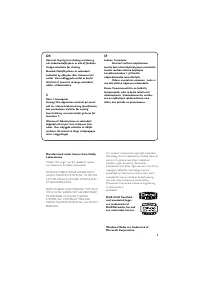
3 DK Advarsel: Usynlig laserstråling ved åbningnår sikkerhedsafbrydere er ude af funktion.Undgå utsættelse for stråling. Bemærk: Netafbryderen er sekundærtindkoblet og ofbryder ikke strømmen franettet. Den indbyggede netdel er derfortilsluttet til lysnettet så længe netstikketsidder i stikkontakten....
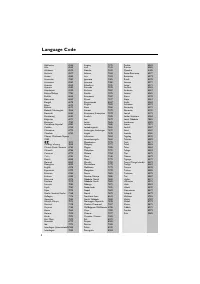
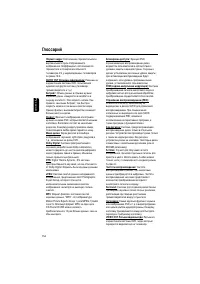
4 Abkhazian 6566 Afar 6565 Afrikaans 6570 Amharic 6577 Arabic 6582 Armenian 7289 Assamese 6583 Avestan 6569 Aymara 6589 Azerhaijani 6590 Bahasa Melayu 7783 Bashkir 6665 Belarusian 6669 Bengali 6678 Bihari 6672 Bislama 6673 Bokmål, Norwegian 7866 Bosanski 6683 Brezhoneg 6682 Bulgarian 6671 Burmese 77...
Philips Sound Systems Manuals
-
 Philips AZD208
Manual
Philips AZD208
Manual
-
 Philips BTB2570
User Manual
Philips BTB2570
User Manual
-
 Philips BTM177
User Manual
Philips BTM177
User Manual
-
Philips BTM177
Manual
-
 Philips BTM2310/12
User Manual
Philips BTM2310/12
User Manual
-
Philips BTM2310/12
Quick Guide
-
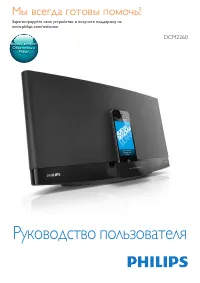 Philips DCM2260
Manual
Philips DCM2260
Manual
-
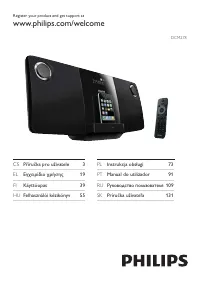 Philips DCM278
Manual
Philips DCM278
Manual
-
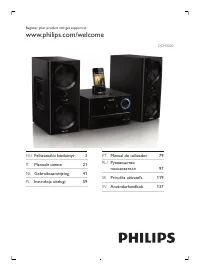 Philips DCM3020
Manual
Philips DCM3020
Manual
-
 Philips FW-C10
User Manual
Philips FW-C10
User Manual
-
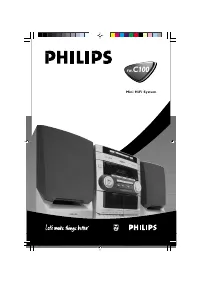 Philips FW-C100
User Manual
Philips FW-C100
User Manual
-
Philips FW-C100
Manual
-
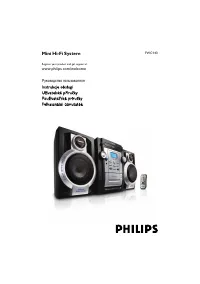 Philips FWC143
User Manual
Philips FWC143
User Manual
-
Philips FWC143
Manual
-
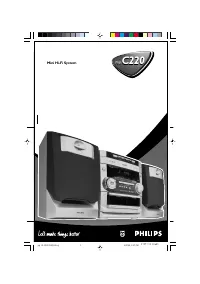 Philips FW-C220
User Manual
Philips FW-C220
User Manual
-
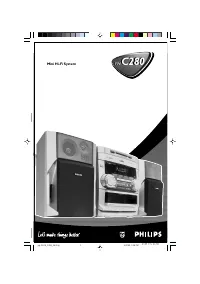 Philips FW-C280
User Manual
Philips FW-C280
User Manual
-
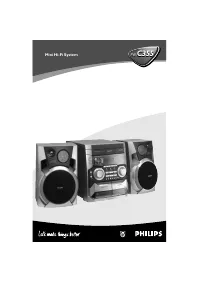 Philips FW-C355
Manual
Philips FW-C355
Manual
-
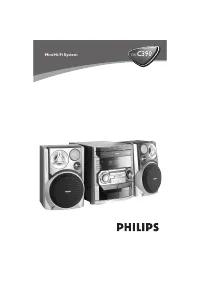
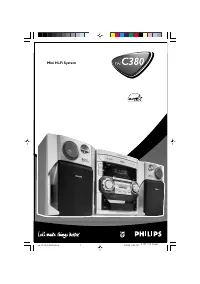 Philips FW-C380
User Manual
Philips FW-C380
User Manual
-
Philips FW-C380
Manual
-
 Philips FW-C390
Manual
Philips FW-C390
Manual