Philips MCD289 - Manuals
Philips MCD289 Sound System – Manual in PDF format online.
Manuals:
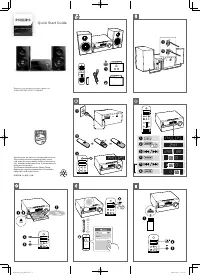
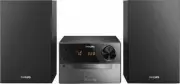
Manual Philips MCD289


Summary
2 Important notes for users in theU.K. Mains plug This apparatus is fitted with an approved 13Amp plug. To change a fuse in this type of plugproceed as follows: 1 Remove fuse cover and fuse. 2 Fix new fuse which should be a BS1362 3 Amp,A.S.T.A. or BSI approved type . 3 Refit the fuse cover. If the ...
5 DK Advarsel: Usynlig laserstråling ved åbningnår sikkerhedsafbrydere er ude af funktion.Undgå utsættelse for stråling. Bemærk: Netafbr yderen er sekundærtindkoblet og ofbr yder ikke strømmen franettet. Den indbyggede netdel er derfortilsluttet til lysnettet så længe netstikketsidder i stikkontakte...
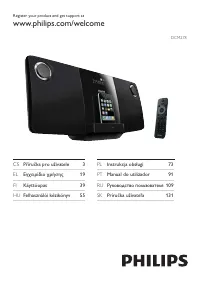
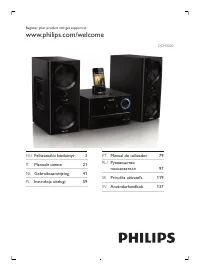
7 English F rançais Español Deutsch Nederlands Italiano Sv enska Dansk Index English ------------------------------------------------ 8 Français -------------------------------------------- 32 Español --------------------------------------------- 57 Deutsch ------------------------------------------...
Philips Sound Systems Manuals
-
 Philips AZD208
Manual
Philips AZD208
Manual
-
 Philips BTB2570
User Manual
Philips BTB2570
User Manual
-
 Philips BTM177
User Manual
Philips BTM177
User Manual
-
Philips BTM177
Manual
-
 Philips BTM2310/12
User Manual
Philips BTM2310/12
User Manual
-
Philips BTM2310/12
Quick Guide
-
 Philips DCM2260
Manual
Philips DCM2260
Manual
-
 Philips DCM278
Manual
Philips DCM278
Manual
-
 Philips DCM3020
Manual
Philips DCM3020
Manual
-
 Philips FW-C10
User Manual
Philips FW-C10
User Manual
-
 Philips FW-C100
User Manual
Philips FW-C100
User Manual
-
Philips FW-C100
Manual
-
 Philips FWC143
User Manual
Philips FWC143
User Manual
-
Philips FWC143
Manual
-
 Philips FW-C220
User Manual
Philips FW-C220
User Manual
-
 Philips FW-C280
User Manual
Philips FW-C280
User Manual
-
 Philips FW-C355
Manual
Philips FW-C355
Manual
-
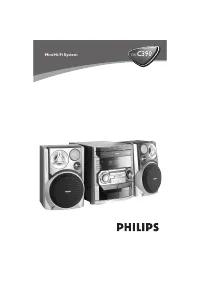
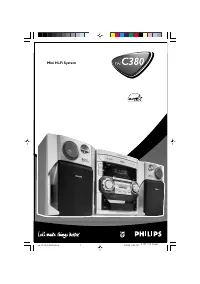 Philips FW-C380
User Manual
Philips FW-C380
User Manual
-
Philips FW-C380
Manual
-
 Philips FW-C390
Manual
Philips FW-C390
Manual