Philips MCD107 - Manuals
Philips MCD107 Sound System – Manual in PDF format online.
Manuals:
Manual Philips MCD107


Summary
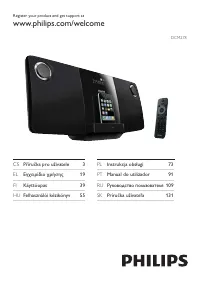
3 English EN 7 Adjust sound 19 Adjust volume level 19 Select a preset sound effect 19 Enhance bass 19 Mute sound 19 8 Adjust settings 19 System settings 19 Playback settings 20 Video settings 21 Audio settings 22 9 Other features 23 Set the alarm timer 23 Set the sleep timer 23 Listen to an external...
4 g Do not block any ventilation openings. Install in accordance with the manufacturer’s instructions. h Do not install near any heat sources such as radiators, heat registers, stoves, RURWKHUDSSDUDWXVLQFOXGLQJDPSOLÀHUV that produce heat . i Protect the power cord from being walked on or pinched, pa...
5 Hearing safety Listen at a moderate volume. Using headphones at a high volume can impair your hearing. This product can produce sounds in decibel ranges that may cause hearing loss for a normal person, even for exposure less than a minute. The higher decibel ranges are offered for those that may...
Philips Sound Systems Manuals
-
 Philips AZD208
Manual
Philips AZD208
Manual
-
 Philips BTB2570
User Manual
Philips BTB2570
User Manual
-
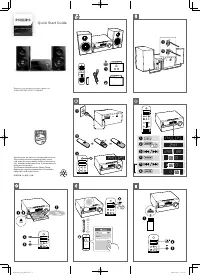
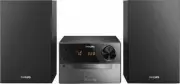
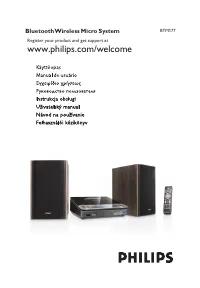 Philips BTM177
User Manual
Philips BTM177
User Manual
-
Philips BTM177
Manual
-
 Philips BTM2310/12
User Manual
Philips BTM2310/12
User Manual
-
Philips BTM2310/12
Quick Guide
-
 Philips DCM2260
Manual
Philips DCM2260
Manual
-
 Philips DCM278
Manual
Philips DCM278
Manual
-
 Philips DCM3020
Manual
Philips DCM3020
Manual
-
 Philips FW-C10
User Manual
Philips FW-C10
User Manual
-
 Philips FW-C100
User Manual
Philips FW-C100
User Manual
-
Philips FW-C100
Manual
-
 Philips FWC143
User Manual
Philips FWC143
User Manual
-
Philips FWC143
Manual
-
 Philips FW-C220
User Manual
Philips FW-C220
User Manual
-
 Philips FW-C280
User Manual
Philips FW-C280
User Manual
-
 Philips FW-C355
Manual
Philips FW-C355
Manual
-
 Philips FW-C380
User Manual
Philips FW-C380
User Manual
-
Philips FW-C380
Manual
-
 Philips FW-C390
Manual
Philips FW-C390
Manual