Philips FW-D596 - Manuals
Philips FW-D596 Sound System – Manual in PDF format online.
Manuals:
Manual Philips FW-D596
1

2

3

4

5

6

7

8

9

10

11

12

13

14

15

16

17

18

19

20

21

22

23

24

25

26

27

28

29

30

31

32

33

34

35

36

37

38

39

40

41

42

43

44

45

46

47

48

Summary
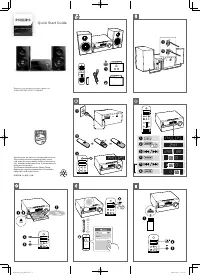
Page 4 - -for tuner installation
Page 5 - English; rançais; Español; Index; CAUTION
5 MC-V320/21-1 English F rançais Español Index CAUTION Use of controls or adjustment orperformance of procedures otherthan herein may result in hazardousradiation exposure or other unsafeoperation. English ------------------------------------------------ 6 Français ----------------------------------...
Page 6 - Contents
6 English Contents General Information/Maintenance Features .................................................................. 8Discs for playback ................................................ 8 Region codes Supplied accessories ............................................ 8Environmental informat...
Philips Sound Systems Manuals
-
 Philips AZD208
Manual
Philips AZD208
Manual
-
 Philips BTB2570
User Manual
Philips BTB2570
User Manual
-
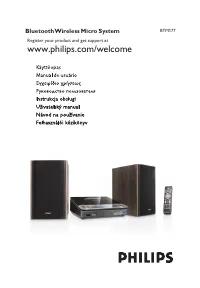 Philips BTM177
User Manual
Philips BTM177
User Manual
-
Philips BTM177
Manual
-
 Philips BTM2310/12
User Manual
Philips BTM2310/12
User Manual
-
Philips BTM2310/12
Quick Guide
-
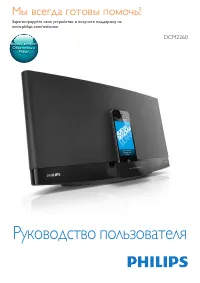 Philips DCM2260
Manual
Philips DCM2260
Manual
-
 Philips DCM278
Manual
Philips DCM278
Manual
-
 Philips DCM3020
Manual
Philips DCM3020
Manual
-
 Philips FW-C10
User Manual
Philips FW-C10
User Manual
-
 Philips FW-C100
User Manual
Philips FW-C100
User Manual
-
Philips FW-C100
Manual
-
 Philips FWC143
User Manual
Philips FWC143
User Manual
-
Philips FWC143
Manual
-
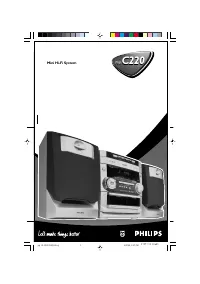 Philips FW-C220
User Manual
Philips FW-C220
User Manual
-
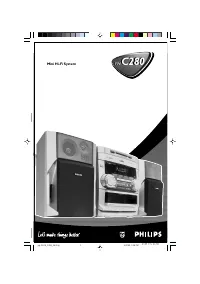 Philips FW-C280
User Manual
Philips FW-C280
User Manual
-
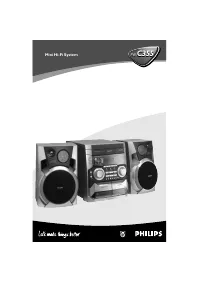 Philips FW-C355
Manual
Philips FW-C355
Manual
-
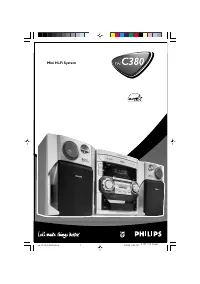 Philips FW-C380
User Manual
Philips FW-C380
User Manual
-
Philips FW-C380
Manual
-
 Philips FW-C390
Manual
Philips FW-C390
Manual