Panasonic SC-HC295GN-K - Manuals
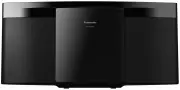
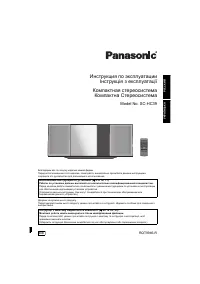
User Manual Panasonic SC-HC295GN-K


Summary
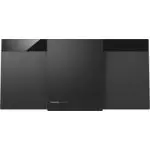
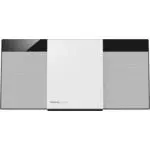
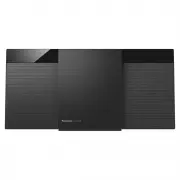
2 RQ T0 B 01 These operating instructions are applicable for models SC-HC297 and SC-HC295.Unless otherwise indicated, illustrations in these operating instructions are of SC-HC297. Your system and the illustrations can look differently. Bottom of product Table of contents Safety precautions . . . . ...
3 RQ T0 B 01 Caution for AC mains lead (For the AC mains plug of three pins) For your safety, please read the following text carefully. This appliance is supplied with a moulded three pin mains plug for your safety and convenience.A 5-ampere fuse is fitted in this plug.Should the fuse need to be rep...
4 RQ T0 B 01 Making the connections Connect the AC mains lead only after all the other connections have been made. 1 For the United Kingdom and Ireland Connect the DAB antenna. Be sure to tighten fully the nut. Do not use any other DAB antenna except the supplied one. For others Connect the FM indoo...
Panasonic Sound Systems Manuals
-
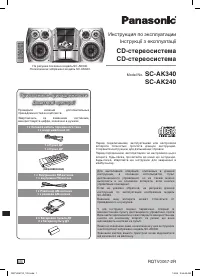 Panasonic SC-AK340
Manual
Panasonic SC-AK340
Manual
-
 Panasonic SC-AKX320E-K
User Manual
Panasonic SC-AKX320E-K
User Manual
-
 Panasonic SC-AKX320GSK
User Manual
Panasonic SC-AKX320GSK
User Manual
-
 Panasonic SC-BMAX3GN-K
User Manual
Panasonic SC-BMAX3GN-K
User Manual
-
 Panasonic SC-HC300EG-K
User Manual
Panasonic SC-HC300EG-K
User Manual
-
 Panasonic SC-HC300EG-W
User Manual
Panasonic SC-HC300EG-W
User Manual
-
 Panasonic SC-HC302GN-K
User Manual
Panasonic SC-HC302GN-K
User Manual
-
 Panasonic SC-HC39
User Manual
Panasonic SC-HC39
User Manual
-
Panasonic SC-HC39
Manual
-
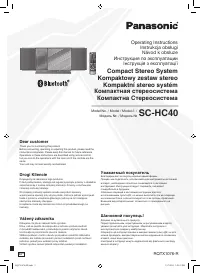 Panasonic SC-HC40
Manual
Panasonic SC-HC40
Manual
-
 Panasonic SC-MAX9000GN
User Manual
Panasonic SC-MAX9000GN
User Manual
-
 Panasonic SC-PM86D
Manual
Panasonic SC-PM86D
Manual
-
 Panasonic SC-PMX5
Manual
Panasonic SC-PMX5
Manual
-
 Panasonic SC-VK760
Manual
Panasonic SC-VK760
Manual
-
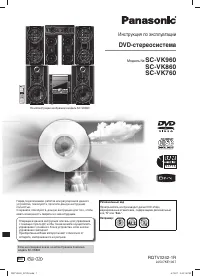 Panasonic SC-VK960
Manual
Panasonic SC-VK960
Manual
-
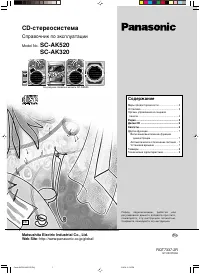 Panasonic SC-AK520
Manual
Panasonic SC-AK520
Manual
-
 Panasonic SC-VK660
Manual
Panasonic SC-VK660
Manual
-
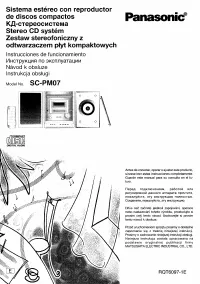 Panasonic SC-PM07
Manual
Panasonic SC-PM07
Manual
-
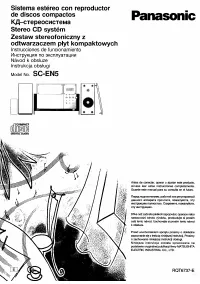 Panasonic SC-EN5
Manual
Panasonic SC-EN5
Manual