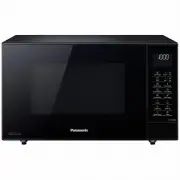
Panasonic NN-ST64JWQPQ - Manuals
User Manual Panasonic NN-ST64JWQPQ


Summary
– 3 – Table of Contents Before Operation Important Safety Instructions .......................................................................................................6-7 Installation and General Instructions .......................................................................................
– 4 – Quick Guide to Operation Feature How to Operate To Set Clock ( page 14) Press twice. Press once. Set time of day. (Max 12:59) To Set/Cancel Child Safety Lock ( page 14) To set Press 3 times. Display. or To cancel Press 3 times. Display. To Cook/Defrost by on Micro Power by Time Setting ( page ...
– 6 – Important Safety Instructions READ CAREFULLY AND KEEP FOR FUTURE REFERENCE Precautions To Be Taken When Using Microwave Ovens For Heating Foodstuffs INSPECTION FOR DAMAGE: A microwave oven should only be used if an inspection con fi rms all of the following conditions: 1. The door fi ts square...
Panasonic Microwaves Manuals
-
 Panasonic NE-1054F
User Manual
Panasonic NE-1054F
User Manual
-
Panasonic NE-1054F
Manual
-
 Panasonic NN-CD58JSQPQ
User Manual
Panasonic NN-CD58JSQPQ
User Manual
-
 Panasonic NN-CD87KS
User Manual
Panasonic NN-CD87KS
User Manual
-
Panasonic NN-CD87KS
Manual
-
 Panasonic NN-CD87KSQPQ
User Manual
Panasonic NN-CD87KSQPQ
User Manual
-
 Panasonic NNCD997S
User Manual
Panasonic NNCD997S
User Manual
-
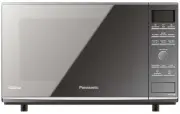 Panasonic NNCF770M
User Manual
Panasonic NNCF770M
User Manual
-
 Panasonic NN-CF770M
User Manual
Panasonic NN-CF770M
User Manual
-
 Panasonic NN-CF874BQPQ
User Manual
Panasonic NN-CF874BQPQ
User Manual
-
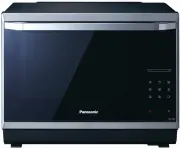
 Panasonic NN-CS894SQPQ
User Manual
Panasonic NN-CS894SQPQ
User Manual
-
 Panasonic NN-CS89LBQPQ
User Manual
Panasonic NN-CS89LBQPQ
User Manual
-
 Panasonic NN-CT56MBQPQ
User Manual
Panasonic NN-CT56MBQPQ
User Manual
-
 Panasonic NNDS592B
User Manual
Panasonic NNDS592B
User Manual
-
 Panasonic NN-DS596BQPQ
User Manual
Panasonic NN-DS596BQPQ
User Manual
-
 Panasonic NN-DS59NBQPQ
User Manual
Panasonic NN-DS59NBQPQ
User Manual
-
 Panasonic NNGD682S
User Manual
Panasonic NNGD682S
User Manual
-
 Panasonic NN-GM230
User Manual
Panasonic NN-GM230
User Manual
-
 Panasonic NN-GM231W
User Manual
Panasonic NN-GM231W
User Manual
-
 Panasonic NN-GM342W
User Manual
Panasonic NN-GM342W
User Manual