Panasonic NN-ST25JWQPQ - Manuals
User Manual Panasonic NN-ST25JWQPQ


Summary
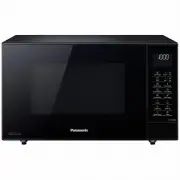
1 Thank you for purchasing a Panasonic appliance. Important Safety Instructions: Before operating this oven, please read these instructions and precautions carefully and keep for future reference. Contents Important safety instructions........................................... 2General guidelines.....
2 WARNING 1. The door seals and seal areas should be cleaned with a damp cloth. The appliance should be inspected for damage to the door seals and door seal areas and if these areas are damaged the appliance should not be operated until it has been repaired by a service technician trained by the man...
3 9. The appliance shall not be operated WITHOUT FOOD IN THE OVEN. Operation in this manner may damage the appliance. 10. If smoke or a fire occurs in the oven, press Stop/Reset, and leave the door closed in order to stifle any flames. Disconnect the power cord, or shut off the power at the fuse or ...
Panasonic Microwaves Manuals
-
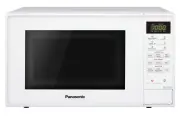
 Panasonic NE-1054F
User Manual
Panasonic NE-1054F
User Manual
-
Panasonic NE-1054F
Manual
-
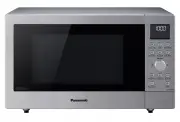 Panasonic NN-CD58JSQPQ
User Manual
Panasonic NN-CD58JSQPQ
User Manual
-
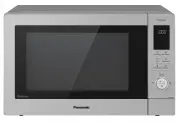
 Panasonic NN-CD87KS
User Manual
Panasonic NN-CD87KS
User Manual
-
Panasonic NN-CD87KS
Manual
-
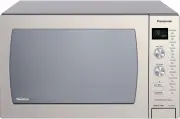
 Panasonic NN-CD87KSQPQ
User Manual
Panasonic NN-CD87KSQPQ
User Manual
-
 Panasonic NNCD997S
User Manual
Panasonic NNCD997S
User Manual
-
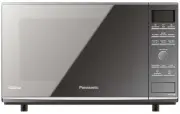 Panasonic NNCF770M
User Manual
Panasonic NNCF770M
User Manual
-
 Panasonic NN-CF770M
User Manual
Panasonic NN-CF770M
User Manual
-
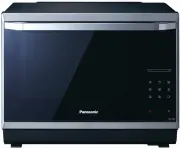 Panasonic NN-CF874BQPQ
User Manual
Panasonic NN-CF874BQPQ
User Manual
-
 Panasonic NN-CS894SQPQ
User Manual
Panasonic NN-CS894SQPQ
User Manual
-
 Panasonic NN-CS89LBQPQ
User Manual
Panasonic NN-CS89LBQPQ
User Manual
-
 Panasonic NN-CT56MBQPQ
User Manual
Panasonic NN-CT56MBQPQ
User Manual
-
 Panasonic NNDS592B
User Manual
Panasonic NNDS592B
User Manual
-
 Panasonic NN-DS596BQPQ
User Manual
Panasonic NN-DS596BQPQ
User Manual
-
 Panasonic NN-DS59NBQPQ
User Manual
Panasonic NN-DS59NBQPQ
User Manual
-
 Panasonic NNGD682S
User Manual
Panasonic NNGD682S
User Manual
-
 Panasonic NN-GM230
User Manual
Panasonic NN-GM230
User Manual
-
 Panasonic NN-GM231W
User Manual
Panasonic NN-GM231W
User Manual
-
 Panasonic NN-GM342W
User Manual
Panasonic NN-GM342W
User Manual