Panasonic CQ-RX200W - Manuals
Panasonic CQ-RX200W Car Radio – Manual in PDF format online.
Manuals:
Manual Panasonic CQ-RX200W


Summary
- 2 - Safety Information Q Read the operating instructions for the unit and all other components of your car audio system carefully before using the system. They contain instructions about how to use the system in a safe and effective manner. Panasonic assumes no responsibility for any problems resu...
- 4 - Expansion Module (Hub Unit) \CQ-RX300W\ \CQ-RX200W\ Connection of the Expansion Module (hub unit, CY-EM100N) allows users to connect up to 4 optional devices shown below. Wide Array of Components for System Upgrade \CQ-RX300W\ \CQ-RX200W\ Various optional components allow users to obtain avail...
- 5 - Before Reading These Instructions Panasonic welcomes you to our constantly growing family of electronic products owners.We endeavor to give you the advantages of precise electronic and mechanical engineering, manufactured with carefully selected components, and assembled by people who are prou...
Panasonic Car Radios Manuals
-
 Panasonic CQ-C3353W
User Manual
Panasonic CQ-C3353W
User Manual
-
 Panasonic CQ-C3453W
User Manual
Panasonic CQ-C3453W
User Manual
-
 Panasonic CQ-C5153W
User Manual
Panasonic CQ-C5153W
User Manual
-
 Panasonic CQ-C5302W
User Manual
Panasonic CQ-C5302W
User Manual
-
Panasonic CQ-C5302W
Manual
-
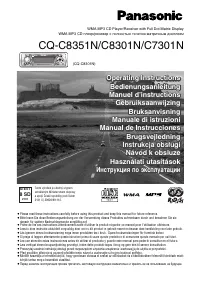
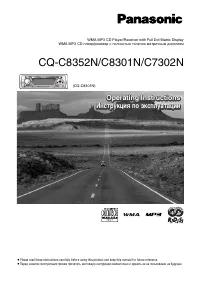
 Panasonic CQ-C7302N
User Manual
Panasonic CQ-C7302N
User Manual
-
Panasonic CQ-C7302N
Manual
-
 Panasonic CQ-C7353N
User Manual
Panasonic CQ-C7353N
User Manual
-
 Panasonic CQ-C7405W
User Manual
Panasonic CQ-C7405W
User Manual
-
Panasonic CQ-C7405W
Manual
-
 Panasonic CQ-C8301N
Manual
Panasonic CQ-C8301N
Manual
-
 Panasonic CQ-C8352N
User Manual
Panasonic CQ-C8352N
User Manual
-
Panasonic CQ-C8352N
Manual
-
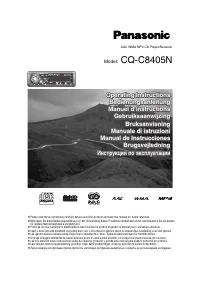 Panasonic CQ-C8405N
User Manual
Panasonic CQ-C8405N
User Manual
-
Panasonic CQ-C8405N
Manual
-
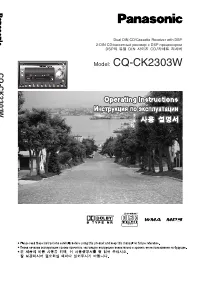 Panasonic CQ-CK2303W
User Manual
Panasonic CQ-CK2303W
User Manual
-
 Panasonic CQ-D1703N
User Manual
Panasonic CQ-D1703N
User Manual
-
Panasonic CQ-D1703N
Manual
-
 Panasonic CQ-DFX572N
Manual
Panasonic CQ-DFX572N
Manual
-
 Panasonic CQ-DP153W
User Manual
Panasonic CQ-DP153W
User Manual