Panasonic CQ-DP151 - Manuals
Panasonic CQ-DP151 Car Radio – Manual in PDF format online.
Manuals:
Manual Panasonic CQ-DP151


Summary
CH I N ESE CQ-DP151/DP101W 15 E N G L I S H CQ-DP151/DP101W 14 Panasonic welcomes you to our ever growing family of electronic product owners. We know that this prod-uct will bring you many hours of enjoyment. Our reputation is built on precise electronic and mechanicalengineering, manufactured with...
E N G L I S H 2 CQ-DP151/DP101W 19 Power and Sound Controls E N G L I S H 1 CQ-DP151/DP101W 18 Remote Control Unit Preparation Battery Installation 1 Remove the battery holder.Pull the holder by the position B while pushing posi-tion A in the direction indicated by the arrow. 2 Install the battery o...
E N G L I S H 4 CQ-DP151/DP101W 21 Clock Basics E N G L I S H 3 CQ-DP151/DP101W 20 Power and Sound Controls (Continued) < VOL SEL BAND TUNE MUTE M/L 1 2 3 4 5 6 7 12 SOURCE REP CQ-DP151W CD RECEIVER 45W X 4 LOUD RANDOM PWR 8 11 9 10 TRACK DISP MONO/LOC REMOTE SCAN/APM Audio Mode (Bass/Treble/Bala...
Panasonic Car Radios Manuals
-
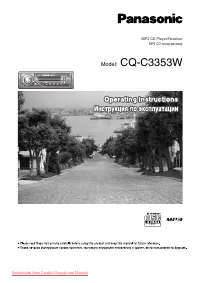 Panasonic CQ-C3353W
User Manual
Panasonic CQ-C3353W
User Manual
-
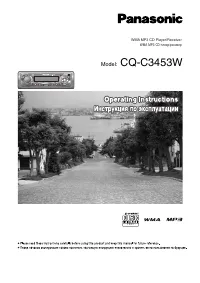 Panasonic CQ-C3453W
User Manual
Panasonic CQ-C3453W
User Manual
-
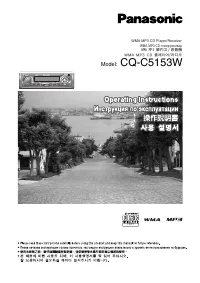 Panasonic CQ-C5153W
User Manual
Panasonic CQ-C5153W
User Manual
-
 Panasonic CQ-C5302W
User Manual
Panasonic CQ-C5302W
User Manual
-
Panasonic CQ-C5302W
Manual
-
 Panasonic CQ-C7302N
User Manual
Panasonic CQ-C7302N
User Manual
-
Panasonic CQ-C7302N
Manual
-
 Panasonic CQ-C7353N
User Manual
Panasonic CQ-C7353N
User Manual
-
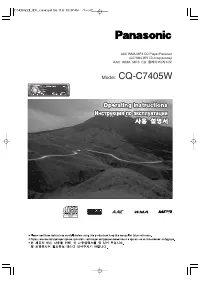 Panasonic CQ-C7405W
User Manual
Panasonic CQ-C7405W
User Manual
-
Panasonic CQ-C7405W
Manual
-
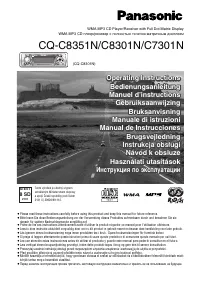 Panasonic CQ-C8301N
Manual
Panasonic CQ-C8301N
Manual
-
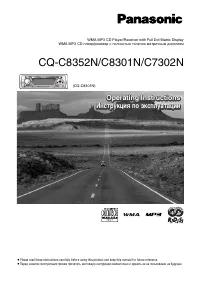 Panasonic CQ-C8352N
User Manual
Panasonic CQ-C8352N
User Manual
-
Panasonic CQ-C8352N
Manual
-
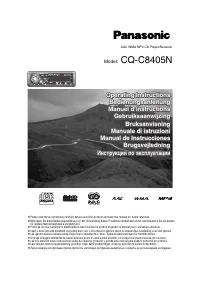 Panasonic CQ-C8405N
User Manual
Panasonic CQ-C8405N
User Manual
-
Panasonic CQ-C8405N
Manual
-
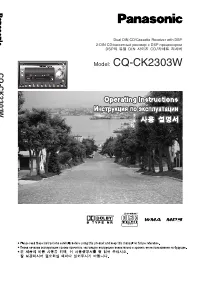 Panasonic CQ-CK2303W
User Manual
Panasonic CQ-CK2303W
User Manual
-
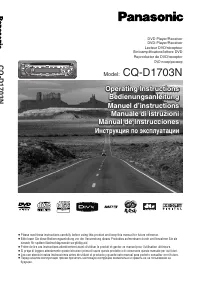 Panasonic CQ-D1703N
User Manual
Panasonic CQ-D1703N
User Manual
-
Panasonic CQ-D1703N
Manual
-
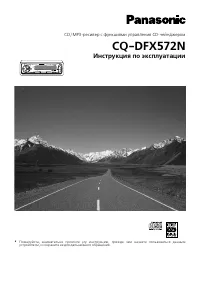 Panasonic CQ-DFX572N
Manual
Panasonic CQ-DFX572N
Manual
-
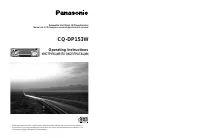 Panasonic CQ-DP153W
User Manual
Panasonic CQ-DP153W
User Manual