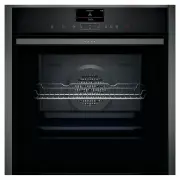
Neff U2ACH7CG0A - Manuals

User Manual Neff U2ACH7CG0A


Summary
en Safety 2 Table of contents USER MANUAL 1 Safety .................................................................... 2 2 Preventing material damage ............................... 4 3 Environmental protection and saving en-ergy .....................................................................
Safety en 3 Opening the appliance door creates adraught. Greaseproof paper may come intocontact with the heating element and catchfire. ▶ Never place greaseproof paper looselyover accessories when preheating the ap-pliance and while cooking. ▶ Always cut greaseproof paper to size anduse a plate or ...
en Preventing material damage 4 1.5 Halogen bulb WARNING ‒ Risk of burns! The bulbs in the cooking compartment getvery hot. There is still a risk of burning forsome time after they have been switched off. ▶ Do not touch the glass cover. ▶ Avoid contact with your skin when cleaning. WARNING ‒ Risk o...
Neff Ovens Manuals
-
 Neff B15E42N0RU
User Manual
Neff B15E42N0RU
User Manual
-
 Neff B15E54N0
User Manual
Neff B15E54N0
User Manual
-
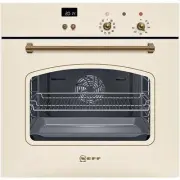
 Neff B15E74N0RU
User Manual
Neff B15E74N0RU
User Manual
-
 Neff B15M42J3
User Manual
Neff B15M42J3
User Manual
-
Neff B15M42J3
Installation Manual
-
 Neff B15P42N3
User Manual
Neff B15P42N3
User Manual
-
 Neff B16P42N0
User Manual
Neff B16P42N0
User Manual
-
 Neff B16P42N3
User Manual
Neff B16P42N3
User Manual
-
 Neff B17CR32N1B
User Manual
Neff B17CR32N1B
User Manual
-
 Neff B45C42N3RU
User Manual
Neff B45C42N3RU
User Manual
-
 Neff B46C74N0
User Manual
Neff B46C74N0
User Manual
-
 Neff B46E74N0RU
User Manual
Neff B46E74N0RU
User Manual
-
 Neff B47FS26G0
User Manual
Neff B47FS26G0
User Manual
-
 Neff B47FS36N0B
User Manual
Neff B47FS36N0B
User Manual
-
 Neff B48FT78H0B
User Manual
Neff B48FT78H0B
User Manual
-
 Neff B57CR22G0B
User Manual
Neff B57CR22G0B
User Manual
-
 Neff B57CR22N0B
User Manual
Neff B57CR22N0B
User Manual
-
 Neff B57VR22N0B
User Manual
Neff B57VR22N0B
User Manual
-
 Neff B57VS26N0B
User Manual
Neff B57VS26N0B
User Manual
-
 Neff B58VT68H0B
User Manual
Neff B58VT68H0B
User Manual