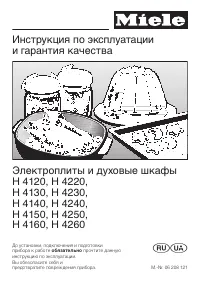
Miele H 176 MB - Manuals
Miele H 176 MB Oven – Manual in PDF format online.
Manuals:
Manual Miele H 176 MB
1

2

3

4

5

6

7

8

9

10

11

12

13

14

15

16

17

18

19

20

21

22

23

24

25

26

27

28

29

30

31

32

33

34

35

36

37

38

39

40

41

42

43

44

45

46

47

48

49

50

51

52

53

54

55

56

57

58

59

60

61

62

63

64

65

66

67

68

69

70

71

72

73

74

75

76

77

78

79

80

81

82

83

84

Summary
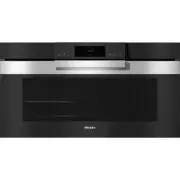
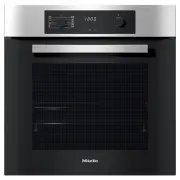
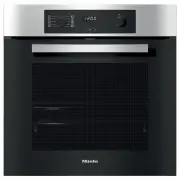
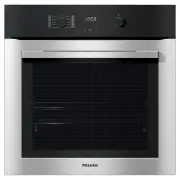
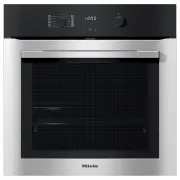
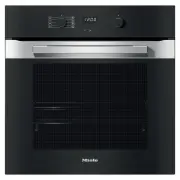
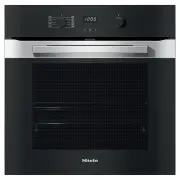
Page 2 - Description of the appliance
Page 3 - Accessories; Grease filter
a Display field (according to model)– for operating modes– MANUAL / AUTOMATIC b Data entry display c Selected settings display d Display for: - Food groups- Automatic-Programmes - e Status display for the clock f Function selector g "– /+" Touch controls with indicatorlight for selecting a m...
Page 4 - Contents
Description of the appliance . . . . . . . . . . . . . . . . . . . . . . . . . . . . . . . . . . . . . . . . . 2 Accessories . . . . . . . . . . . . . . . . . . . . . . . . . . . . . . . . . . . . . . . . . . . . . . . . . . . . . . . 3 Description of the functions . . . . . . . . . . . . . . . . . ...
Miele Ovens Manuals
-
 Miele 11876420
User Manual
Miele 11876420
User Manual
-
Miele H 187 MB
Manual
-
 Miele H 320
Manual
Miele H 320
Manual
-
 Miele H 373
Manual
Miele H 373
Manual
-
 Miele H 399 B
Manual
Miele H 399 B
Manual
-
 Miele H 4140
Manual
Miele H 4140
Manual
-
 Miele H 4220
Manual
Miele H 4220
Manual
-
Miele H 4230
Manual
-
 Miele H 4250
Manual
Miele H 4250
Manual
-
 Miele H 7890 BP
User Manual
Miele H 7890 BP
User Manual
-
 Miele H2267-1B
User Manual
Miele H2267-1B
User Manual
-
 Miele H2267-1BP
User Manual
Miele H2267-1BP
User Manual
-
 Miele H2760B
User Manual
Miele H2760B
User Manual
-
 Miele H2760BP
User Manual
Miele H2760BP
User Manual
-
 Miele H2860B
User Manual
Miele H2860B
User Manual
-
 Miele H2860BP
User Manual
Miele H2860BP
User Manual
-
 Miele H 5981 BP
Manual
Miele H 5981 BP
Manual
-
 Miele H 5688 BP
Manual
Miele H 5688 BP
Manual
-
 Miele H 5681 BP
Manual
Miele H 5681 BP
Manual
-
 Miele H 5461 B
Manual
Miele H 5461 B
Manual