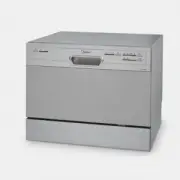
Midea MDWCSS - Manuals
User Manual Midea MDWCSS


Summary
Quick Operation Guide For detailed operating guide, read corresponding contents in the Instruction Manual. Switch on the appliance Use tablet or liquid fill the detergent dispenser Check the rinse aid level Load the baskets Select a program Run the dishwasher Change the program Add forgotten dishes ...
Dear Customer,This appliance is intended for use in the home environment and for washing domestic dishes. - Staff kitchen areas in shops, offices and other working environments; - Farm houses;- By clients in hotels, motels and other residential type environments; - Bed and breakfast type environment...
1 IMPORTANT SAFETY INFORMATION READ ALL OF THE INSTRUCTIONS BEFORE USING WARNING! When using your dishwasher, follow the precautions listed below: This appliance must be grounded. In the event of a malfunction or breakdown, grounding will reduce the risk of an electric shock by providing a path of l...
Midea Dishwashers Manuals
-
 Midea MDT24H3AST
User Manual
Midea MDT24H3AST
User Manual
-
 Midea MDT24P5AST
User Manual
Midea MDT24P5AST
User Manual
-
 Midea MDW45FSS
User Manual
Midea MDW45FSS
User Manual
-
 Midea MDWB1BL
User Manual
Midea MDWB1BL
User Manual
-
 Midea MDWB1SS
User Manual
Midea MDWB1SS
User Manual
-
 Midea MDWB1W
User Manual
Midea MDWB1W
User Manual
-
 Midea MDWCW
User Manual
Midea MDWCW
User Manual
-
 Midea MDWF1SS
User Manual
Midea MDWF1SS
User Manual
-
 Midea MDWF1W
User Manual
Midea MDWF1W
User Manual
-
 Midea MDWF2SS
User Manual
Midea MDWF2SS
User Manual
-
 Midea MDWISS
User Manual
Midea MDWISS
User Manual
-
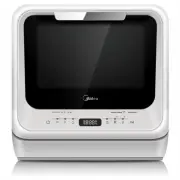
 Midea MDWMINIBL
User Manual
Midea MDWMINIBL
User Manual
-
 Midea MDWMINIW
User Manual
Midea MDWMINIW
User Manual
-
 Midea WQP6-3604-AU
User Manual
Midea WQP6-3604-AU
User Manual
-
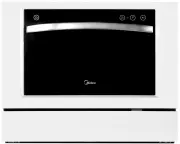
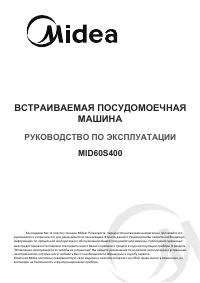 Midea MID60S400
Manual
Midea MID60S400
Manual
-
 Midea MID45S900
Manual
Midea MID45S900
Manual
-
 Midea MCFD 55200 S
Manual
Midea MCFD 55200 S
Manual
-
 Midea MID60S120
Manual
Midea MID60S120
Manual
-
 Midea MID60S370
Manual
Midea MID60S370
Manual