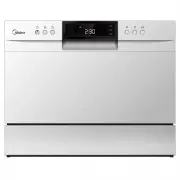
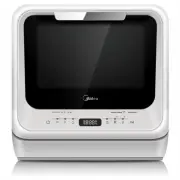
Midea MDW45FSS - Manuals
User Manual Midea MDW45FSS


Summary
SAFETY INFORMATION 3 CONTENTS PRODUCT OVERVIEW 8 USING YOUR DISHWASHER Basket Used Tips 9 9 MAINTENANCE AND CLEANING External CareInternal CareCaring For The Dishwasher 11 11 11 14 INSTALLATION INSTRUCTION 15 15 16 17 18 18 NOTE : Reviewing the section on troubleshooting Tips will help you solve som...
SAFETY INFORMATION WARNING When using your dishwasher , follow the precautions listed below: This appliance is intended to be used in household and similar applications such as:-staff kitchen areas in shops, offices and other working environments;-farm houses;-by clients in hotels, motels and other ...
supervision or instruction concerning use of the appliance by a person responsible for their safety.(For IEC60335-1 )Packaging material could be dangerous for children!This appliance is for indoor household use only.To protect against the risk of electrical shock, do not immerse the unit, cord or pl...
Midea Dishwashers Manuals
-
 Midea MDT24H3AST
User Manual
Midea MDT24H3AST
User Manual
-
 Midea MDT24P5AST
User Manual
Midea MDT24P5AST
User Manual
-
 Midea MDWB1BL
User Manual
Midea MDWB1BL
User Manual
-
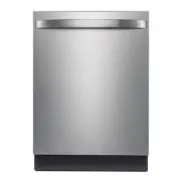
 Midea MDWB1SS
User Manual
Midea MDWB1SS
User Manual
-
 Midea MDWB1W
User Manual
Midea MDWB1W
User Manual
-
 Midea MDWCSS
User Manual
Midea MDWCSS
User Manual
-
 Midea MDWCW
User Manual
Midea MDWCW
User Manual
-
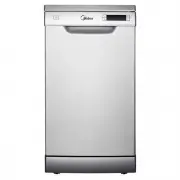
 Midea MDWF1SS
User Manual
Midea MDWF1SS
User Manual
-
 Midea MDWF1W
User Manual
Midea MDWF1W
User Manual
-
 Midea MDWF2SS
User Manual
Midea MDWF2SS
User Manual
-
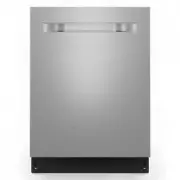
 Midea MDWISS
User Manual
Midea MDWISS
User Manual
-
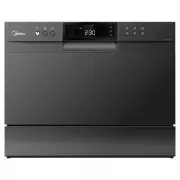
 Midea MDWMINIBL
User Manual
Midea MDWMINIBL
User Manual
-
 Midea MDWMINIW
User Manual
Midea MDWMINIW
User Manual
-
 Midea WQP6-3604-AU
User Manual
Midea WQP6-3604-AU
User Manual
-
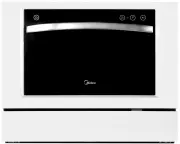
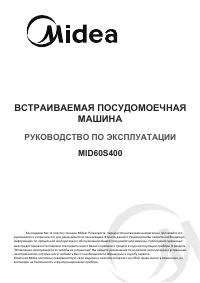 Midea MID60S400
Manual
Midea MID60S400
Manual
-
 Midea MID45S900
Manual
Midea MID45S900
Manual
-
 Midea MCFD 55200 S
Manual
Midea MCFD 55200 S
Manual
-
 Midea MID60S120
Manual
Midea MID60S120
Manual
-
 Midea MID60S370
Manual
Midea MID60S370
Manual