Makita XTU02Z - Manuals
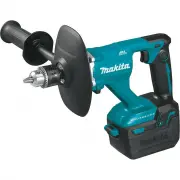
User Manual Makita XTU02Z


Summary
2 ENGLISH ENGLISH (Original instructions) SPECIFICATIONS Model: XTU02 No load speed High speed 0 - 1,300 /min Low speed 0 - 350 /min Maximum diameter of mixing blade 165 mm (6-1/2″) Chuck capacity 1.5 - 13 mm (1/16″ - 1/2″) Overall length (without shaft and mixing blade) 307 mm (12-1/8") Rated v...
4 ENGLISH 2. Never service damaged battery packs. Service of battery packs should only be performed by the manufacturer or authorized service providers. 3. Follow instruction for lubricating and chang- ing accessories. 4. Do not modify or attempt to repair the appli- ance or the battery pack except ...
5 ENGLISH 10. The contained lithium-ion batteries are subject to the Dangerous Goods Legislation require- ments. For commercial transports e.g. by third parties, forwarding agents, special requirement on pack- aging and labeling must be observed. For preparation of the item being shipped, consult- i...
Makita Drills Manuals
-
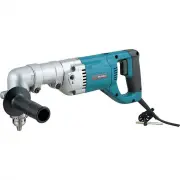
 Makita 6407
User Manual
Makita 6407
User Manual
-
Makita 6407
Manual
-
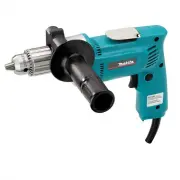
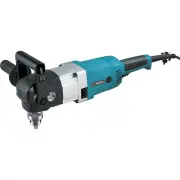
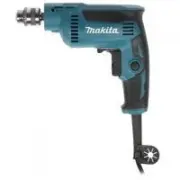
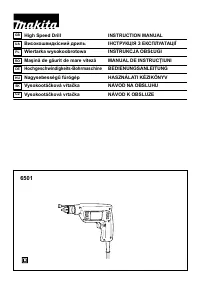 Makita 6501
User Manual
Makita 6501
User Manual
-
Makita 6501
Manual
-
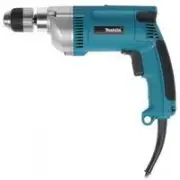
 Makita 6300-4
User Manual
Makita 6300-4
User Manual
-
 Makita 6302H
User Manual
Makita 6302H
User Manual
-
Makita 6302H
Manual
-
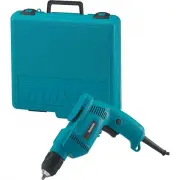 Makita 6408K
User Manual
Makita 6408K
User Manual
-
Makita 6408K
Manual
-
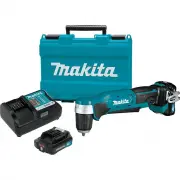
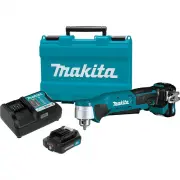 Makita AD03R1
User Manual
Makita AD03R1
User Manual
-
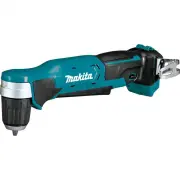
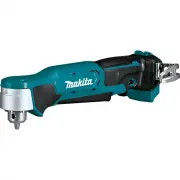 Makita AD03Z
User Manual
Makita AD03Z
User Manual
-
 Makita AD04R1
User Manual
Makita AD04R1
User Manual
-
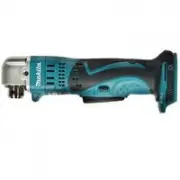
 Makita AD04Z
User Manual
Makita AD04Z
User Manual
-
 Makita DA4000LR
User Manual
Makita DA4000LR
User Manual
-
Makita DA4000LR
Manual
-
 Makita DA4031
User Manual
Makita DA4031
User Manual
-
Makita DA4031
Manual
-
 Makita DDA350Z
User Manual
Makita DDA350Z
User Manual
-
 Makita DP2010
User Manual
Makita DP2010
User Manual
-
 Makita DP3003
User Manual
Makita DP3003
User Manual