Makita XAD04PT - Manuals
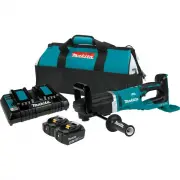
User Manual Makita XAD04PT


Summary
2 ENGLISH ENGLISH (Original instructions) SPECIFICATIONS Model: XAD03 XAD04 Gear speed High Low High Low Drilling capacities Steel 13 mm (1/2″) Wood Auger bit: 50 mm (2″) Self-feed bit: 65 mm (2-9/16″) Hole saw: 105 mm (4-1/8″) Auger bit: 50 mm (2″) Self-feed bit: 118 mm (4-5/8″) Hole saw: 159 mm (6...
4 ENGLISH 7. Follow all charging instructions and do not charge the battery pack or tool outside the temperature range specified in the instruc - tions. Charging improperly or at temperatures outside the specified range may damage the battery and increase the risk of fire. Service 1. Have your power...
5 ENGLISH 11. When disposing the battery cartridge, remove it from the tool and dispose of it in a safe place. Follow your local regulations relating to disposal of battery. 12. Use the batteries only with the products specified by Makita. Installing the batteries to non-compliant products may resul...
Makita Drills Manuals
-
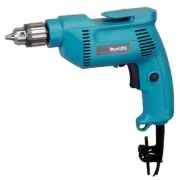 Makita 6407
User Manual
Makita 6407
User Manual
-
Makita 6407
Manual
-
 Makita 6501
User Manual
Makita 6501
User Manual
-
Makita 6501
Manual
-
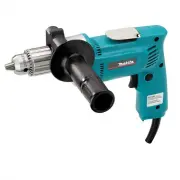
 Makita 6300-4
User Manual
Makita 6300-4
User Manual
-
 Makita 6302H
User Manual
Makita 6302H
User Manual
-
Makita 6302H
Manual
-
 Makita 6408K
User Manual
Makita 6408K
User Manual
-
Makita 6408K
Manual
-
 Makita AD03R1
User Manual
Makita AD03R1
User Manual
-
 Makita AD03Z
User Manual
Makita AD03Z
User Manual
-
 Makita AD04R1
User Manual
Makita AD04R1
User Manual
-
 Makita AD04Z
User Manual
Makita AD04Z
User Manual
-
 Makita DA4000LR
User Manual
Makita DA4000LR
User Manual
-
Makita DA4000LR
Manual
-
 Makita DA4031
User Manual
Makita DA4031
User Manual
-
Makita DA4031
Manual
-
 Makita DDA350Z
User Manual
Makita DDA350Z
User Manual
-
 Makita DP2010
User Manual
Makita DP2010
User Manual
-
 Makita DP3003
User Manual
Makita DP3003
User Manual