LG LW8021IVSM - Manuals
LG LW8021IVSM Air Conditioner – User Manual in PDF format online.
Manuals:
User Manual LG LW8021IVSM


Summary
2 TABLE OF CONTENTS TABLE OF CONTENTS 11 Window Requirements 11 How to Install the Unit 11 Storm Window Requirements12 Preparation of Chassis12 Unit Installation 14 OPERATION 14 Control Panel and Remote Control15 Using the Light Off Function15 Using the Auto Clean Function16 Wireless Remote Control1...
3 EN SAFETY INSTRUCTIONS SAFETY INSTRUCTIONS READ ALL INSTRUCTIONS BEFORE USE Your safety and the safety of others are very important. We have provided many important safety messages in this manual and on your appliance. Always read and follow all safety messages. This is the safety alert symbol. Th...
4 SAFETY INSTRUCTIONS ● When the power cord is to be replaced, replacement work shall be performed by authorized personnel only using only genuine replacement parts. ● Installation work must be performed in accordance with the National Electric Code by qualified and authorized personnel only. ● Conn...
LG Air Conditioners Manuals
-
 LG B24TS
User Manual
LG B24TS
User Manual
-
LG B24TS
Manual
-
 LG B60LH
User Manual
LG B60LH
User Manual
-
 LG LB-H368GSS0
User Manual
LG LB-H368GSS0
User Manual
-
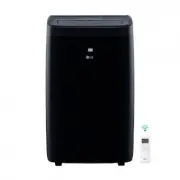
 LG LP0621WSR
User Manual
LG LP0621WSR
User Manual
-
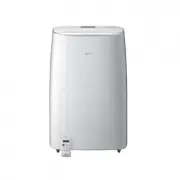
 LG LP0721WSR
User Manual
LG LP0721WSR
User Manual
-
 LG LP0821GSSM
User Manual
LG LP0821GSSM
User Manual
-
 LG LP1021BHSM
User Manual
LG LP1021BHSM
User Manual
-
 LG LP1021BSSM
User Manual
LG LP1021BSSM
User Manual
-
 LG LP1419IVSM
User Manual
LG LP1419IVSM
User Manual
-
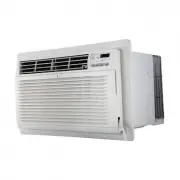 LG LT1016CER
User Manual
LG LT1016CER
User Manual
-
 LG LT1216CER
User Manual
LG LT1216CER
User Manual
-
 LG LT-B2861HL
User Manual
LG LT-B2861HL
User Manual
-
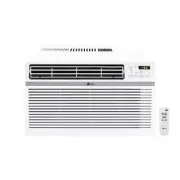 LG LW1016ER
User Manual
LG LW1016ER
User Manual
-
 LG LW1017ERSM
User Manual
LG LW1017ERSM
User Manual
-
 LG LW1017ERSM1
User Manual
LG LW1017ERSM1
User Manual
-
 LG LW1216ER
User Manual
LG LW1216ER
User Manual
-
 LG LW1217ERSM1
User Manual
LG LW1217ERSM1
User Manual
-
 LG LW1221HRSM
User Manual
LG LW1221HRSM
User Manual
-
 LG LW1223HR
User Manual
LG LW1223HR
User Manual