KitchenAid KODE900HSS - Manuals
KitchenAid KODE900HSS Oven – User Manual, Manual, Installation Manual in PDF format online.
Manuals:
User Manual KitchenAid KODE900HSS


Manual KitchenAid KODE900HSS


Summary
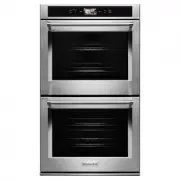
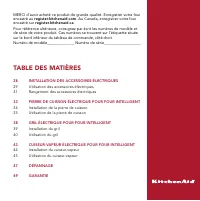
THANK YOU for purchasing this high-quality product. Register your built-in oven at register.kitchenaid.com . In Canada, register your built-in oven at register.kitchenaid.ca . For future reference, please make a note of your product model and serial numbers. They can be found on the label located on...
3 THANK YOU for purchasing this high-quality product. Register your built-in oven at register.kitchenaid.com . In Canada, register your built-in oven at register.kitchenaid.ca . For future reference, please make a note of your product model and serial numbers. They can be found on the label located ...
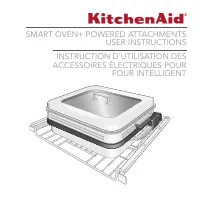
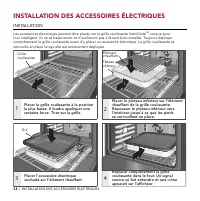
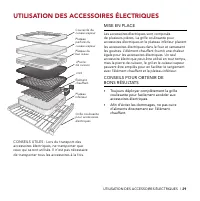
USING THE +POWERED ATTACHMENTS HELPFUL TIPS: When moving the +Powered Attachments, carry only the pieces you will be using. It is not necessary to carry the whole unit at once. GETTING STARTED The +Powered Attachments are composed of several parts. The roll-out rack for powered attachments and Base ...
Installation Manual KitchenAid KODE900HSS


Summary
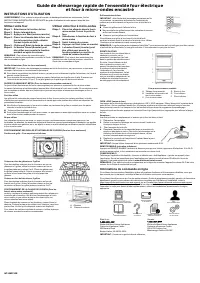
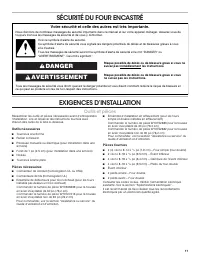
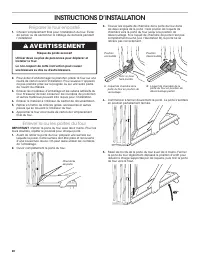
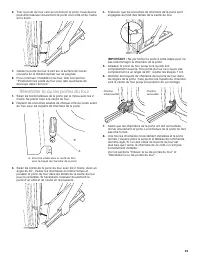
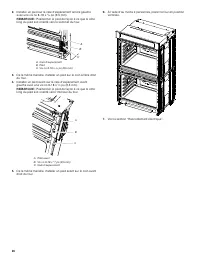
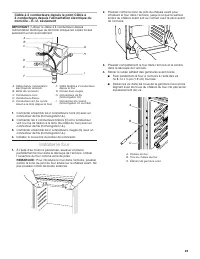
2 BUILT-IN OVEN SAFETY INSTALLATION REQUIREMENTS Tools and Parts Gather the required tools and parts before starting installation. Read and follow the instructions provided with any tools listed here. Tools Needed ■ Phillips screwdriver ■ Measuring tape ■ Hand or electric drill (for wall cabinet ins...
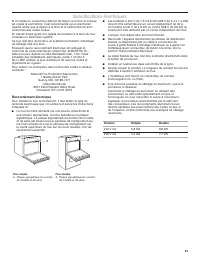
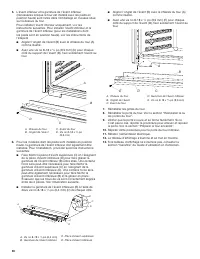
3 Location Requirements IMPORTANT: Observe all governing codes and ordinances. ■ Cabinet opening dimensions that are shown must be used. Given dimensions provide minimum clearance with oven. ■ Recessed installation area must provide complete enclosure around the recessed portion of the oven. ■ Groun...
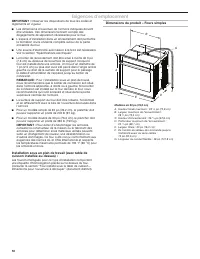
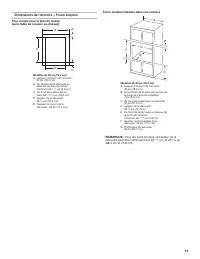
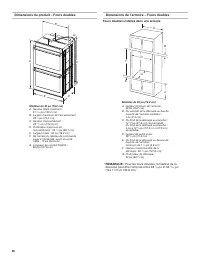
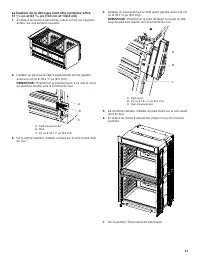
4 Cabinet Dimensions - Single Ovens Single Oven Undercounter (Without Cooktop Installed Above) Single Ovens Installed in Cabinet * NOTE: The cutout height can be between 26 15 / 16 " and 29 7 / 16 " (68.4 cm and 74.8 cm) for single ovens. A B C D E 30" (76.2 cm) models A. 30" (76.2 c...
KitchenAid Ovens Manuals
-
 KitchenAid KOCCX 45600
User Manual
KitchenAid KOCCX 45600
User Manual
-
 KitchenAid KOCE500EBL
User Manual
KitchenAid KOCE500EBL
User Manual
-
 KitchenAid KOCE500EBS
User Manual
KitchenAid KOCE500EBS
User Manual
-
KitchenAid KOCE500EBS
Manual
-
 KitchenAid KOCE500ESS
User Manual
KitchenAid KOCE500ESS
User Manual
-
KitchenAid KOCE500ESS
Manual
-
 KitchenAid KOCE500EWH
User Manual
KitchenAid KOCE500EWH
User Manual
-
KitchenAid KOCE500EWH
Manual
-
KitchenAid KOCE500EWH
Installation Manual
-
 KitchenAid KOCE507EBL
User Manual
KitchenAid KOCE507EBL
User Manual
-
 KitchenAid KOCE507EBS
User Manual
KitchenAid KOCE507EBS
User Manual
-
KitchenAid KOCE507EBS
Installation Manual
-
KitchenAid KOCE507EBS
Manual
-
 KitchenAid KOCE507ESS
User Manual
KitchenAid KOCE507ESS
User Manual
-
KitchenAid KOCE507ESS
Manual
-
KitchenAid KOCE507ESS
Installation Manual
-
 KitchenAid KOCE900HBS
User Manual
KitchenAid KOCE900HBS
User Manual
-
KitchenAid KOCE900HBS
Manual
-
KitchenAid KOCE900HBS
Installation Manual
-
 KitchenAid KOCE900HSS
User Manual
KitchenAid KOCE900HSS
User Manual