KitchenAid KOCCX 45600 - Manuals
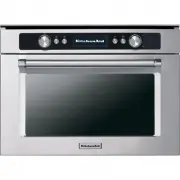
User Manual KitchenAid KOCCX 45600


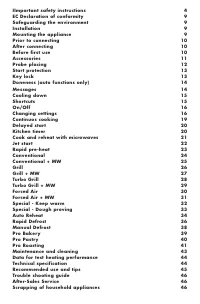


Summary
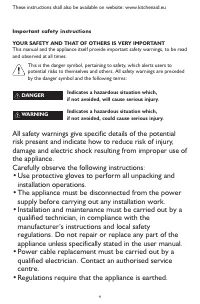
4 Important safety instructions YOUR SAFETY AND THAT OF OTHERS IS VERY IMPORTANT This manual and the appliance itself provide important safety warnings, to be readand observed at all times. This is the danger symbol, pertaining to safety, which alerts users topotential risks to themselves and others...
9 Safeguarding the environment Disposal of packing materials • The packaging material is 100% recyclable and is marked with the recycle symbol ( ). • The various parts of the packing must therefore be disposed of responsibly and in fullcompliance with local authority regulationsgoverning waste dispo...
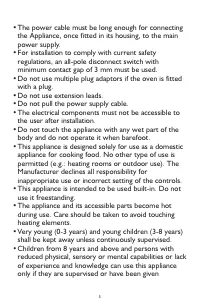
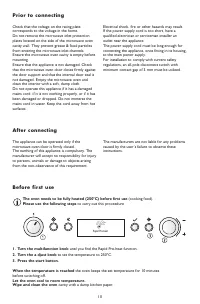
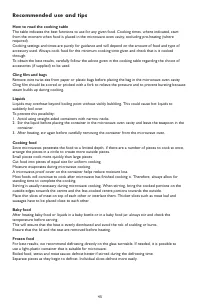
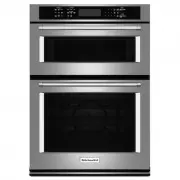
10 Check that the voltage on the rating platecorresponds to the voltage in the home.Do not remove the microwave inlet protectionplates located on the side of the microwave ovencavity wall. They prevent grease & food particlesfrom entering the microwave inlet channels.Ensure the microwave oven ca...
KitchenAid Ovens Manuals
-
 KitchenAid KOCE500EBL
User Manual
KitchenAid KOCE500EBL
User Manual
-
 KitchenAid KOCE500EBS
User Manual
KitchenAid KOCE500EBS
User Manual
-
KitchenAid KOCE500EBS
Manual
-
 KitchenAid KOCE500ESS
User Manual
KitchenAid KOCE500ESS
User Manual
-
KitchenAid KOCE500ESS
Manual
-
 KitchenAid KOCE500EWH
User Manual
KitchenAid KOCE500EWH
User Manual
-
KitchenAid KOCE500EWH
Manual
-
KitchenAid KOCE500EWH
Installation Manual
-
 KitchenAid KOCE507EBL
User Manual
KitchenAid KOCE507EBL
User Manual
-
 KitchenAid KOCE507EBS
User Manual
KitchenAid KOCE507EBS
User Manual
-
KitchenAid KOCE507EBS
Installation Manual
-
KitchenAid KOCE507EBS
Manual
-
 KitchenAid KOCE507ESS
User Manual
KitchenAid KOCE507ESS
User Manual
-
KitchenAid KOCE507ESS
Manual
-
KitchenAid KOCE507ESS
Installation Manual
-
 KitchenAid KOCE900HBS
User Manual
KitchenAid KOCE900HBS
User Manual
-
KitchenAid KOCE900HBS
Manual
-
KitchenAid KOCE900HBS
Installation Manual
-
 KitchenAid KOCE900HSS
User Manual
KitchenAid KOCE900HSS
User Manual
-
KitchenAid KOCE900HSS
Installation Manual