KitchenAid KFEG500EBS - Manuals
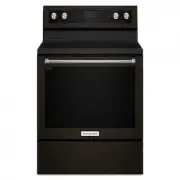
User Manual KitchenAid KFEG500EBS


Manual KitchenAid KFEG500EBS


Summary
2 RANGE SAFETY The Anti-Tip Bracket The range will not tip during normal use. However, the range can tip if you apply too much force or weight to the open door without having the anti-tip bracket fastened down properly. You can be killed or seriously injured if you don't immediately You can be kille...
4 KEY USAGE TIPS AquaLift ® Self-Cleaning Technology AquaLift ® Self-Cleaning Technology is a first-of-its-kind cleaning solution designed to minimize the time, temperature and odors that ordinarily come with traditional self-cleaning methods. With AquaLift ® Self-Cleaning Technology, an exclusive c...
5 FEATURE GUIDE This manual covers several models. Your model may have some or all of the items listed. Refer to this manual or Frequently Asked Questions (FAQs) section of our website at www.kitchenaid.com for more detailed instructions. KEYPAD FEATURE INSTRUCTIONS CLOCK Clock This clock can use a ...
KitchenAid Ranges Manuals
-
 KitchenAid KFDC500JAV
User Manual
KitchenAid KFDC500JAV
User Manual
-
KitchenAid KFDC500JAV
Manual
-
KitchenAid KFDC500JAV
Installation Manual
-
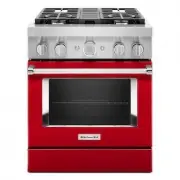
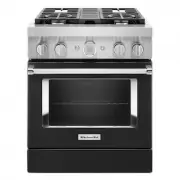 KitchenAid KFDC500JBK
User Manual
KitchenAid KFDC500JBK
User Manual
-
KitchenAid KFDC500JBK
Manual
-
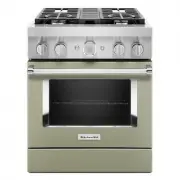
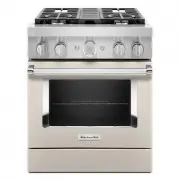
 KitchenAid KFDC500JIB
User Manual
KitchenAid KFDC500JIB
User Manual
-
KitchenAid KFDC500JIB
Manual
-
 KitchenAid KFDC500JMB
User Manual
KitchenAid KFDC500JMB
User Manual
-
KitchenAid KFDC500JMB
Manual
-
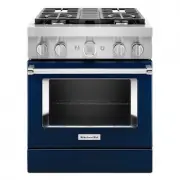
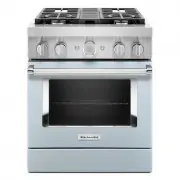
 KitchenAid KFDC500JMH
User Manual
KitchenAid KFDC500JMH
User Manual
-
KitchenAid KFDC500JMH
Manual
-
KitchenAid KFDC500JMH
Installation Manual
-
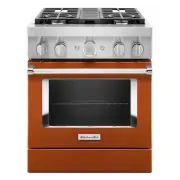
 KitchenAid KFDC500JPA
User Manual
KitchenAid KFDC500JPA
User Manual
-
KitchenAid KFDC500JPA
Manual
-
KitchenAid KFDC500JPA
Installation Manual
-
 KitchenAid KFDC500JSC
User Manual
KitchenAid KFDC500JSC
User Manual
-
KitchenAid KFDC500JSC
Manual
-
 KitchenAid KFDC500JSS
User Manual
KitchenAid KFDC500JSS
User Manual
-
KitchenAid KFDC500JSS
Installation Manual
-
KitchenAid KFDC500JSS
Manual