KitchenAid 93625 - Manuals
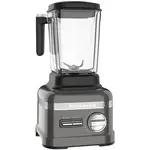
User Manual KitchenAid 93625


Summary
22 table of contents Blender Safety ................................................................................................................ 2Electrical Requirements .................................................................................................. 3 Important Safeguards .......
3 en G lI sH electrical requirements volts: 220-240 volts AC only hertz: 50/60 hz note: Your Blender has a grounded plug. To reduce the risk of electrical shock, this plug will fit in an outlet only one way. If the plug does not fit in the outlet, contact a qualified electrician. Do not modify the p...
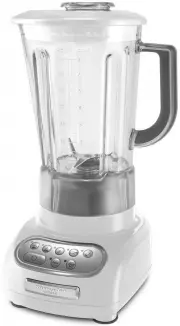
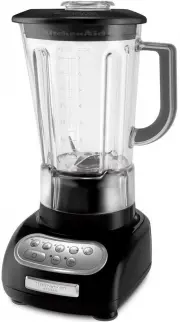
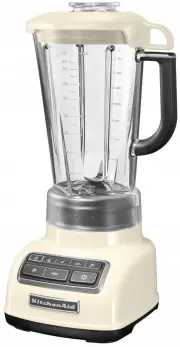
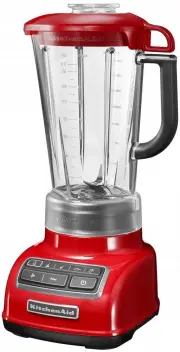
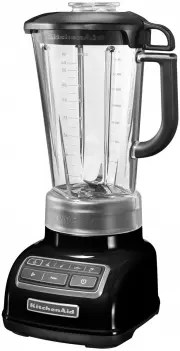
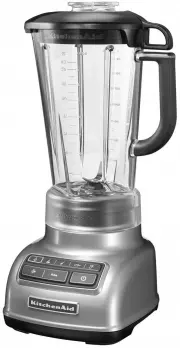
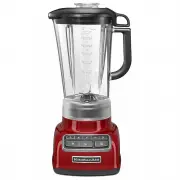
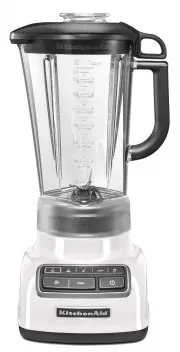
4 Blender Features easy-clean, plastic* pitcher design patented stainless steel Blade speed selection Buttons sealed membrane control panel stay-put lid with clear, 60 ml Ingredient cap die-cast metal Base * Depending on model. durable steel-reinforced couplers
KitchenAid Blenders Manuals
-
 KitchenAid 92600
User Manual
KitchenAid 92600
User Manual
-
 KitchenAid 92605
User Manual
KitchenAid 92605
User Manual
-
 KitchenAid 92610
User Manual
KitchenAid 92610
User Manual
-
 KitchenAid 92620
User Manual
KitchenAid 92620
User Manual
-
 KitchenAid 92630
User Manual
KitchenAid 92630
User Manual
-
 KitchenAid 92645
User Manual
KitchenAid 92645
User Manual
-
 KitchenAid 92675
User Manual
KitchenAid 92675
User Manual
-
 KitchenAid 92905
User Manual
KitchenAid 92905
User Manual
-
 KitchenAid 92910
User Manual
KitchenAid 92910
User Manual
-
 KitchenAid 92920
User Manual
KitchenAid 92920
User Manual
-
 KitchenAid 92995
User Manual
KitchenAid 92995
User Manual
-
 KitchenAid 94700
User Manual
KitchenAid 94700
User Manual
-
 KitchenAid 94745
User Manual
KitchenAid 94745
User Manual
-
 KitchenAid 95605
User Manual
KitchenAid 95605
User Manual
-
 KitchenAid 95610
User Manual
KitchenAid 95610
User Manual
-
 KitchenAid 95620
User Manual
KitchenAid 95620
User Manual
-
 KitchenAid 95699
User Manual
KitchenAid 95699
User Manual
-
 KitchenAid 5KSB1586AAZ
User Manual
KitchenAid 5KSB1586AAZ
User Manual
-
 KitchenAid 5KSB1586ACA
User Manual
KitchenAid 5KSB1586ACA
User Manual
-
 KitchenAid 5KSB1586AFP
User Manual
KitchenAid 5KSB1586AFP
User Manual