KitchenAid 5KSB1586ARI - Manuals
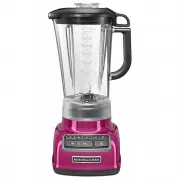
User Manual KitchenAid 5KSB1586ARI


Summary
CMD + SHIFT CLICK TO CHANGE COPY 2 BLENDER INSTRUCTIONS BLENDER SAFETY Important safeguards .......................................................................................... 3 Electrical requirements ...................................................................................... 4 PA...
CMD + SHIFT CLICK TO CHANGE COPY English 3 BLENDER SAFETY BLENDER INSTRUCTIONS IMPORTANT SAFEGUARDS When using electrical appliances, basic safety precautions should always be followed, including the following: 1. Read all instructions. 2. To protect against risk of electrical shock, do not put Blen...
4 BLENDER SAFETY 7. Do not use outdoors. 8. Do not let cord hang over edge of table or counter. 9. Keep hands and utensils out of container while blending to reduce the risk of severe injury to persons or damage to the Blender. A scraper may be used but must be used only when the Blender is not runn...
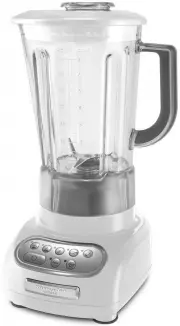
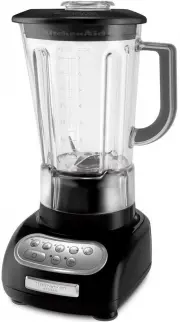
KitchenAid Blenders Manuals
-
 KitchenAid 92600
User Manual
KitchenAid 92600
User Manual
-
 KitchenAid 92605
User Manual
KitchenAid 92605
User Manual
-
 KitchenAid 92610
User Manual
KitchenAid 92610
User Manual
-
 KitchenAid 92620
User Manual
KitchenAid 92620
User Manual
-
 KitchenAid 92630
User Manual
KitchenAid 92630
User Manual
-
 KitchenAid 92645
User Manual
KitchenAid 92645
User Manual
-
 KitchenAid 92675
User Manual
KitchenAid 92675
User Manual
-
 KitchenAid 92905
User Manual
KitchenAid 92905
User Manual
-
 KitchenAid 92910
User Manual
KitchenAid 92910
User Manual
-
 KitchenAid 92920
User Manual
KitchenAid 92920
User Manual
-
 KitchenAid 92995
User Manual
KitchenAid 92995
User Manual
-
 KitchenAid 93625
User Manual
KitchenAid 93625
User Manual
-
 KitchenAid 94700
User Manual
KitchenAid 94700
User Manual
-
 KitchenAid 94745
User Manual
KitchenAid 94745
User Manual
-
 KitchenAid 95605
User Manual
KitchenAid 95605
User Manual
-
 KitchenAid 95610
User Manual
KitchenAid 95610
User Manual
-
 KitchenAid 95620
User Manual
KitchenAid 95620
User Manual
-
 KitchenAid 95699
User Manual
KitchenAid 95699
User Manual
-
 KitchenAid 5KSB1586AAZ
User Manual
KitchenAid 5KSB1586AAZ
User Manual
-
 KitchenAid 5KSB1586ACA
User Manual
KitchenAid 5KSB1586ACA
User Manual