KitchenAid 5KMT2116ACU - Manuals
User Manual KitchenAid 5KMT2116ACU


Summary
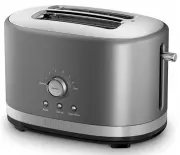
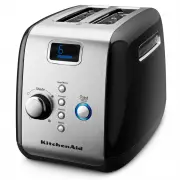
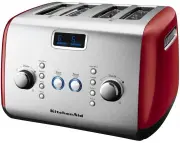
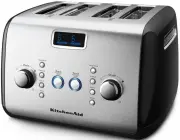
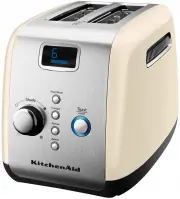
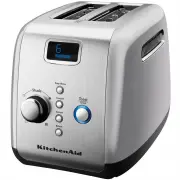
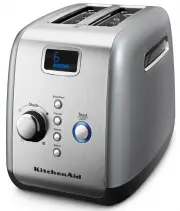
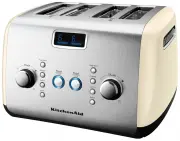
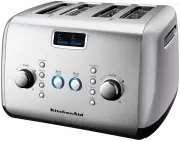
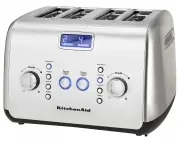
PARTS AND FEATURES PARTS AND ACCESSORIES Crumb tray (not shown) Crumpet button with LED indicator Defrost button with LED indicator Keep Warm button with LED indicator Extra-wide long slots Cancel button High lift lever with Lift & See feature Shade control knob 2-Slice Long slot (4-slice) Cord-...
ENGLISH TOASTER SAFETY | 3 TOASTER SAFETY IMPORTANT SAFEGUARDS When using electrical appliances, basic safety precautions should always be followed, including the following: 1. Read all instructions. Misuse of appliance may result in personal injury. 2. Do not touch hot surfaces. Use handles or knob...
4 | TOASTER SAFETY 6. Unplug Toaster from outlet when not in use and before cleaning. Allow to cool before putting on or taking off parts. Detail for cleaning of the appliance, please refer to the “Care and Cleaning” section. 7. The use of accessory attachments not recommended by the appliance manuf...
KitchenAid Toasters Manuals
-
 KitchenAid 94300
User Manual
KitchenAid 94300
User Manual
-
 KitchenAid 94345
User Manual
KitchenAid 94345
User Manual
-
 KitchenAid 97310
User Manual
KitchenAid 97310
User Manual
-
 KitchenAid 97320
User Manual
KitchenAid 97320
User Manual
-
 KitchenAid 97410
User Manual
KitchenAid 97410
User Manual
-
 KitchenAid 97420
User Manual
KitchenAid 97420
User Manual
-
 KitchenAid 5AKMT223AC
User Manual
KitchenAid 5AKMT223AC
User Manual
-
 KitchenAid 5AKMT223CU
User Manual
KitchenAid 5AKMT223CU
User Manual
-
 KitchenAid 5AKMT223PT
User Manual
KitchenAid 5AKMT223PT
User Manual
-
 KitchenAid 5AKMT223SX
User Manual
KitchenAid 5AKMT223SX
User Manual
-
 KitchenAid 5AKMT423AC
User Manual
KitchenAid 5AKMT423AC
User Manual
-
 KitchenAid 5AKMT423CU
User Manual
KitchenAid 5AKMT423CU
User Manual
-
 KitchenAid 5AKMT423SX
User Manual
KitchenAid 5AKMT423SX
User Manual
-
 KitchenAid 5KMT2116AAC
User Manual
KitchenAid 5KMT2116AAC
User Manual
-
 KitchenAid 5KMT2116AER
User Manual
KitchenAid 5KMT2116AER
User Manual
-
 KitchenAid 5KMT2116AOB
User Manual
KitchenAid 5KMT2116AOB
User Manual
-
 KitchenAid 5KMT2204ABK
User Manual
KitchenAid 5KMT2204ABK
User Manual
-
 KitchenAid 5KMT2204ASR
User Manual
KitchenAid 5KMT2204ASR
User Manual
-
 KitchenAid 5KMT4116AAC
User Manual
KitchenAid 5KMT4116AAC
User Manual
-
 KitchenAid 5KMT4116ACU
User Manual
KitchenAid 5KMT4116ACU
User Manual