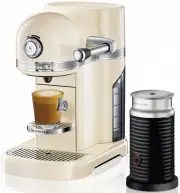
KitchenAid 5KES0504AER - Manuals
KitchenAid 5KES0504AER Coffee Machine – User Manual in PDF format online.
Manuals:
User Manual KitchenAid 5KES0504AER


Summary
CMD + SHIFT CLICK TO CHANGE COPY English 3 ESPRESSO MACHINE INSTRUCTIONS TABLE OF CONTENTS ESPRESSO MACHINE SAFETY Important safeguards .......................................................................................... 4 PARTS AND FEATURES Parts and accessories .................................
4 ESPRESSO MACHINE SAFETY ESPRESSO MACHINE SAFETY IMPORTANT SAFEGUARDS When using electrical appliances, basic safety precautions should always be followed, including the following: 1. Read all instructions. Misuse of appliance may result in personal injury. 2. Do not touch hot surfaces. Use handles...
English 5 ESPRESSO MACHINE SAFETY 6. Do not operate any appliance with a damaged cord or plug, or after appliance malfunctions or has been damaged in any manner. Return the appliance to the nearest authorised service centre for examination, repair or adjustment, in order to avoid a hazard. 7. The us...
KitchenAid Coffee Machines Manuals
-
 KitchenAid 97845
User Manual
KitchenAid 97845
User Manual
-
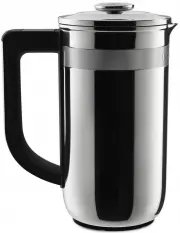 KitchenAid 5KCM0512ASX
User Manual
KitchenAid 5KCM0512ASX
User Manual
-
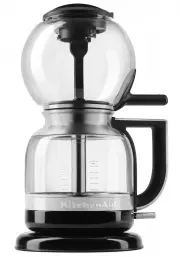 KitchenAid 5KCM0812AOB
User Manual
KitchenAid 5KCM0812AOB
User Manual
-
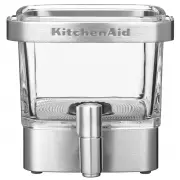 KitchenAid 5KCM4212ASX
User Manual
KitchenAid 5KCM4212ASX
User Manual
-
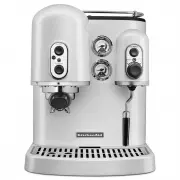
 KitchenAid 5KES0504AAC
User Manual
KitchenAid 5KES0504AAC
User Manual
-
 KitchenAid 5KES0504ACA
User Manual
KitchenAid 5KES0504ACA
User Manual
-
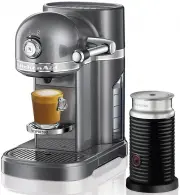 KitchenAid 5KES0504AMS
User Manual
KitchenAid 5KES0504AMS
User Manual
-
 KitchenAid 5KES0504AOB
User Manual
KitchenAid 5KES0504AOB
User Manual
-
 KitchenAid 5KES2102AFP
User Manual
KitchenAid 5KES2102AFP
User Manual
-
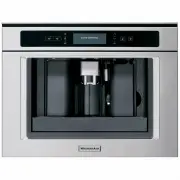 KitchenAid KQXXX45600
User Manual
KitchenAid KQXXX45600
User Manual