Hyundai H-CMD2002 - Manuals
Hyundai H-CMD2002 Car Radio – User Manual, Manual in PDF format online.
Manuals:
User Manual Hyundai H-CMD2002


Summary
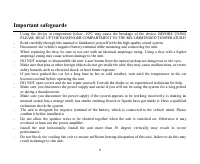
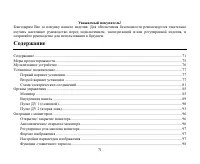
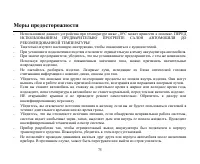
2 Dear customer! Thank you for purchasing our product. For safety, it is strongly recommended to read this manual carefullybefore connecting, operating and/or adjusting the product and keep the manual for reference in the future. Table of contents Table of contents .....................................
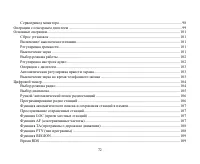
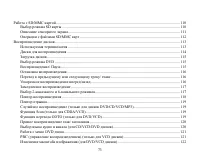
4 SD/MMC card ................................................................................................................................................. 37 Mode selecting .............................................................................................................................
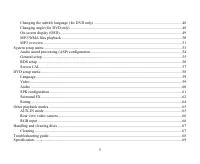
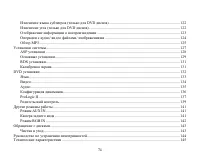
5 Changing the subtitle language (for DVD only) ........................................................................................ 48Changing angle (for DVD only) ................................................................................................................ 48On-screen displa...
Manual Hyundai H-CMD2002


Summary
2 Dear customer! Thank you for purchasing our product. For safety, it is strongly recommended to read this manual carefullybefore connecting, operating and/or adjusting the product and keep the manual for reference in the future. Table of contents Table of contents .....................................
4 SD/MMC card ................................................................................................................................................. 37 Mode selecting .............................................................................................................................
5 Changing the subtitle language (for DVD only) ........................................................................................ 48Changing angle (for DVD only) ................................................................................................................ 48On-screen displa...
Hyundai Car Radios Manuals
-
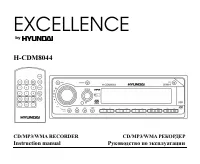 Hyundai CDM8044
User Manual
Hyundai CDM8044
User Manual
-
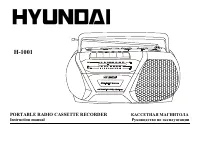 Hyundai H-1001
User Manual
Hyundai H-1001
User Manual
-
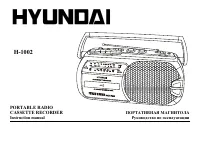 Hyundai H-1002
User Manual
Hyundai H-1002
User Manual
-
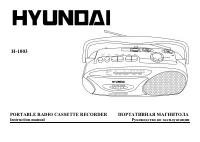 Hyundai H-1003
User Manual
Hyundai H-1003
User Manual
-
 Hyundai H-1004
User Manual
Hyundai H-1004
User Manual
-
 Hyundai H-1005
User Manual
Hyundai H-1005
User Manual
-
 Hyundai H-1006
User Manual
Hyundai H-1006
User Manual
-
 Hyundai H-1201
User Manual
Hyundai H-1201
User Manual
-
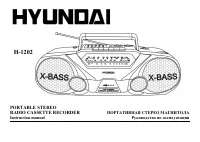 Hyundai H-1202
User Manual
Hyundai H-1202
User Manual
-
 Hyundai H-1203
User Manual
Hyundai H-1203
User Manual
-
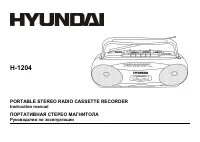 Hyundai H-1204
User Manual
Hyundai H-1204
User Manual
-
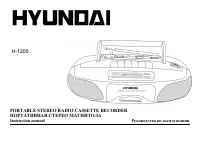 Hyundai H-1205
User Manual
Hyundai H-1205
User Manual
-
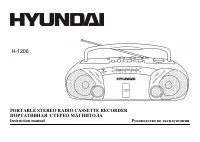 Hyundai H-1206
User Manual
Hyundai H-1206
User Manual
-
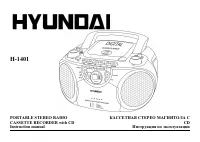 Hyundai H-1401
User Manual
Hyundai H-1401
User Manual
-
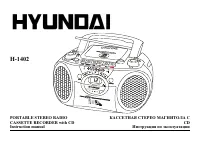 Hyundai H-1402
User Manual
Hyundai H-1402
User Manual
-
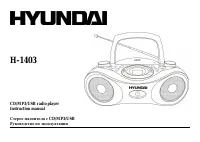
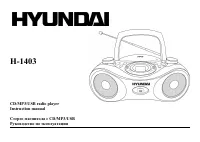 Hyundai H-1403
User Manual
Hyundai H-1403
User Manual
-
 Hyundai H-1403 White
User Manual
Hyundai H-1403 White
User Manual
-
 Hyundai H-1404
User Manual
Hyundai H-1404
User Manual
-
 Hyundai H-1405
User Manual
Hyundai H-1405
User Manual
-
 Hyundai H-1406
User Manual
Hyundai H-1406
User Manual