Hyundai H-CDM8061-NN - Manuals
Hyundai H-CDM8061-NN Car Radio – User Manual in PDF format online.
Manuals:
User Manual Hyundai H-CDM8061-NN


Summary
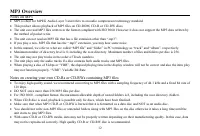
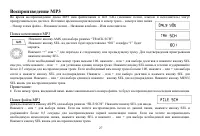
2 Dear customer! Thank you for purchasing our product. For safety, it is strongly recommended to read this manual carefully before connecting,operating and/or adjusting the product and keep the manual for reference in the future. Table of contents Table of contents .....................................
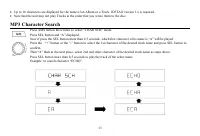
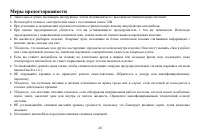
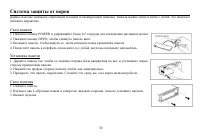
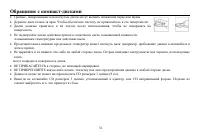
3 Important safeguards · Read carefully through this manual to familiarize yourself with this high-quality sound system. · Use only in a 12-volt DC negative-ground electrical system. · Disconnect the vehicle's negative battery terminal while mounting and connecting the unit. · When replacing the fus...
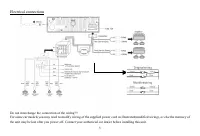
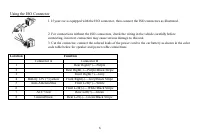
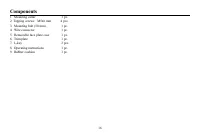
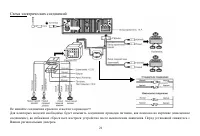
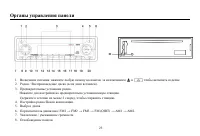
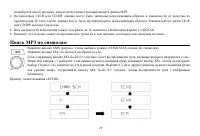
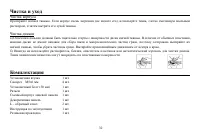
4 Installation/Connections First complete the electrical connections, and then check them for correctness. Installation opening This unit can be installed in any dashboard having an opening as shown below. The dashboard should be 4.75 5.56 mm thick inorder to be able to support the unit. 1. Insert m...
Hyundai Car Radios Manuals
-
 Hyundai CDM8044
User Manual
Hyundai CDM8044
User Manual
-
 Hyundai H-1001
User Manual
Hyundai H-1001
User Manual
-
 Hyundai H-1002
User Manual
Hyundai H-1002
User Manual
-
 Hyundai H-1003
User Manual
Hyundai H-1003
User Manual
-
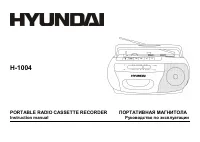 Hyundai H-1004
User Manual
Hyundai H-1004
User Manual
-
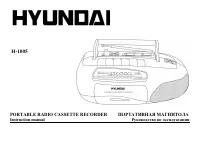 Hyundai H-1005
User Manual
Hyundai H-1005
User Manual
-
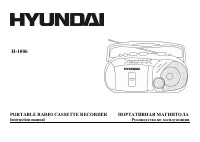 Hyundai H-1006
User Manual
Hyundai H-1006
User Manual
-
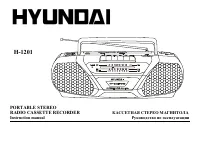 Hyundai H-1201
User Manual
Hyundai H-1201
User Manual
-
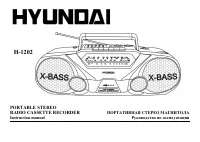 Hyundai H-1202
User Manual
Hyundai H-1202
User Manual
-
 Hyundai H-1203
User Manual
Hyundai H-1203
User Manual
-
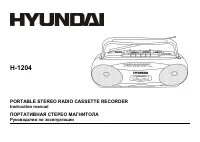 Hyundai H-1204
User Manual
Hyundai H-1204
User Manual
-
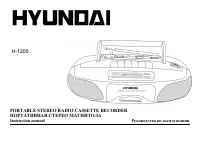 Hyundai H-1205
User Manual
Hyundai H-1205
User Manual
-
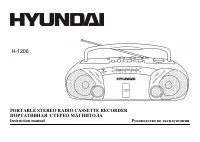 Hyundai H-1206
User Manual
Hyundai H-1206
User Manual
-
 Hyundai H-1401
User Manual
Hyundai H-1401
User Manual
-
 Hyundai H-1402
User Manual
Hyundai H-1402
User Manual
-
 Hyundai H-1403
User Manual
Hyundai H-1403
User Manual
-
 Hyundai H-1403 White
User Manual
Hyundai H-1403 White
User Manual
-
 Hyundai H-1404
User Manual
Hyundai H-1404
User Manual
-
 Hyundai H-1405
User Manual
Hyundai H-1405
User Manual
-
 Hyundai H-1406
User Manual
Hyundai H-1406
User Manual