Hyundai H-CDM8010 - Manuals
Hyundai H-CDM8010 Car Radio – User Manual, Manual in PDF format online.
Manuals:
User Manual Hyundai H-CDM8010


Summary
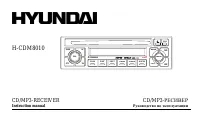
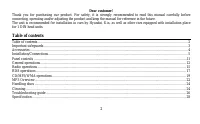
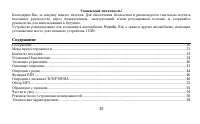
2 Dear customer! Thank you for purchasing our product. For safety, it is strongly recommended to read this manual carefully beforeconnecting, operating and/or adjusting the product and keep the manual for reference in the future.The unit is recommended for installation in cars by Hyundai, Kia, as we...
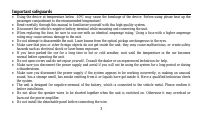
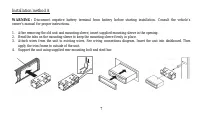
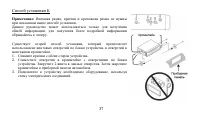
3 Important safeguards Using the device at temperature below -10º may cause the breakage of the device. Before using please heat up thepassenger compartment to the recommended temperature!Read carefully through this manual to familiarize yourself with this high-quality system.Disconnect the vehicle'...
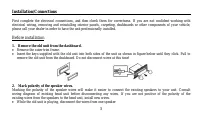
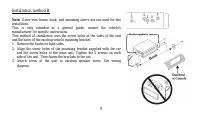
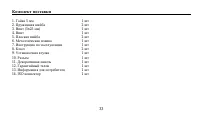
4 Accessories 1. Nut 5 mm 1 pc. 2. Spring washer 2 pcs. 3. Screw M5x25 mm 1 pc. 4. Screw 1 pc. 5. Plain washer 2 pcs. 6. Strap 1 pc. 7. Operating instructions 1 pc. 8. Key 2 pcs. 9. Mounting collar 1 pc. 10. Wire connector 1 pc. 11. Trim plate 1 pc. 12. Warranty card 1 pc. 13. Customer information 1...
Manual Hyundai H-CDM8010


Summary
2 Dear customer! Thank you for purchasing our product. For safety, it is strongly recommended to read this manual carefully beforeconnecting, operating and/or adjusting the product and keep the manual for reference in the future.The unit is recommended for installation in cars by Hyundai, Kia, as we...
3 Important safeguards Using the device at temperature below -10º may cause the breakage of the device. Before using please heat up thepassenger compartment to the recommended temperature!Read carefully through this manual to familiarize yourself with this high-quality system.Disconnect the vehicle'...
4 Accessories 1. Nut 5 mm 1 pc. 2. Spring washer 2 pcs. 3. Screw M5x25 mm 1 pc. 4. Screw 1 pc. 5. Plain washer 2 pcs. 6. Strap 1 pc. 7. Operating instructions 1 pc. 8. Key 2 pcs. 9. Mounting collar 1 pc. 10. Wire connector 1 pc. 11. Trim plate 1 pc. 12. Warranty card 1 pc. 13. Customer information 1...
Hyundai Car Radios Manuals
-
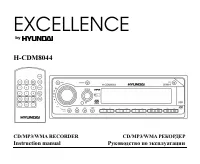 Hyundai CDM8044
User Manual
Hyundai CDM8044
User Manual
-
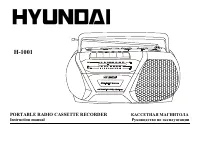 Hyundai H-1001
User Manual
Hyundai H-1001
User Manual
-
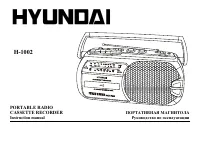 Hyundai H-1002
User Manual
Hyundai H-1002
User Manual
-
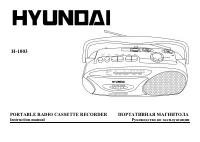 Hyundai H-1003
User Manual
Hyundai H-1003
User Manual
-
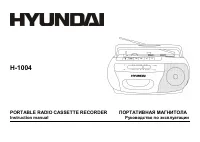 Hyundai H-1004
User Manual
Hyundai H-1004
User Manual
-
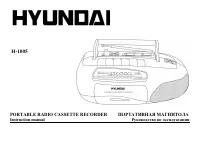 Hyundai H-1005
User Manual
Hyundai H-1005
User Manual
-
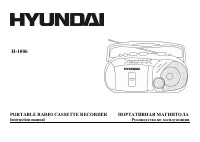 Hyundai H-1006
User Manual
Hyundai H-1006
User Manual
-
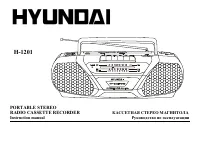 Hyundai H-1201
User Manual
Hyundai H-1201
User Manual
-
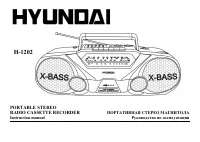 Hyundai H-1202
User Manual
Hyundai H-1202
User Manual
-
 Hyundai H-1203
User Manual
Hyundai H-1203
User Manual
-
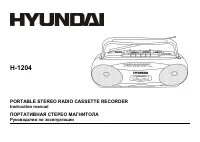 Hyundai H-1204
User Manual
Hyundai H-1204
User Manual
-
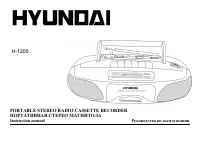 Hyundai H-1205
User Manual
Hyundai H-1205
User Manual
-
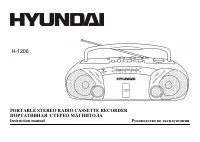 Hyundai H-1206
User Manual
Hyundai H-1206
User Manual
-
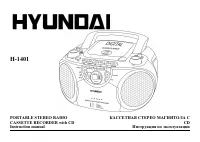 Hyundai H-1401
User Manual
Hyundai H-1401
User Manual
-
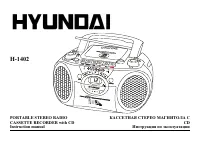 Hyundai H-1402
User Manual
Hyundai H-1402
User Manual
-
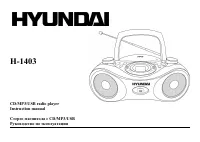 Hyundai H-1403
User Manual
Hyundai H-1403
User Manual
-
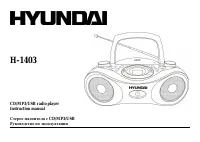 Hyundai H-1403 White
User Manual
Hyundai H-1403 White
User Manual
-
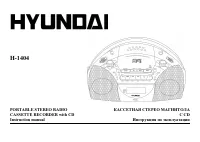 Hyundai H-1404
User Manual
Hyundai H-1404
User Manual
-
 Hyundai H-1405
User Manual
Hyundai H-1405
User Manual
-
 Hyundai H-1406
User Manual
Hyundai H-1406
User Manual