Hisense HWFM8012 - Manuals
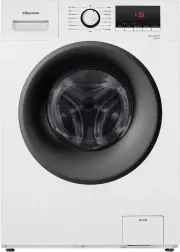
User Manual Hisense HWFM8012
1

2

3

4

5

6

7

8

9

10

11

12

13

14

15

16

17

18

19

20

21

22

Summary
Page 2 - Addition function selection; Delay End Function
X08080 604A 220 -240V Load the clothes to be washed in the drum and close the door. Add the detergent into the relevant compartments for the type of program you are going to select, Add detergent as described in Detergent and Additives section of User's Operation Manual . 1.Turn on the power. Add De...
Page 4 - Instruction for use, installation guide, warranty card
Wrench(depends on model) Instruction for use, installation guide, warranty card (depends on model)
Page 7 - for models having Dual Inlets.
Hisense Washing Machines Manuals
-
 Hisense HWFL1014V
User Manual
Hisense HWFL1014V
User Manual
-
 Hisense HWFS1015E
User Manual
Hisense HWFS1015E
User Manual
-
Hisense HWFS1015E
Manual
-
 Hisense HWFS8514E
User Manual
Hisense HWFS8514E
User Manual
-
Hisense HWFS8514E
Manual
-
 Hisense HWFY1014
User Manual
Hisense HWFY1014
User Manual
-
 Hisense HWFY8514
User Manual
Hisense HWFY8514
User Manual
-
 Hisense HWGA8014
User Manual
Hisense HWGA8014
User Manual
-
 Hisense HWGE8014
User Manual
Hisense HWGE8014
User Manual
-
 Hisense HWGE9014
User Manual
Hisense HWGE9014
User Manual
-
 Hisense WF7S1247BW
Manual
Hisense WF7S1247BW
Manual