Hisense HR6BF47 - Manuals
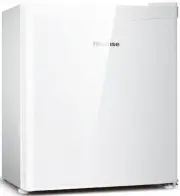
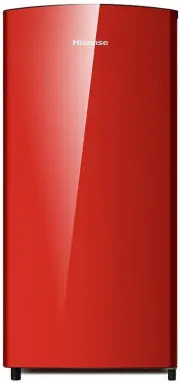
User Manual Hisense HR6BF47


Summary
2 Contents Important Safety Instruction ------------------------------------------------------------------3 Remove transport packaging------------------------------------------------------------------6 Installation -------------------------------------------------------------------------------------...
3 Important safety instructions These warnings are provided in the interests of your safety. Ensure you fully understand them before installing or using the appliance. Your safety is paramount importance. If you are unsure about the meaning of these warnings contact the Customer Care Department for ...
6 In case of malfunction If a malfunction occurs on the appliance, please look first in the “Troubleshooting” section of these instructions. If the information given there does not help, please do not perform any further repairs yourself. Under no circumstance should you attempt to repair the applia...
Hisense Refrigerators Manuals
-
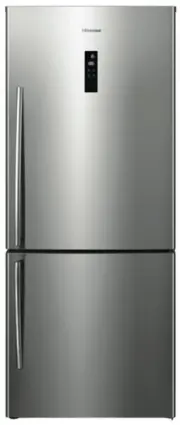
 Hisense HBC54D6AS
User Manual
Hisense HBC54D6AS
User Manual
-
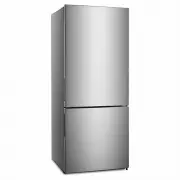
 Hisense HR6AF243
User Manual
Hisense HR6AF243
User Manual
-
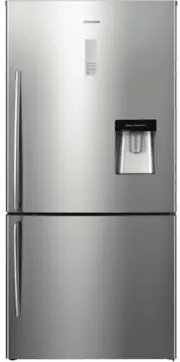
 Hisense HR6AFF355D
User Manual
Hisense HR6AFF355D
User Manual
-
 Hisense HR6BF121
User Manual
Hisense HR6BF121
User Manual
-
 Hisense HR6BF121B
User Manual
Hisense HR6BF121B
User Manual
-
 Hisense HR6BF121S
User Manual
Hisense HR6BF121S
User Manual
-
 Hisense HR6BF157B
User Manual
Hisense HR6BF157B
User Manual
-
 Hisense HR6BF157R
User Manual
Hisense HR6BF157R
User Manual
-
 Hisense HR6BMFF435SD
User Manual
Hisense HR6BMFF435SD
User Manual
-
 Hisense HR6BMFF453S
User Manual
Hisense HR6BMFF453S
User Manual
-
 Hisense HR6BMFF514SW
User Manual
Hisense HR6BMFF514SW
User Manual
-
 Hisense HR6BMFF520SD
User Manual
Hisense HR6BMFF520SD
User Manual
-
 Hisense HR6CDFF509SW
User Manual
Hisense HR6CDFF509SW
User Manual
-
 Hisense HR6CDFF512GB
User Manual
Hisense HR6CDFF512GB
User Manual
-
 Hisense HR6CDFF512S
User Manual
Hisense HR6CDFF512S
User Manual
-
 Hisense HR6CDFF695S
User Manual
Hisense HR6CDFF695S
User Manual
-
 Hisense HR6FDFF630S
User Manual
Hisense HR6FDFF630S
User Manual
-
 Hisense HR6FDFF701SW
User Manual
Hisense HR6FDFF701SW
User Manual
-
 Hisense HR6SBSFF624SW
User Manual
Hisense HR6SBSFF624SW
User Manual
-
 Hisense HR6TFF223S
User Manual
Hisense HR6TFF223S
User Manual