Haier HLP23E - Manuals
Haier HLP23E – User Manual, Manual in PDF format online.
Manuals:
User Manual Haier HLP23E


Manual Haier HLP23E


Summary
IMPORTANT SAFETY INSTRUCTIONS Warning – To reduce the risk of fire, electric shock, or injury to persons when using yourappliance, follow basic precautions, including the following: 1. Read all instructions before using the appliance. 2. Use this appliance only for its intended purpose as described ...
2 20. This appliance must be connected to a proper electrical outlet with the correct electrical supply. 21. Proper grounding must be ensured to reduce the risk of shock and fire. DO NOT CUT OR REMOVE THE GROUNDING PLUG. If you do not have athree-prong electric receptacle outlet in the wall, have a ...
Table Of Contents PAGE SAFETY INSTRUCTIONS .............................................................................. 1-2 PARTS AND FEATURES .............................................................................. 4-5 OPERATING YOUR WASHER .....................................................
Haier Manuals
-
 Haier HLP24E
User Manual
Haier HLP24E
User Manual
-
 Haier DWL4035DBWW
User Manual
Haier DWL4035DBWW
User Manual
-
 Haier CPN12XC9
User Manual
Haier CPN12XC9
User Manual
-
 Haier HT21TS80SP
User Manual
Haier HT21TS80SP
User Manual
-
 Haier HLC1700AXS
User Manual
Haier HLC1700AXS
User Manual
-
 Haier HWF5300AW
Manual
Haier HWF5300AW
Manual
-
 Haier HLP140E
User Manual
Haier HLP140E
User Manual
-
Haier HLP140E
Manual
-
 Haier HRF15N3BGF
User Manual
Haier HRF15N3BGF
User Manual
-
 Haier CPN14XC9
User Manual
Haier CPN14XC9
User Manual
-
 Haier RWT360BW
User Manual
Haier RWT360BW
User Manual
-
Haier HLC1700AXW
User Manual
-
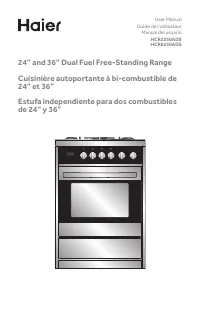 Haier HCR2250ADS
User Manual
Haier HCR2250ADS
User Manual
-
Haier HCR2250ADS
Installation Manual
-
 Haier HLP21N
User Manual
Haier HLP21N
User Manual
-
Haier HLP21N
Manual
-
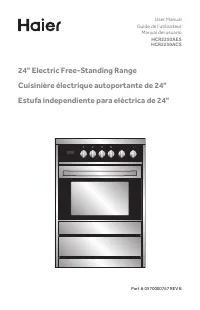 Haier HCR2250AES
User Manual
Haier HCR2250AES
User Manual
-
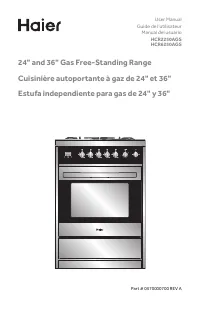 Haier HCR2250AGS
User Manual
Haier HCR2250AGS
User Manual
-
Haier HCR2250AGS
Installation Manual
-
 Haier HRQ16N3BGS
User Manual
Haier HRQ16N3BGS
User Manual