Gymax GYMHD0120 - Manuals

User Manual Gymax GYMHD0120


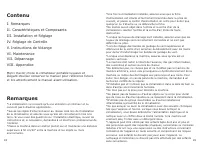
Summary
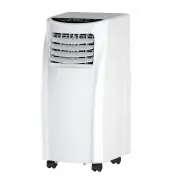
02 03 Content Notes Thank you for choosing the luxurious and elegant portable air conditioner. Please keep the manual for future reference, and read the manual carefully before use. * After the air conditioning is installed, ensure that the power plug is intact and firmly plugged into the power outl...
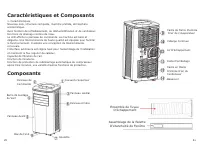
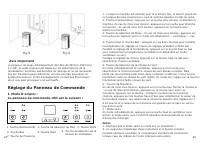
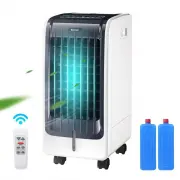
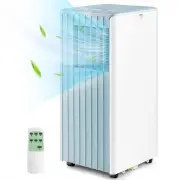
Features and Components 1. Features New look, compact structure, streamlined machine, aristocratic atmosphere. With cooling,dehumidification and fan function, Continuous Water Drainage Functions. LED displays the control panel. The machine is beautiful and elegant. High-quality remote control is equ...
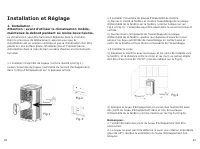
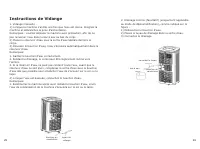
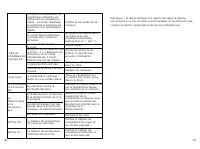
Installation and Adjustment Fig.4 1. Installation: Warning: before using the mobile air conditioning, keep it upright for at least two hours. The air conditioning can be easily moved in the room. In the moving process, ensure that the air conditioning is in the upright position and the air condition...
Gymax Air Conditioners Manuals
-
 Gymax GYM06546
User Manual
Gymax GYM06546
User Manual
-
 Gymax GYM06925
User Manual
Gymax GYM06925
User Manual
-
 Gymax GYM07548
User Manual
Gymax GYM07548
User Manual
-
 Gymax GYM07549
User Manual
Gymax GYM07549
User Manual
-
 Gymax GYM08116
User Manual
Gymax GYM08116
User Manual
-
 Gymax GYM09408
User Manual
Gymax GYM09408
User Manual
-
 Gymax GYM09595
User Manual
Gymax GYM09595
User Manual
-
 Gymax GYM09628
User Manual
Gymax GYM09628
User Manual
-
 Gymax GYM09629
User Manual
Gymax GYM09629
User Manual
-
 Gymax GYM09630
User Manual
Gymax GYM09630
User Manual
-
 Gymax GYM09634
User Manual
Gymax GYM09634
User Manual
-
 Gymax GYM09753
User Manual
Gymax GYM09753
User Manual
-
 Gymax GYM11455
User Manual
Gymax GYM11455
User Manual
-
 Gymax GYM11466
User Manual
Gymax GYM11466
User Manual
-
 Gymax GYM11467
User Manual
Gymax GYM11467
User Manual
-
 Gymax GYM11472
User Manual
Gymax GYM11472
User Manual
-
 Gymax GYM11473
User Manual
Gymax GYM11473
User Manual
-
 Gymax GYMHD0088
User Manual
Gymax GYMHD0088
User Manual
-
 Gymax GYMHD0089
User Manual
Gymax GYMHD0089
User Manual
-
 Gymax GYMHD0091
User Manual
Gymax GYMHD0091
User Manual