Gymax GYM09753 - Manuals
User Manual Gymax GYM09753


Summary
Before You Start Please read all instructions carefully. Retain instructions for future reference. Separate and count all parts and hardware. Read through each step carefully and follow the proper order. We recommend that, where possible, all items are assembled near to the area in which they will b...
■ The appliance shall be disconnected from its power source during service. ■ Always operate the unit from a power source of equal voltage, frequency and rating as indicated on the product identification plate. ■ Always use a power outlet that is grounded. ■ Unplug the power cord when cleaning or wh...
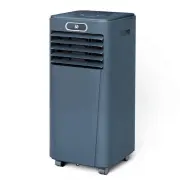
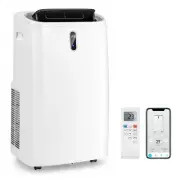
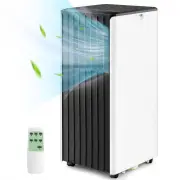
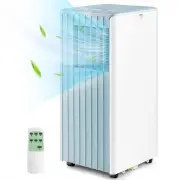
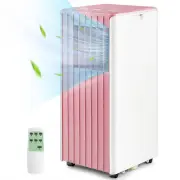
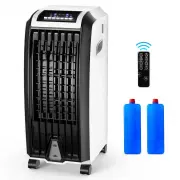
3. PRODUCT OVERVIEW 3.1 PRODUCT DIAGRAM 3.2 FEATURES √ High Capacity in a compact size with fan, cooling and dehumidifying function. √ Temperature setting and display √ LED Digital display √ Electronic control with built-in timer, sleep mode √ Self-evaporating system for better efficiency √ Auto shu...
Gymax Air Conditioners Manuals
-
 Gymax GYM06546
User Manual
Gymax GYM06546
User Manual
-
 Gymax GYM06925
User Manual
Gymax GYM06925
User Manual
-
 Gymax GYM07548
User Manual
Gymax GYM07548
User Manual
-
 Gymax GYM07549
User Manual
Gymax GYM07549
User Manual
-
 Gymax GYM08116
User Manual
Gymax GYM08116
User Manual
-
 Gymax GYM09408
User Manual
Gymax GYM09408
User Manual
-
 Gymax GYM09595
User Manual
Gymax GYM09595
User Manual
-
 Gymax GYM09628
User Manual
Gymax GYM09628
User Manual
-
 Gymax GYM09629
User Manual
Gymax GYM09629
User Manual
-
 Gymax GYM09630
User Manual
Gymax GYM09630
User Manual
-
 Gymax GYM09634
User Manual
Gymax GYM09634
User Manual
-
 Gymax GYM11455
User Manual
Gymax GYM11455
User Manual
-
 Gymax GYM11466
User Manual
Gymax GYM11466
User Manual
-
 Gymax GYM11467
User Manual
Gymax GYM11467
User Manual
-
 Gymax GYM11472
User Manual
Gymax GYM11472
User Manual
-
 Gymax GYM11473
User Manual
Gymax GYM11473
User Manual
-
 Gymax GYMHD0088
User Manual
Gymax GYMHD0088
User Manual
-
 Gymax GYMHD0089
User Manual
Gymax GYMHD0089
User Manual
-
 Gymax GYMHD0091
User Manual
Gymax GYMHD0091
User Manual
-
 Gymax GYMHD0097
User Manual
Gymax GYMHD0097
User Manual