Grundig UMS 4600 DEC - Manuals
Grundig UMS 4600 DEC – Manual in PDF format online.
Manuals:
Manual Grundig UMS 4600 DEC


Summary
2 4 Set-up and safety 5 Overview The hi-fi system controlsDisplaysThe back of the hi-fi systemThe remote control 13 Connection and preparation AntennasConnecting the loudspeakersConnecting the headphonesConnecting the power cordConnecting an external deviceInserting the memory cardConnecting an MP3 ...
ENGLISH 3 CONTENTS ______________________________________________________ 24 Memory card and USB operation Playing the contents of a memory cardPlaying the contents of an MP3 player or USB memory stickSwitching between a memory card and a USB memory stick 25 Timer mode Switch-on timerSleep timer 27 ...
The hi-fi system controls Controls on the front General information ON/OFF Switches the hi-fi system to and from stand-by mode. • Infrared sensor for remote control signals. FUNCTION Switches between the TUNER, CD, AUX and CARD-USB input sources. – z + Adjusts the volume. PROGRAM Activates and saves...
Grundig Manuals
-
 Grundig GEBM19300BC
Manual
Grundig GEBM19300BC
Manual
-
 Grundig GEBD19401BHI
Manual
Grundig GEBD19401BHI
Manual
-
 Grundig GEBM19400BCH
Manual
Grundig GEBM19400BCH
Manual
-
 Grundig GEBD19300B
Manual
Grundig GEBD19300B
Manual
-
 Grundig GEBM19300BP
Manual
Grundig GEBM19300BP
Manual
-
 Grundig GEBM19400BPHI
Manual
Grundig GEBM19400BPHI
Manual
-
 Grundig GEDM12300B
Manual
Grundig GEDM12300B
Manual
-
 Grundig GEBD19301B
Manual
Grundig GEBD19301B
Manual
-
 Grundig GEBM11300XC
Manual
Grundig GEBM11300XC
Manual
-
 Grundig GEBM11301XC
Manual
Grundig GEBM11301XC
Manual
-
 Grundig GIEI638980IF
Manual
Grundig GIEI638980IF
Manual
-
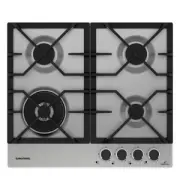
 Grundig GIEI624470PF
Manual
Grundig GIEI624470PF
Manual
-
 Grundig GIEI938980I
Manual
Grundig GIEI938980I
Manual
-
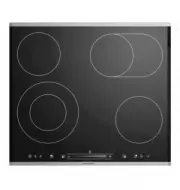
 Grundig GIEV613420E
Manual
Grundig GIEV613420E
Manual
-
 Grundig GIGL6234250
Manual
Grundig GIGL6234250
Manual
-
 Grundig GIEI623410MX
Manual
Grundig GIEI623410MX
Manual
-
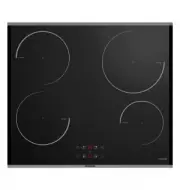
 Grundig GIEV624430X
Manual
Grundig GIEV624430X
Manual
-
 Grundig GIGA6234260XE
Manual
Grundig GIGA6234260XE
Manual
-
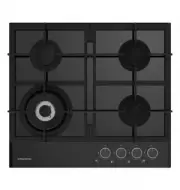
 Grundig GIEI627474PN
Manual
Grundig GIEI627474PN
Manual
-
 Grundig S450DLX
Manual
Grundig S450DLX
Manual