Page 2 - usage other than that it is intended for.
2 IMPORTANT! This booklet is a fundamental part of the appliance, it should be retained. Read all instructions carefully before using the appliance. This appliance is to be installed by a qualified technician in accordance with the gas installation code AS5601, SAA wiring rules, as well as the requi...
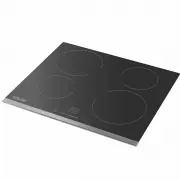
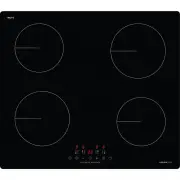
Page 3 - COOKTOP IDENTIFICATION; the appliance during its use.; model; number on the data plate:; MODELS
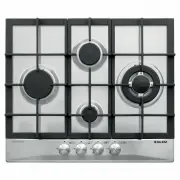
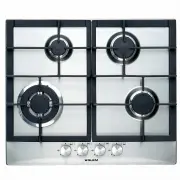
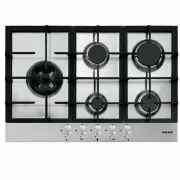
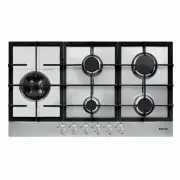
3 COOKTOP IDENTIFICATION Warning: This appliance is designed to be built into a kitchen bench capable of withstanding the weight of the appliance during its use. ♦ The kitchen bench must be resistant to temperatures of at least 100°C. Check with the manufacturer of the bench material to be sure. No ...
Page 4 - LIGHTING THE GAS BURNERS; Warning
4 LIGHTING THE GAS BURNERS Gas burners The flow of gas to the burners is regulated by the controls knobs. Depending on the model, the graphic symbols are printed on the knobs or the control panel (Fig. 10). The indicator symbols are: Valve closed, no gas flow Maximum capacity, maximum gas flow Minim...
Page 5 - USING THE GAS COOKTOP; (Fig.9 optional – design may vary to image; Minimum diameter; GAS COOKTOP INSTALLATION
5 USING THE GAS COOKTOP Pan supports (trivets) The trivets were designed to make the cooktop easy and safe to use. We recommend checking their exact position and stability on the cooktop before each use. Furthermore, check that the supporting rubbers are integral and correctly positioned. Small vess...
Page 6 - Fixing the cooktop; The instructions are for a qualified installer.; Gas Inlet Connection Point; cooktop and on this booklet.; Flexible Hose Connection
6 Fixing the cooktop The cooktop is to be fixed to the bench as follows: 1. Place the sealing gasket supplied along the outside edge of the hole cut into the bench so that the ends of the strips are perfectly joined without overlapping. 2. Position the cooktop into the hole in the bench making sure ...
Page 7 - CONVERSION TO DIFFERENT TYPES OF GAS; injectors must be replaced.; point as appropriate.; Replacing the injectors; CLEANING; Never remove the knobs from their housing to clean the cooktop.; Dry completely; Stainless Steel
7 CONVERSION TO DIFFERENT TYPES OF GAS Should the cooktop need to be converted to a gas different to the one it was intended for, the injectors must be replaced. It there are no spare injectors supplied they can be obtained from Glem Gas Service. The injectors are to be installed according to the ta...
Page 8 - Cast Iron Trivets; GAS CONSUMPTION AND INJECTOR SIZES
8 After rinsing, dry with soft cloth. Avoid spray cleaners directed onto the graphics and take care when wiping not to damage the printed graphics on the cooktop . Cast Iron Trivets Wipe the trivets with a damp cloth once they have cooled. Do not use cleaning agents or harsh detergents to clean and ...
Page 9 - DIAGRAMS
9 DIAGRAMS Fig. 1 1 2 4 3 Fig. 2 1 2 4 3 Fig. 4 Fig. 3 Fig. 5 Fig. 6 1 1 2 2 3 3 4 4 1 2 3 4 5 1 2 3 4 5
Page 13 - GLEM GAS AUSTRALASIA PTY. LTD. PRODUCT WARRANTY
13 GLEM GAS AUSTRALASIA PTY. LTD. PRODUCT WARRANTY Thank you for choosing a Glem Gas Appliance, the purchase of this appliance is an important investment in your home and so to protect your investment we urge you to complete the registration card attached, please return it immediately. IT IS A WARRA...