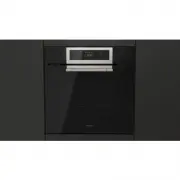
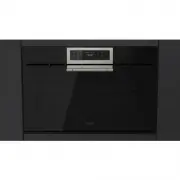
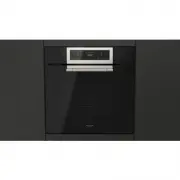
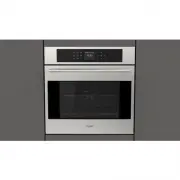
Fulgor Milano QO 6007 MT X - Manuals
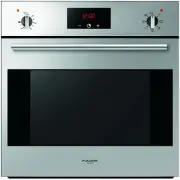
User Manual Fulgor Milano QO 6007 MT X
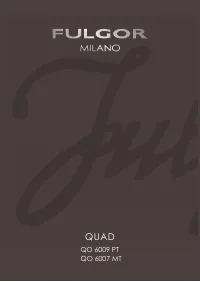


Summary
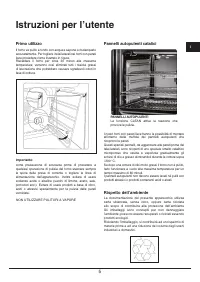
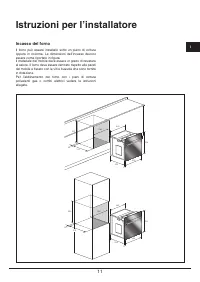
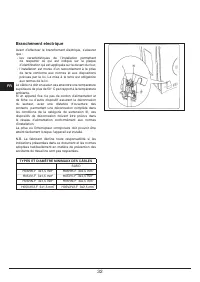
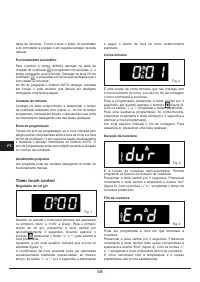
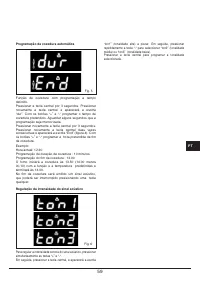
4 Indice Istruzioni per l’utente, 5 Primo utilizzo, 5 Pannelli autopulenti, 5 Rispetto dell’ambiente, 5 Frontale comandi, 6 Istruzioni di funzionamento: - cottura con la funzione “convenzione”, 6- cottura con la funzione “ventilato”, 6- cottura alla griglia, 7 Termostato, 7 Timer elettronico 6 tasti...
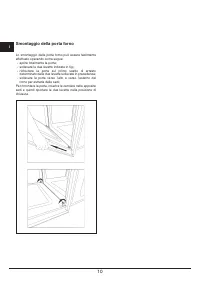
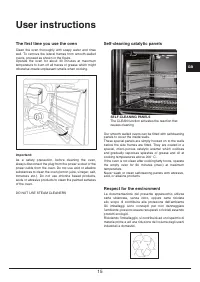
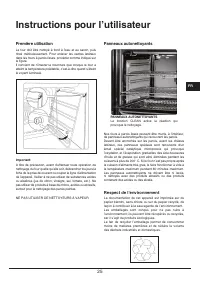
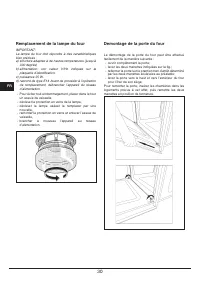
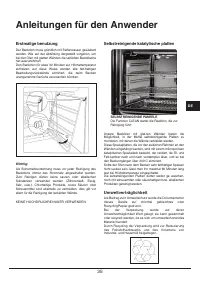
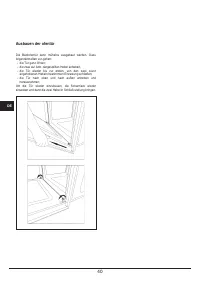
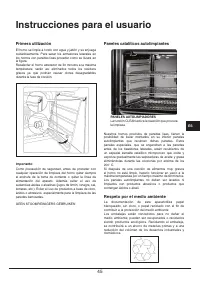
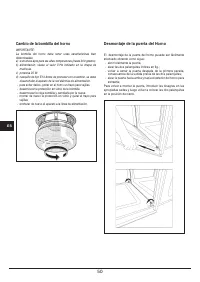
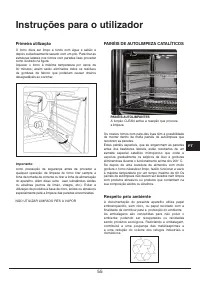
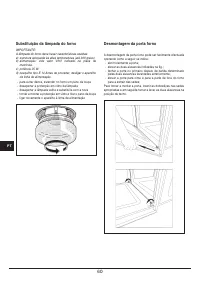
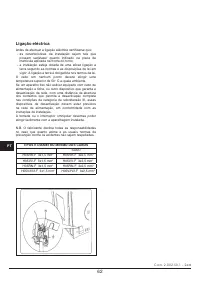
5 Primo utilizzo Il forno va pulito a fondo con acqua e sapone e risciacquato accuratamente. Per togliere i telai laterali nei forni con pareti lisce procedere come illustrato in figura. Riscaldare il forno per circa 30 minuti alla massima temperatura; verranno così eliminati tutti i residui grassi d...
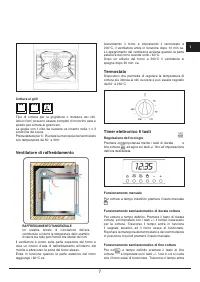
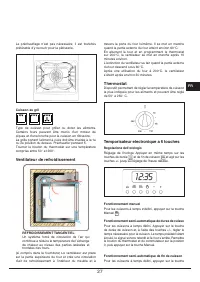
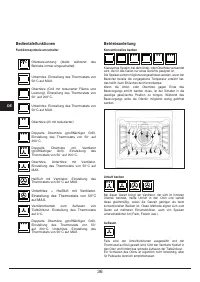
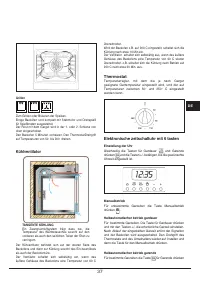
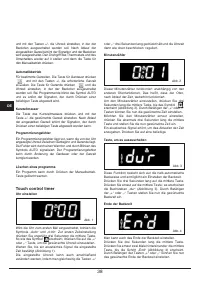
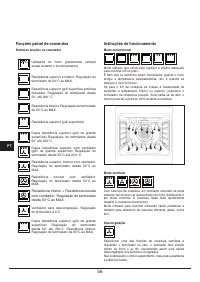
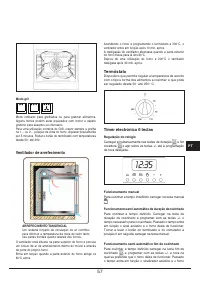
6 Istruzioni di funzionamento Cottura convenzionale Sistema classico che utilizza calore superiore ed inferiore adatto per la cottura di un solo piatto.E’ bene che il cibo venga inserito quando il forno ha raggiunto la temperatura prestabilita, cioè quando si e’ spenta la spia luminosa. Se verso fine...
Fulgor Milano Ovens Manuals
-
 Fulgor Milano CO 6213 TC X
User Manual
Fulgor Milano CO 6213 TC X
User Manual
-
 Fulgor Milano CO 7514 TC X
User Manual
Fulgor Milano CO 7514 TC X
User Manual
-
 Fulgor Milano CO 9014 TC X
User Manual
Fulgor Milano CO 9014 TC X
User Manual
-
 Fulgor Milano COS 6113 TC X
User Manual
Fulgor Milano COS 6113 TC X
User Manual
-
 Fulgor Milano FCLCMO 4510 TEM BK
User Manual
Fulgor Milano FCLCMO 4510 TEM BK
User Manual
-
 Fulgor Milano FCLCSO 4510 TEM BK
User Manual
Fulgor Milano FCLCSO 4510 TEM BK
User Manual
-
 Fulgor Milano FCLO 6215 TEM BK
User Manual
Fulgor Milano FCLO 6215 TEM BK
User Manual
-
 Fulgor Milano FCLO 9615 TEM 2F BK
User Manual
Fulgor Milano FCLO 9615 TEM 2F BK
User Manual
-
 Fulgor Milano FCLPO 6215 P TEM BK
User Manual
Fulgor Milano FCLPO 6215 P TEM BK
User Manual
-
 Fulgor Milano FCMO 4511 TM X
User Manual
Fulgor Milano FCMO 4511 TM X
User Manual
-
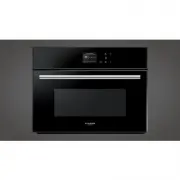 Fulgor Milano FCO 4512 TM BK
User Manual
Fulgor Milano FCO 4512 TM BK
User Manual
-
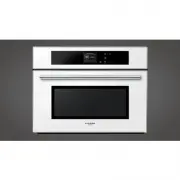 Fulgor Milano FCO 4512 TM WH
User Manual
Fulgor Milano FCO 4512 TM WH
User Manual
-
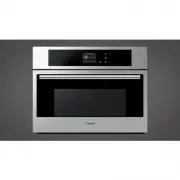 Fulgor Milano FCO 4512 TM X
User Manual
Fulgor Milano FCO 4512 TM X
User Manual
-
 Fulgor Milano FCO 6214 P TEM BK
User Manual
Fulgor Milano FCO 6214 P TEM BK
User Manual
-
 Fulgor Milano FCO 6214 P TEM WH
User Manual
Fulgor Milano FCO 6214 P TEM WH
User Manual
-
 Fulgor Milano FCO 6214 P TEM X
User Manual
Fulgor Milano FCO 6214 P TEM X
User Manual
-
 Fulgor Milano FCO 6215 TEM BK
User Manual
Fulgor Milano FCO 6215 TEM BK
User Manual
-
 Fulgor Milano FCO 6215 TEM WH
User Manual
Fulgor Milano FCO 6215 TEM WH
User Manual
-
 Fulgor Milano FCO 6215 TEM X
User Manual
Fulgor Milano FCO 6215 TEM X
User Manual
-
 Fulgor Milano FCO 9013 TM BK
User Manual
Fulgor Milano FCO 9013 TM BK
User Manual