Frigidaire PCFD3670AF - Manuals
Frigidaire PCFD3670AF Range – User Manual, Manual in PDF format online.
Manuals:
User Manual Frigidaire PCFD3670AF


Summary
2 Thank you for bringing Frigidaire into your home! We see your purchase as the beginning of a long relationship together. This manual is your resource for the use and care of your product. Please read it before using your appliance. Keep it handy for quick reference. If something doesn’t seem right...
3 Read all instructions before using this appliance.This manual contains important safety symbols and instructions. Please pay attention to these symbols and follow all instructions given.Do not attempt to install or operate your appliance until you have read the safety precautions in this manual. S...
4 attached to the appliance. Do not remove model/serial number plate.Cold temperatures can damage the elec-tronic control. If this appliance has not been used for a long time, make sure that it has been stored at temperatures above 32ºF (0ºC) for at least 3 hours before turn-ing on power to the appl...
Manual Frigidaire PCFD3670AF


Frigidaire Ranges Manuals
-
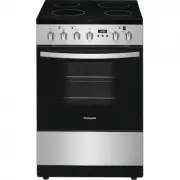 Frigidaire FCFE2425AS
User Manual
Frigidaire FCFE2425AS
User Manual
-
Frigidaire FCFE2425AS
Installation Manual
-
Frigidaire FCFE2425AS
Manual
-
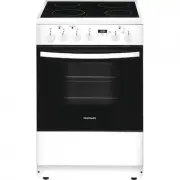 Frigidaire FCFE2425AW
User Manual
Frigidaire FCFE2425AW
User Manual
-
Frigidaire FCFE2425AW
Installation Manual
-
Frigidaire FCFE2425AW
Manual
-
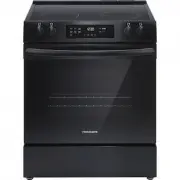 Frigidaire FCFE3062AB
User Manual
Frigidaire FCFE3062AB
User Manual
-
Frigidaire FCFE3062AB
Manual
-
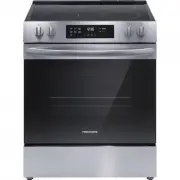 Frigidaire FCFE3062AS
User Manual
Frigidaire FCFE3062AS
User Manual
-
Frigidaire FCFE3062AS
Manual
-
 Frigidaire FCFE3062AW
User Manual
Frigidaire FCFE3062AW
User Manual
-
Frigidaire FCFE3062AW
Manual
-
 Frigidaire FCFE3083AS
User Manual
Frigidaire FCFE3083AS
User Manual
-
Frigidaire FCFE3083AS
Manual
-
 Frigidaire FCFE308LAF
User Manual
Frigidaire FCFE308LAF
User Manual
-
 Frigidaire FCFG3062AB
User Manual
Frigidaire FCFG3062AB
User Manual
-
Frigidaire FCFG3062AB
Manual
-
 Frigidaire FCFG3062AS
User Manual
Frigidaire FCFG3062AS
User Manual
-
Frigidaire FCFG3062AS
Manual
-
 Frigidaire FCFG3062AW
User Manual
Frigidaire FCFG3062AW
User Manual