Fisher & Paykel WH7560J1 - Manuals
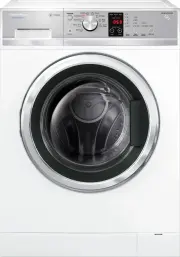
User Manual Fisher & Paykel WH7560J1


Summary
1 Contents Introduction 2 Installation instructions 3 Machine information 8 Before you do your first wash 9 Getting started quickly 10 WashSmart ™ and QuickSmart ™ controls 14 Safety features 15 Sorting and loading 16 Detergent and fabric softener 18 Wash cycles 20 Wash cycle options 22 Customising ...
2 Introduction Welcome to WashSmart™ and QuickSmart™ Thank you for buying a Fisher & Paykel clothes washer from our Front Loading range. We are proud of this washer and trust it will serve you well for many years. At Fisher & Paykel we aim to provide innovative products that are simple to us...
3 Installation instructions Accessories Please check you received the following accessories with your Fisher & Paykel washer. You will find them inside the drum: ■ ■ 2 x Inlet hoses ■ ■ 1 x Drain hose guide ■ ■ 1 x Installation instructions and User guide ■ ■ 1 x Spanner ■ ■ 1 x Installation lea...
Fisher & Paykel Washing Machines Manuals
-
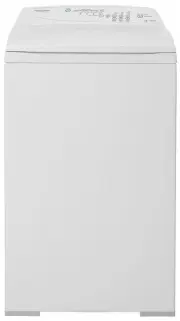 Fisher & Paykel MW513
User Manual
Fisher & Paykel MW513
User Manual
-
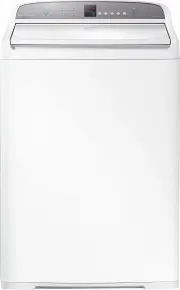
 Fisher & Paykel MW60
User Manual
Fisher & Paykel MW60
User Manual
-
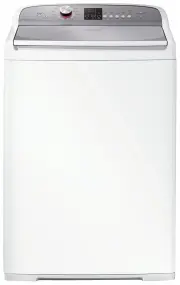
 Fisher & Paykel WA1068G1
User Manual
Fisher & Paykel WA1068G1
User Manual
-
 Fisher & Paykel WA1068G2
User Manual
Fisher & Paykel WA1068G2
User Manual
-
 Fisher & Paykel WA1068P1
User Manual
Fisher & Paykel WA1068P1
User Manual
-
 Fisher & Paykel WA7060E1
User Manual
Fisher & Paykel WA7060E1
User Manual
-
 Fisher & Paykel WA7060G1
User Manual
Fisher & Paykel WA7060G1
User Manual
-
 Fisher & Paykel WA7060G2
User Manual
Fisher & Paykel WA7060G2
User Manual
-
 Fisher & Paykel WA70T60FW1
User Manual
Fisher & Paykel WA70T60FW1
User Manual
-
 Fisher & Paykel WA70T60GW1
User Manual
Fisher & Paykel WA70T60GW1
User Manual
-
 Fisher & Paykel WA7560E1
User Manual
Fisher & Paykel WA7560E1
User Manual
-
 Fisher & Paykel WA8060E1
User Manual
Fisher & Paykel WA8060E1
User Manual
-
 Fisher & Paykel WA8060G1
User Manual
Fisher & Paykel WA8060G1
User Manual
-
 Fisher & Paykel WA8060P1
User Manual
Fisher & Paykel WA8060P1
User Manual
-
 Fisher & Paykel WA80T65FW1
User Manual
Fisher & Paykel WA80T65FW1
User Manual
-
 Fisher & Paykel WA80T65GW1
User Manual
Fisher & Paykel WA80T65GW1
User Manual
-
 Fisher & Paykel WA8560E1
User Manual
Fisher & Paykel WA8560E1
User Manual
-
 Fisher & Paykel WA8560G1
User Manual
Fisher & Paykel WA8560G1
User Manual
-
 Fisher & Paykel WA8560P1
User Manual
Fisher & Paykel WA8560P1
User Manual
-
 Fisher & Paykel WD7560P1
User Manual
Fisher & Paykel WD7560P1
User Manual