Falcon PROP100FXDFBL-CHLPG - Manuals
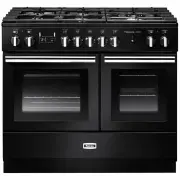
User Manual Falcon PROP100FXDFBL-CHLPG
1

2

3

4

5

6

7

8

9

10

11

12

13

14

15

16

17

18

19

20

21

22

23

24

25

26

27

28

29

30

31

32

33

34

35

36

37

38

39

40

41

42

43

44

Summary
Page 3 - Contents
i Professional+ FX 100 Dual Fuel Contents 1. Before You Start... 1 Important! 1 Installation and Maintenance 1 Peculiar Smells 1 If you smell gas 1 Ventilation 1 Personal Safety 1 Cooker Care 2 Cleaning 2 2. Cooker Overview 3 Hotplate Burners 3 Wok Burner 4 The Wok Cradle 4 The Griddle 5 The Multifu...
Page 4 - ii
Page 5 - Ventilation; If you smell gas
1 Your cooker should give you many years of trouble-free cooking if installed and operated correctly. It is important that you read this section before you start, particularly if you have not used a dual fuel cooker before. Important! n This appliance is designed for domestic cooking only. Using it ...
Falcon Ovens Manuals
-
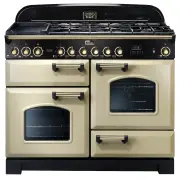
 Falcon CDL110DFBL-BR
User Manual
Falcon CDL110DFBL-BR
User Manual
-
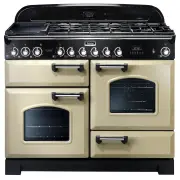
 Falcon CDL110DFBL-CH
User Manual
Falcon CDL110DFBL-CH
User Manual
-
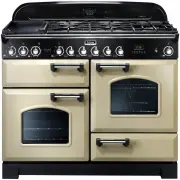
 Falcon CDL110DFBL-CHLPG
User Manual
Falcon CDL110DFBL-CHLPG
User Manual
-
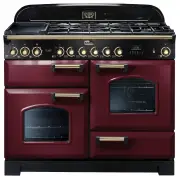
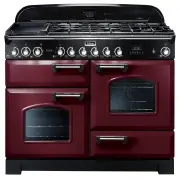
 Falcon CDL110DFCR-BR
User Manual
Falcon CDL110DFCR-BR
User Manual
-
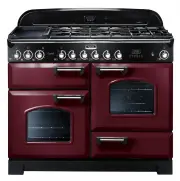
 Falcon CDL110DFCR-CH
User Manual
Falcon CDL110DFCR-CH
User Manual
-
 Falcon CDL110DFCR-CHLPG
User Manual
Falcon CDL110DFCR-CHLPG
User Manual
-
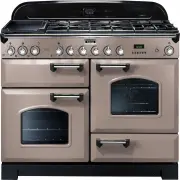
 Falcon CDL110DFCY-BR
User Manual
Falcon CDL110DFCY-BR
User Manual
-
 Falcon CDL110DFCY-CH
User Manual
Falcon CDL110DFCY-CH
User Manual
-
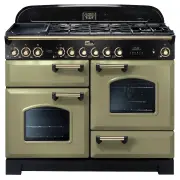
 Falcon CDL110DFCY-CHLPG
User Manual
Falcon CDL110DFCY-CHLPG
User Manual
-
 Falcon CDL110DFLT-CH
User Manual
Falcon CDL110DFLT-CH
User Manual
-
 Falcon CDL110DFMGBR
User Manual
Falcon CDL110DFMGBR
User Manual
-
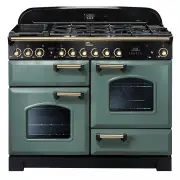
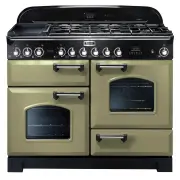
 Falcon CDL110DFOG-BR
User Manual
Falcon CDL110DFOG-BR
User Manual
-
 Falcon CDL110DFOG-CH
User Manual
Falcon CDL110DFOG-CH
User Manual
-
 Falcon CDL110DFOG-CHLPG
User Manual
Falcon CDL110DFOG-CHLPG
User Manual
-
 Falcon CDL110DFRB-BR
User Manual
Falcon CDL110DFRB-BR
User Manual
-
 Falcon CDL110DFRB-CH
User Manual
Falcon CDL110DFRB-CH
User Manual
-
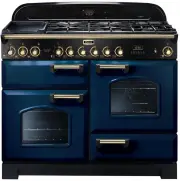
 Falcon CDL110DFRG-BR
User Manual
Falcon CDL110DFRG-BR
User Manual
-
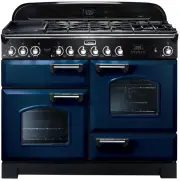
 Falcon CDL110DFRG-CH
User Manual
Falcon CDL110DFRG-CH
User Manual
-
 Falcon CDL110DFRP-BR
User Manual
Falcon CDL110DFRP-BR
User Manual
-
 Falcon CDL110DFRP-CH
User Manual
Falcon CDL110DFRP-CH
User Manual