Faber Cylindra Isola EG10 X A37 ELN (110.0157.066) - Manuals
Faber Cylindra Isola EG10 X A37 ELN (110.0157.066) Range Hood – User Manual in PDF format online.
Manuals:
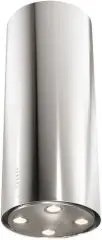
User Manual Faber Cylindra Isola EG10 X A37 ELN (110.0157.066)


Summary
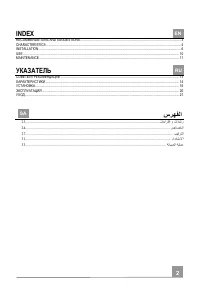
2 2 INDEX RECOMMENDATIONS AND SUGGESTIONS ..................................................................................................................... 3 CHARACTERISTICS .............................................................................................................................
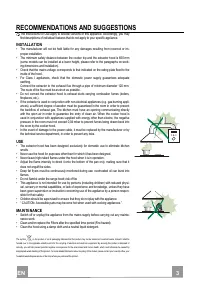
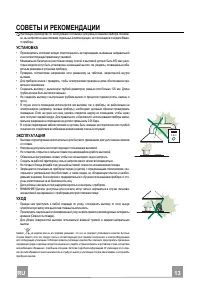
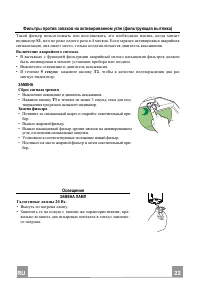
EN 3 3 RECOMMENDATIONS AND SUGGESTIONS The Instructions for Use apply to several versions of this appliance. Accordingly, you may find descriptions of individual features that do not apply to your specific appliance. INSTALLATION • The manufacturer will not be held liable for any damages resulting f...
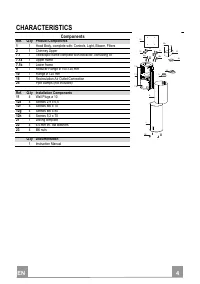
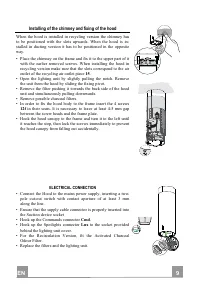
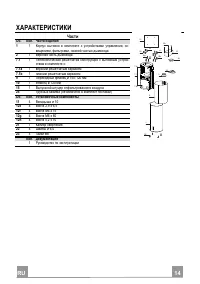
EN 4 4 CHARACTERISTICS Components Ref. Q.ty Product Components 1 1 Hood Body, complete with: Controls, Light, Blower, Filters 2 1 Chimney Upper 7.1 1 Telescopic frame complete with extractor, consisting of: 7.1a 1 Upper frame 7.1b 1 Lower frame 9 1 Reducer Flange ø 150-120 mm 10 1 Flange ø 120 mm 15...
Faber Range Hoods Manuals
-
 Faber 110.0338.674
User Manual
Faber 110.0338.674
User Manual
-
 Faber 110.0338.675
User Manual
Faber 110.0338.675
User Manual
-
 Faber 110.0389.223
User Manual
Faber 110.0389.223
User Manual
-
 Faber 741 BASE BK A60
User Manual
Faber 741 BASE BK A60
User Manual
-
 Faber 741 BASE BK A60 EXP
User Manual
Faber 741 BASE BK A60 EXP
User Manual
-
 Faber 741 BASE W A50
User Manual
Faber 741 BASE W A50
User Manual
-
 Faber 741 BASE W A50 FB EXP
User Manual
Faber 741 BASE W A50 FB EXP
User Manual
-
 Faber 741 BASE W A60
User Manual
Faber 741 BASE W A60
User Manual
-
 Faber 741 BASE X A50
User Manual
Faber 741 BASE X A50
User Manual
-
 Faber 741 BASE X A50 FB EXP
User Manual
Faber 741 BASE X A50 FB EXP
User Manual
-
 Faber 741 BASE X A60
User Manual
Faber 741 BASE X A60
User Manual
-
 Faber 741 BASE X A60 FB EXP
User Manual
Faber 741 BASE X A60 FB EXP
User Manual
-
 Faber 741 PB W A50
User Manual
Faber 741 PB W A50
User Manual
-
 Faber 741 PB W A50 300.0557.512
User Manual
Faber 741 PB W A50 300.0557.512
User Manual
-
 Faber 741 PB W A60
User Manual
Faber 741 PB W A60
User Manual
-
 Faber 741 PB W A60 300.0557.513
User Manual
Faber 741 PB W A60 300.0557.513
User Manual
-
 Faber 741 PB X A50
User Manual
Faber 741 PB X A50
User Manual
-
 Faber 741 PB X A50 300.0557.514
User Manual
Faber 741 PB X A50 300.0557.514
User Manual
-
 Faber 741 PB X A60
User Manual
Faber 741 PB X A60
User Manual
-
 Faber 741 PB X A60 300.0557.515
User Manual
Faber 741 PB X A60 300.0557.515
User Manual